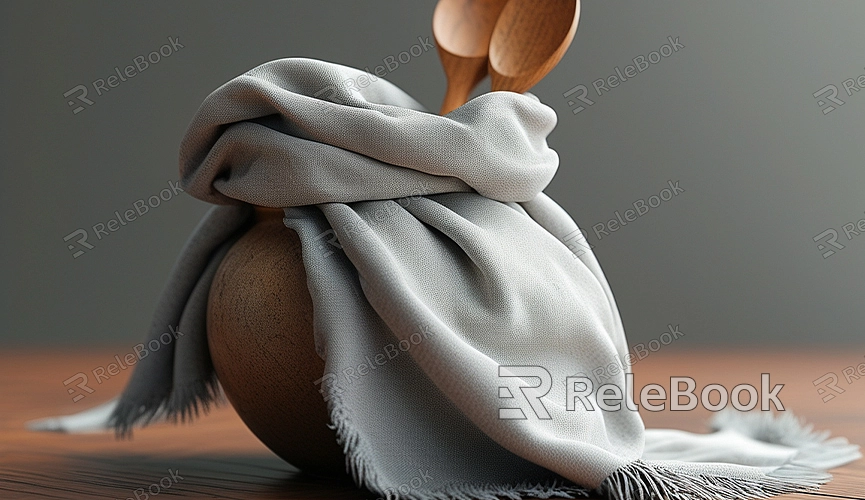
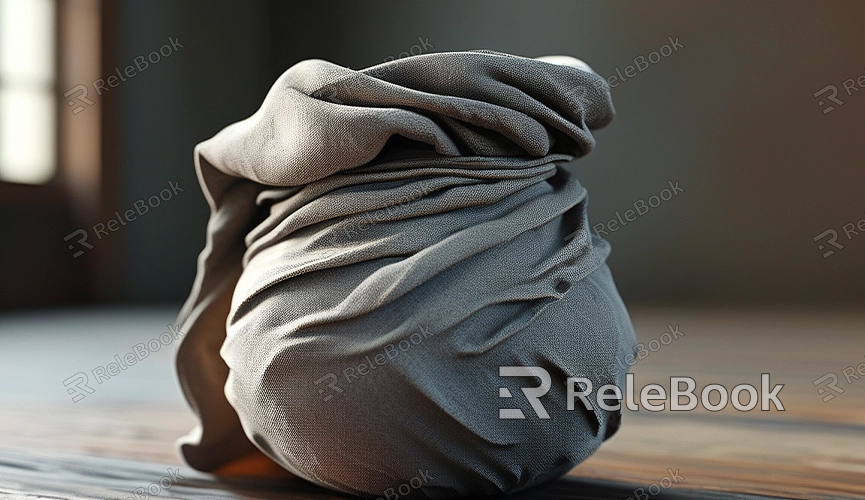
How to Make Something Look Like Fabric in Blender Render
Rendering an object to look like fabric in Blender can make your models appear more realistic and dynamic. Achieving a fabric effect depends on texture detail, material settings, lighting, and render engine configuration. This guide will provide detailed steps to help you create a fabric effect in Blender.
Choose Suitable Fabric Textures
The texture is crucial for achieving a realistic fabric effect. First, select an appropriate texture image, including the fabric's color, texture, and details. Common fabric textures include cotton, silk, and wool. Follow these steps to set up fabric textures:

1. Import Texture: In Blender, go to the Materials panel, create a new material, and add a texture node in the Shader Editor. Import the texture image into the material using an Image Texture node and connect it to the Base Color input.
2. Adjust Texture Mapping: In the UV Editing workspace, unwrap your model to ensure the texture fits correctly. Fabric textures need to align with the UV map for a natural appearance in the render. Use the UV Unwrap tool to optimize the texture display.
Set Fabric Material Properties
Material properties are crucial for rendering the fabric effect. Adjust the material parameters to simulate the fabric's appearance:
1. Set Roughness and Glossiness: Fabric typically has some roughness and glossiness. Adjust the Roughness parameter in the material settings to control the smoothness of the fabric. Generally, fabric has a higher roughness value to mimic its texture.
2. Add Fabric Details: Use Normal Map or Bump Map nodes to add fabric details. These textures simulate the fine textures and wrinkles of the fabric, making the render more realistic. Connect these texture nodes to the material's Normal input.
Adjust Lighting and Shadows
Lighting significantly affects the fabric render. Adjusting the lighting and shadow settings enhances the fabric's realism:
1. Configure Lighting: Choose appropriate light types, such as point lights, spotlights, or ambient lights, to highlight the fabric texture. Adjust the light's position, intensity, and color for the best fabric effect.
2. Enable Shadows: Ensure shadows are enabled in the Render Properties panel. This helps simulate realistic fabric shadows. Adjust the shadow intensity and softness to enhance realism.

Render with Blender’s Render Engines
Blender offers multiple render engines, including Eevee and Cycles, each with unique effects. Choose the render engine based on your needs:
1. Eevee Render Engine: Eevee is a real-time render engine suitable for quick previews. Enable Screen Space Reflections and Shadows in the Render Properties panel for more realistic fabric effects.
2. Cycles Render Engine: Cycles is a high-quality path tracing render engine that provides finer fabric effects. Adjust the Samples settings in the Render Properties panel to improve clarity and detail. Cycles can better simulate the fabric's glossiness and details.
Conduct Render Tests and Optimize
After setting up the fabric, conduct render tests to check the effect and optimize:
1. Render Test: Click the Render button for a test render. Check the texture, material, and lighting effects to ensure they meet expectations. If issues arise, return to the Material or UV Editing workspace for adjustments.
2. Optimize Textures and Materials: Based on the render test results, optimize the texture resolution and material settings. Ensure the texture image is high-resolution to avoid blurriness or distortion. Adjust material parameters to enhance fabric details and realism.
By following these steps, you can achieve realistic fabric effects in Blender. If you need high-quality 3D textures, HDRIs, or downloadable 3D models while creating models and virtual scenes, you can download them from Relebook. Importing these textures and models directly into your project can save time and improve your work's quality, making your fabric renders more vivid and realistic.

