How to Preview a Render in Blender
Blender is a powerful open-source 3D modeling software widely used in animation, game development, and virtual reality. Being able to preview your render in real-time is crucial during the creative process as it saves time and helps you identify and correct issues promptly. This article will detail how to preview a render in Blender and offer some practical tips to help you work more efficiently.
Understanding Blender's Render Preview Function
In Blender, the render preview function allows you to see the final effect during your work process. This is useful for optimizing models, adjusting lighting, and fine-tuning materials. Blender provides several render preview modes, each with unique advantages and suitable scenarios.
Using the Viewport Render Preview
Viewport render preview is one of the most commonly used methods in Blender, allowing you to view the render directly in the 3D view. Here are the steps to use viewport render preview:
1. Switch to Viewport Render Mode: In the upper right corner of the Blender interface, use the viewport shading type switch and select "Rendered" mode. The viewport will now display the render in real-time.
2. Adjust Render Settings: In the properties panel, find the render options under “Render Properties.” Adjust the render engine (like Eevee or Cycles), the number of samples, and other parameters like ray tracing. These settings will affect the quality and speed of the render preview.
3. Optimize Preview Performance: If the render preview is slow, reduce the number of samples or switch to the Eevee render engine to improve the preview speed.
Using Material Preview
Material preview mode is mainly used for viewing and adjusting the material effects of your model. Unlike viewport render preview, material preview doesn’t calculate lighting and shadows, making it faster. Here are the steps to use material preview:
1. Switch to Material Preview Mode: In the upper right corner of the Blender interface, use the viewport shading type switch and select "Material Preview" mode. The viewport will now display the model’s material effects.
2. Adjust Material Parameters: In the materials panel, you can adjust parameters such as color, texture, and reflection. The material preview mode will update these adjustments in real-time, allowing you to quickly see the effects.
Using the Node Editor Preview
Blender’s node editor allows you to create complex materials and effects using a node system. When using the node editor, you can preview each node’s effect through the node preview function. Here are the steps to use the node editor preview:
1. Open the Node Editor: In the lower part of the Blender interface, switch the workspace to “Shader Editor” or “Compositor” to enter the node editor.
2. Add a Preview Node: In the node editor, add a “Viewer” node and connect it to the output of the node you want to preview. The preview window will display the effect of that node.
3. Adjust Node Parameters: Adjust the node parameters as needed. The preview window will update in real-time, allowing you to precisely control materials and effects.
Using the Render Window Preview
Besides previewing renders in the viewport, Blender also provides a standalone render window for previewing the final render at higher resolution and quality. Here are the steps to use the render window preview:
1. Render an Image: In the top menu bar of Blender, select “Render” -> “Render Image,” or press F12. Blender will open a separate render window and start rendering the current frame.
2. Adjust Render Settings: In the render window, you can adjust the image’s exposure, contrast, and other parameters to achieve the best preview effect.
3. Save the Render Result: If you are satisfied with the preview, save the render result as an image file for future use.
Using External Tools for Preview
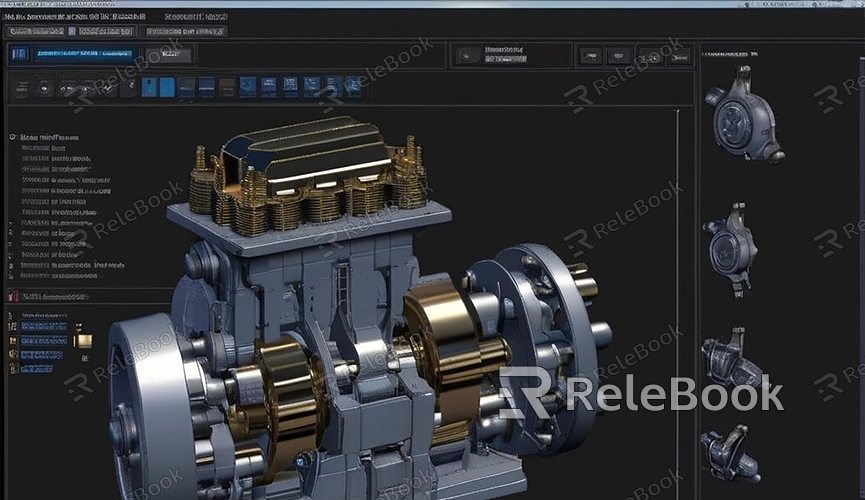
In some cases, you might need to use external tools to preview Blender’s render effects. For instance, if you need high-quality 3D textures and HDRIs while creating models and virtual scenes, or if you need to download 3D models, you can download them from Relebook and import the textures and 3D models directly into your project.
These tools usually offer higher render quality and more preview options, helping you to precisely control and adjust the model’s effects.
By following the steps and tips in this article, you should now understand the various methods and techniques for previewing renders in Blender. Whether it’s viewport render preview, material preview, node editor preview, or using the render window and external tools, Blender provides robust preview functions to help you create more efficiently. If you need high-quality 3D textures and HDRIs or if you need to download 3D models while creating models and virtual scenes, you can download them from Relebook and import the textures and 3D models directly into your project.
