How to remove render box in blender
Blender is a powerful open-source 3D modeling and rendering software widely used in animation, game design, and film production. One common issue users may encounter is removing the render border. This guide will explain how to remove the render border in Blender to help you better manage your 3D creations.
What is the Render Border?
The Render Border is a feature in Blender that allows users to render only a specific area of the scene, which can speed up the rendering process. You can set the render border by holding Shift+B and dragging the mouse in the 3D view. While useful for previewing parts of your render, you may sometimes need to remove this border to perform a full render.

Methods to Remove the Render Border
1. Using Keyboard Shortcuts
The simplest way to remove the render border is by using a keyboard shortcut. Press Ctrl+Alt+B in the 3D view to clear the existing render border and return to a full-frame render.
2. Removing in Render Settings
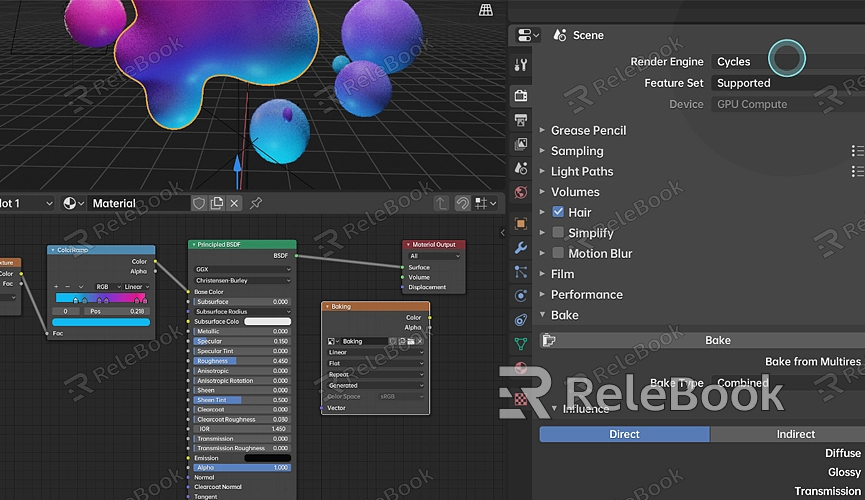
Besides keyboard shortcuts, you can also remove the render border through Blender’s render settings. In the right panel, find the "View Layer Properties" tab. Under the "Passes" tab, uncheck the "Border" option. This will remove the render border and restore full-frame rendering.
3. Using the Render Region Tool
Blender provides a Render Region tool for specific rendering scenarios. To remove the render border using this tool, locate the Render Region icon in the lower-right corner of the 3D view, click it, and select "Clear Region." This will remove the render border and allow for full-frame rendering.
Tips to Enhance Rendering
1. Optimize Light Settings
Proper light setup significantly impacts render quality. Experiment with different types of lights, adjusting their intensity and position to achieve the best effect.
2. Use High-Quality Textures
High-quality textures can greatly improve the detail and realism of your models. For high-quality 3D textures, HDRIs, or 3D models, you can download them from Relebook. After downloading, simply import the textures and models into your project for use.
3. Adjust Render Settings
Balance render speed and quality by adjusting your render settings according to your project’s needs. Increasing the sampling rate improves image quality but also extends render time. Adjust settings as needed for optimal results.
Removing the render border is a common requirement for Blender users. With the methods described, you can easily clear the render border and perform full-frame rendering. Additionally, optimizing light settings, using high-quality textures, and adjusting render settings can further enhance your render quality. If you need high-quality 3D textures, HDRIs, or 3D models, you can find them on Relebook, and directly import them into your project after downloading.

