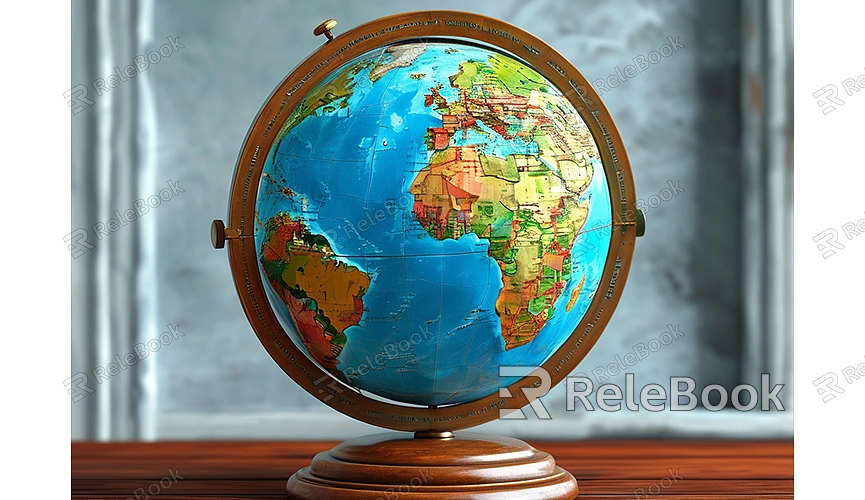
How to Make 3D Model of Earth
Creating a 3D model of Earth is a classic task in 3D modeling, commonly used in film production, game development, and virtual reality. By creating a realistic Earth model, you can showcase the planet's beauty and complexity. This guide will detail the process of making an Earth model in 3D modeling software, from creating the basic shape to adding details and textures.
Choose the Right 3D Modeling Tool
First, you need to select a suitable 3D modeling tool. Blender, Maya, and 3ds Max are all excellent choices. Here, we'll use Blender as an example, as it is a powerful, free, open-source software that caters to various modeling needs.

Create the Basic Model of Earth
To create an Earth model in Blender, follow these steps:
1. Add a Basic Sphere
Open Blender and delete the default cube (press X and confirm deletion). Then, go to the “Add” menu, choose “Mesh,” and select “UV Sphere.” This sphere will serve as the base model for Earth.
2. Adjust Sphere Parameters
In the “Add UV Sphere” dialog box, you can adjust the sphere’s subdivision levels. Increasing the subdivisions makes the sphere smoother but also adds to the computational complexity. It’s generally recommended to use a subdivision level of 20-30 for a good balance.
3. Refine the Model
To make the model more realistic, you can refine the sphere. For example, you might add polar regions or adjust the shape to better match the actual form of Earth.
Add Textures and Materials to Earth
The details of the Earth model largely depend on textures and materials. Next, we’ll add textures to the Earth.
1. Import Earth Textures
To create the Earth model, you need to import high-quality Earth texture images. Typically, Earth textures include surface maps, cloud layers, and terrain height data. These textures can be downloaded from the internet or obtained from texture packs. Ensure the texture resolution is high enough to display clear details.
2. Set Up Materials
Select your Earth model and go to the Material Properties panel. Click “New” to create a new material. In the “Surface” tab, you can add different textures to the model, such as surface textures and cloud textures. Import the downloaded texture images into the material and adjust the UV mapping to ensure the textures cover the Earth’s surface correctly.
3. Adjust Material Settings
To enhance realism, you can adjust the material’s reflection, glossiness, and other settings. Additionally, use the “Shader Editor” to add more material effects like emission and transparency, giving the Earth model more depth and detail.
Add Lighting and Background
To showcase the Earth model effectively, you need to set up appropriate lighting and background. In Blender, adding an ambient light source and a point light source can give the model more depth. Adjust the position and intensity of the lights to create realistic lighting effects.
1. Add an Ambient Light Source
Ambient light simulates natural lighting and helps improve the model’s overall appearance. You can add an ambient light source through the “Add” menu under “Light.” Adjust the light’s position and intensity for the best effect.
2. Set Up the Background
Choosing a suitable background can enhance the rendering results. You can use a simple background or one that includes stars and space to boost the Earth model's visual appeal.
Render the Earth Model
Render the Earth model to produce the final image. In Blender, go to the “Render” menu and select “Render Image.” In the render settings, you can choose the output resolution, image format, and more. Ensure all settings meet your requirements and then start rendering.
Creating a 3D model of Earth is a challenging yet rewarding task. By selecting the right modeling tool, creating the basic model, adding textures and materials, and setting up lighting and backgrounds, you can produce a realistic Earth model. If you need high-quality 3D textures, HDRIs, or 3D models for your projects, you can download them from Relebook and import them directly into your model.

