How to Render 2 Scenes in Blender
When working with Blender, you might need to render multiple scenes simultaneously, which is especially useful for animations or complex projects. This guide will walk you through the process of rendering two scenes in Blender, offering practical tips to help you efficiently complete your rendering tasks.
Setting Up Two Scenes
First, make sure you have created two or more scenes in Blender. Each scene is independent, containing its own objects, lights, and cameras. Here’s how to create multiple scenes:
1. Add a New Scene: Go to the top menu bar in Blender, click on the “Scenes” tab, and then select “New Scene.”
2. Name Your Scenes: Give each new scene a distinct name to make it easier to manage and differentiate.
3. Configure Each Scene: Set up the necessary objects, lights, and cameras in each scene according to your rendering needs.
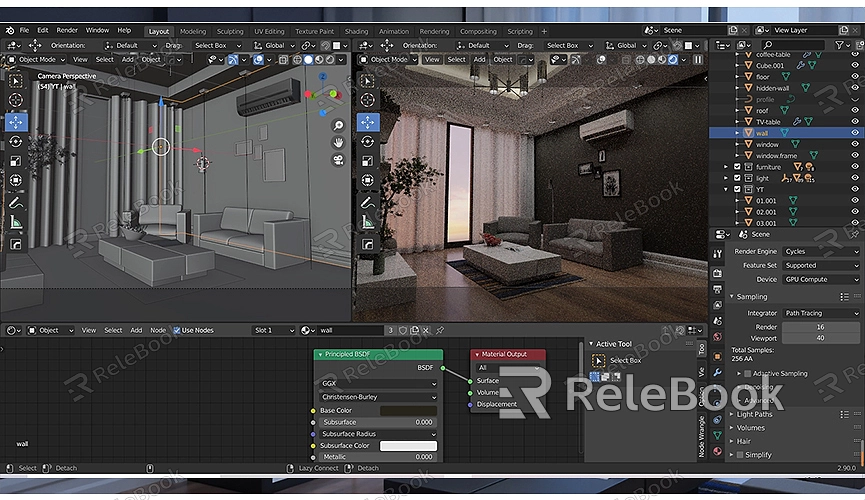
Rendering Settings
Before rendering multiple scenes, you need to configure your rendering settings:
1. Select the Render Engine: Choose an appropriate render engine, such as Cycles or Eevee, from the “Render” tab.
2. Set Output Preferences: In the “Output Properties” panel, configure the output path and format for the rendered results. If you plan to merge the renders from both scenes, select a format that supports image sequences, such as PNG or JPEG.
Rendering Two Scenes
With your scenes set up and rendering settings configured, follow these steps to render:
1. Switch to the First Scene: From the top menu bar, select the scene you want to render first.
2. Start Rendering: Click on “Render” in the menu and choose “Render Image” or “Render Animation” to begin rendering the first scene. Wait for the rendering to complete.
3. Switch to the Second Scene: Once the first scene is rendered, switch to the second scene.
4. Render the Second Scene: Similarly, click “Render” and select “Render Image” or “Render Animation” to render the second scene.
If you prefer not to manually switch scenes during rendering, you can automate the process using Blender's batch processing feature:
1. Use a Script: In Blender’s “Scripting” panel, you can write a Python script to automate rendering. Here’s a simple script example:
```python
import bpy
Define the list of scenes to render
scenes = ['Scene1', 'Scene2']
for scene_name in scenes:
bpy.context.window.scene = bpy.data.scenes[scene_name]
bpy.ops.render.render(write_still=True)
```
2. Run the Script: Save the script as a `.py` file and run it in Blender’s “Scripting” panel. This script will automatically switch scenes and render each one.
Merging Render Results
If you’ve chosen an image sequence format and need to combine the renders from both scenes, use video editing software (like Blender’s built-in Video Sequence Editor):
1. Import Render Results: Import the rendered images or sequences from both scenes into the video editing software.
2. Arrange the Sequence: Place the rendered results on the timeline and adjust the display time for each scene.
3. Export the Video: Once editing is complete, export the final video file.
Improving Render Quality
To achieve better rendering results, consider the following tips:
- Adjust Lighting: Ensure that each scene’s lighting setup is appropriate to enhance rendering quality.
- Optimize Models: Clean and optimize the geometry of your models to reduce render time and improve quality.
- Use High-Quality Textures: High-quality textures and materials significantly improve render results. If you need many high-quality 3D textures, HDRIs, or 3D models for your projects, you can download them from Relebook. After downloading, you can directly import these textures and models into your project.
Rendering multiple scenes in Blender requires a good understanding of scene setup and rendering processes. By setting up multiple scenes, configuring render parameters, and using scripts for automation, you can efficiently complete your rendering tasks. I hope these tips help you successfully render high-quality scenes. For additional resources and support, visit Relebook to find high-quality 3D textures and models that can enhance your projects.
