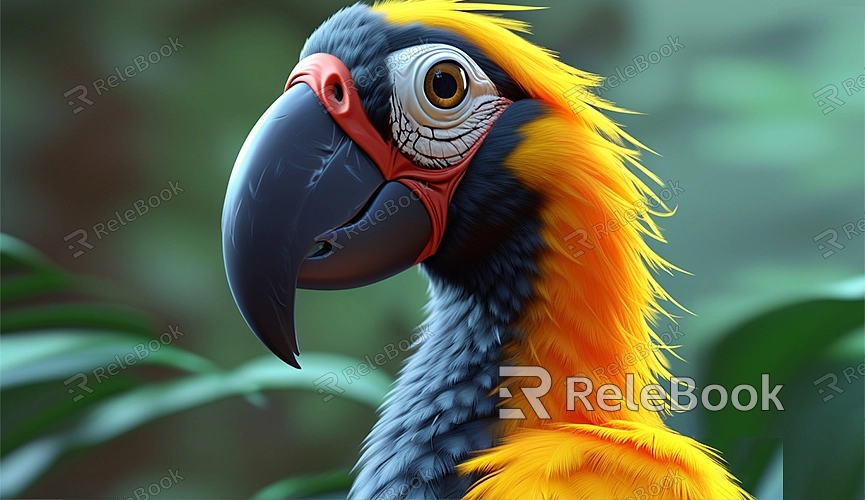
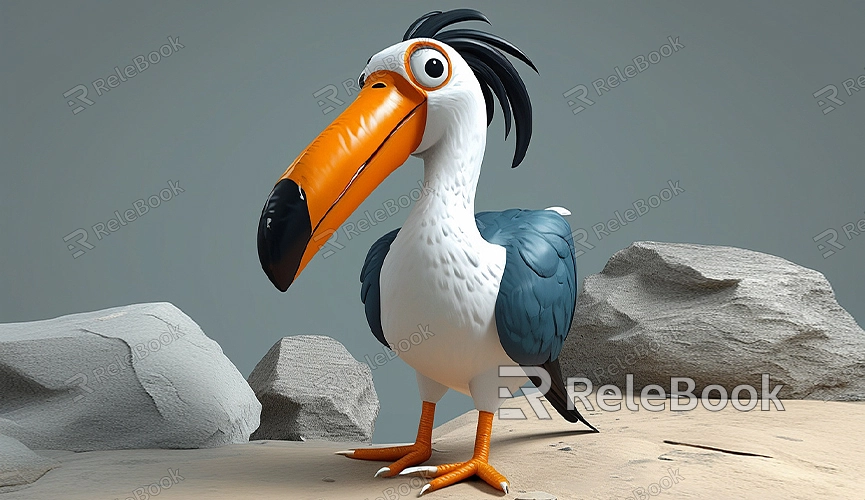
C4D how to make a 3d bird model
Cinema 4D (C4D) is a powerful 3D modeling and animation software widely used in film, games, and advertising. If you want to create a realistic 3D bird model in C4D, the following steps will guide you through the process. From basic modeling to detailed sculpting, this tutorial covers each step in detail.
Preparation
Before starting, ensure you have the latest version of Cinema 4D installed and are familiar with its basic functions. Prepare reference images or sketches of the bird, which will help you accurately create the bird model.

Creating the Base Model
1. Set Up the Work Environment:
- Open Cinema 4D and create a new project.
- Use the standard view to better observe and adjust your model.
2. Import Reference Images:
- Import the bird reference images into the viewport. These images will guide you in maintaining the bird's proportions and details.
3. Modeling:
- Use Basic Shapes: Start with basic geometric shapes like spheres, cylinders, and cubes to build the bird's base shape. For instance, use a sphere for the body, a cylinder for the beak and legs.
- Adjust Shapes: Use the "Scale," "Move," and "Rotate" tools from the toolbar to adjust the size and position of these basic shapes, gradually forming the bird's overall outline.

Detailed Sculpting
1. Add Details:
- Use the Sculpting Tools: Cinema 4D's sculpting tools help you add intricate details to the base model. Select the sculpting tools to add feather textures and other fine details on the bird's body.
- Refine Beak and Feet: Use polygon tools to sculpt the beak and feet in detail, ensuring these parts accurately represent the bird's characteristics.
2. Optimize the Model:
- Smooth Surfaces: Use the "Subdivision Surface" function to add details and make the model's surface smoother. Adjust the subdivision level to find a balance between detail and performance.
- Add Textures: Apply textures and materials to the model to make it more realistic. Cinema 4D offers a rich library of textures and materials that you can choose and adjust as needed.
Rendering Settings
1. Configure Materials:
- In the "Material Editor," create and apply various materials to your bird model. Ensure the material properties (like reflection, transparency, and texture) match the bird's actual appearance.
2. Set Up Lighting:
- Add Light Sources: Place appropriate light sources in the scene to ensure the model is well-lit. You can use point lights, spotlights, or area lights for different lighting effects.
- Adjust Lighting: Modify the intensity, color, and position of the light sources to achieve the desired lighting effect.
3. Choose a Render Engine:
- Cinema 4D supports multiple render engines, including the Standard Renderer and Advanced Renderers like Physical Render. Select one that suits your needs and adjust its settings accordingly.
Rendering and Post-Processing
1. Rendering Settings:
- Configure Render Parameters: In the "Render Settings," select the appropriate resolution and output format. Ensure the render parameters meet your requirements, such as image clarity and file format.
- Render Preview: Perform a preview render to check the model's appearance and lighting effects before the final render.
2. Post-Processing:
- Use Image Editing Software: After rendering, use image editing software (like Photoshop) to further adjust and optimize the rendered image.
- Compositing and Effects: During post-processing, add effects or adjust colors to match your final vision.
Following these steps, you can successfully create a detailed 3D bird model in Cinema 4D. Each step, from basic modeling to detailed sculpting, rendering, and post-processing, is crucial for producing a high-quality model. If you need high-quality 3D textures and HDRIs, or want to download 3D models for creating your scenes, you can find them on Relebook. Simply download and import these textures and models into Cinema 4D to enhance your work.

