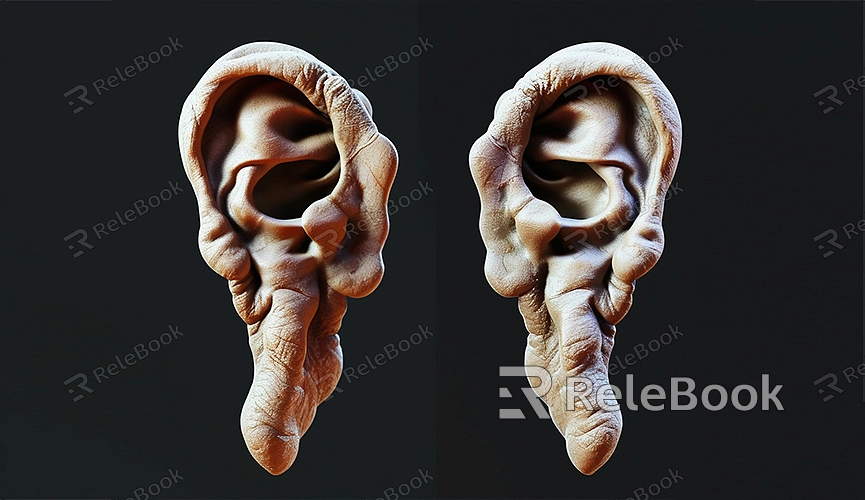
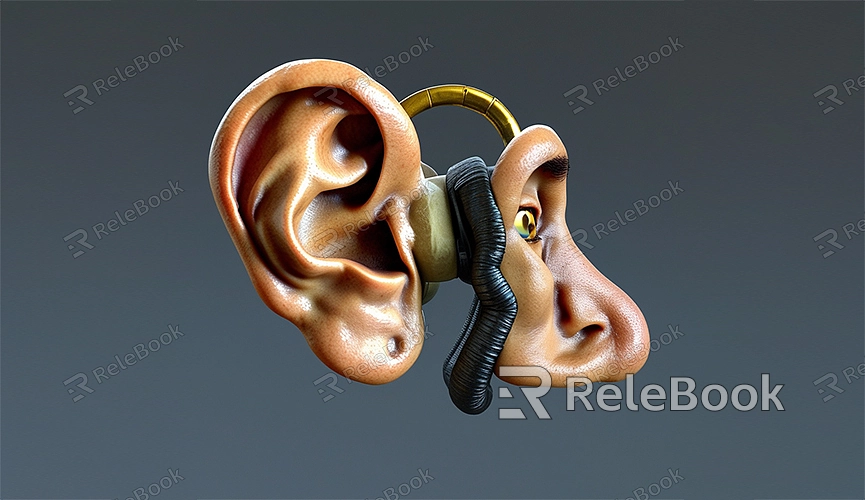
C4D How to Make a 3D Ear Model
In the field of 3D modeling, Cinema 4D (C4D) is a powerful and user-friendly software. This article will guide you through the process of creating a 3D ear model in C4D. This exercise will not only help you become familiar with C4D’s basic tools and operations but also improve your modeling skills.
Preparation
Before starting, ensure that C4D is installed on your computer. If not, you can download and install it from Maxon's official website. Additionally, having some reference images of ears will help you accurately shape and detail the ear model.
Creating the Base Shape
Open C4D and begin by creating a basic shape to serve as the initial model for the ear. You can start with a cube or a cylinder.
1. Select a cube or cylinder from the toolbar and place it in the workspace.
2. Adjust the size of the cube or cylinder to roughly match the proportions of an ear.
Shaping the Base
Using C4D’s modeling tools, gradually shape the base model to outline the ear.
1. Switch to “Point Mode” or “Edge Mode” and use the “Move Tool,” “Scale Tool,” and “Rotate Tool” to modify the shape.
2. Stretch and scale the shape to form the outer contour of the ear.
3. Use the “Knife Tool” to make additional cuts on the model, allowing for more detailed adjustments.
Adding Details
Once the base shape is complete, start adding details to the ear.
1. Use the “Extrude Tool” and “Inner Extrude Tool” to create the ear's outer rim and ear canal.
2. Adjust each part to make it closer to the shape of a real ear.
3. Utilize the “Sculpting Tools” to add fine wrinkles and bumps, making the ear look more natural.
Adjusting Materials
With the basic shape and details in place, it's time to add materials to the ear model.
1. Open the “Material Editor” and create a new material.
2. Add color, reflectivity, and bump maps to the material to make the ear look more realistic.
3. Apply the material to the ear model and adjust the parameters until satisfied.
Lighting and Rendering
To make the ear model look even more realistic, set up lighting and render the scene.
1. Add one or more light sources to the scene to simulate a real lighting environment.
2. Adjust the position and intensity of the lights to highlight the ear's details.
3. Choose appropriate render settings and begin rendering the ear model.
Finishing and Exporting
After rendering is complete, save your 3D ear model and export it in common 3D formats such as OBJ or FBX.
If you need high-quality 3D textures and HDRI, or 3D model downloads when creating models and virtual scenes, you can download them from Relebook. After downloading, you can directly import the textures and 3D models into C4D for immediate use. This not only greatly enhances your work efficiency but also improves the quality and effects of your models. By following the steps in this guide, you should be able to create a detailed 3D ear model in C4D. This exercise is not just a practice but also a start to understanding and mastering the powerful features of C4D.
