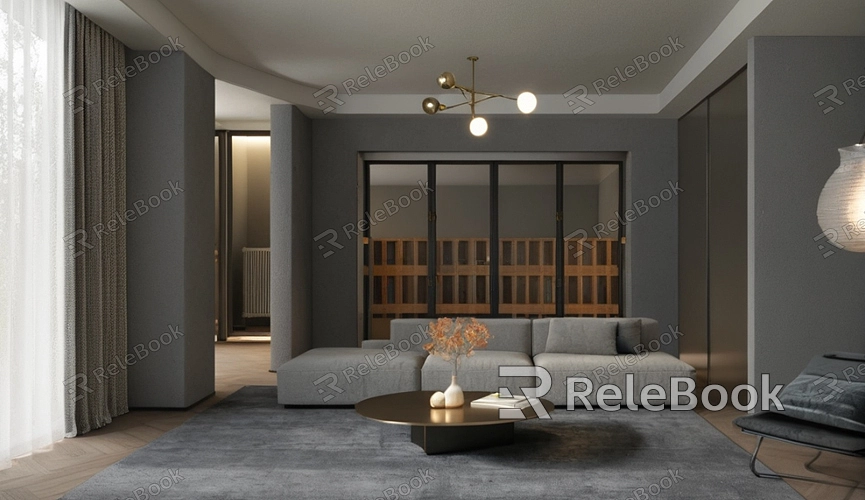
How to Recolor an Entire Model in SketchUp?
In the 3D modeling software SketchUp, the visual design of a model is crucial. The right color and texture can significantly enhance the model's realism and aesthetic appeal. Sometimes, you might need to recolor the entire model to achieve design consistency or style uniformity. This article will guide you through the process of recoloring an entire model in SketchUp, including steps and tips to help you complete the task efficiently.

Preparation
Before starting the recoloring process, make sure your SketchUp model is complete and all groups and components are created. Check if there are any unfinished parts or issues that need fixing to avoid problems during recoloring. Organize your model and save your work to prevent data loss during the process.
Select the Entire Model
The first step in recoloring is selecting the model you want to change the color of. You can choose the entire model using the following methods:
1. Using the Select Tool: Click the “Select” tool and drag a box around the area you want to change color. If your model is a single entity, you can click anywhere on the model to select it.
2. Using keyboard shortcuts: Press “Ctrl+A” (on Windows) or “Command+A” (on macOS) to select the entire model. This ensures that all components and groups are selected.
Open the Materials Panel
Once you’ve selected the model, the next step is to open the “Materials” panel, where you will change the color. You can find the “Materials” panel in the right-side toolbar; click it to open. The Materials panel contains various color and texture options.

Apply the New Color
In the Materials panel, you can choose a new color to apply to the entire model. Here are the steps:
1. Choose a Color: In the “Materials” panel, click the “Edit” button to select a color you want to apply. If you don’t find a suitable color, click the “Create” button to customize a color.
2. Apply the Color: Once you have selected the color, click the “Paint Bucket” tool. Then click on any part of the model to apply the new color. Ensure that the model is fully selected before applying the color to avoid uneven application.
Check and Adjust
After applying the color, carefully inspect each part of the model. Ensure that the color is evenly displayed across all areas. Sometimes, color appearance can vary due to different lighting conditions, so it’s a good idea to view the model from various angles.
Adjust the Color: If the color doesn’t meet your expectations, reopen the “Materials” panel, choose a different color, or adjust the color settings until you’re satisfied.
Save and Export
Once you’re happy with the color result, save your work. In SketchUp, remember to save your work frequently to avoid data loss. You can choose “File” > “Save” to save your model. If you need to export the model to other formats, select “File” > “Export” to save it in different file types.
Recoloring an entire model in SketchUp is a relatively straightforward process, but attention to detail is key. By selecting the entire model, opening the Materials panel, applying a new color, and checking and adjusting the color effect, you can efficiently complete the task. Be sure to save your work and adjust the color or texture as needed to meet your design requirements. For more 3D models and texture resources, visit Relebook and download a variety of high-quality 3D models and textures to enhance your designs.
FAQ
Why isn’t the color applied evenly across the entire model?
This might be because some parts of the model were not selected. Ensure that you have selected the entire model before applying the color, and check if there are any hidden groups or components that were not selected.
How can I change the color of specific parts of the model instead of the entire model?
If you want to change the color of only certain parts of the model, first use the select tool to choose the parts you want to change, and then apply the color. This way, you can adjust specific areas of the model individually.
The texture disappeared after applying the new color; what should I do?
Applying a new color may overwrite the model’s texture. If you want to keep the texture, you can choose the “Texture” option in the Materials panel and apply it to the model. In this case, you might need to make additional adjustments to reapply the texture and color.

