How to Render a Minecraft World in Blender
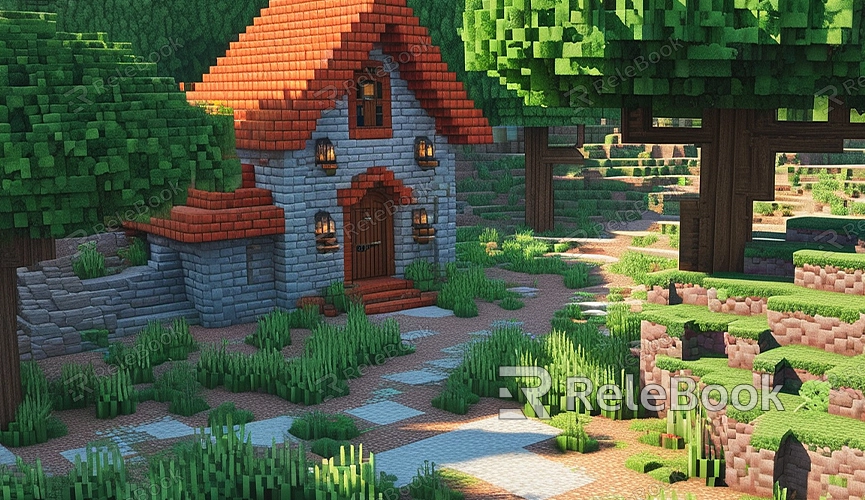
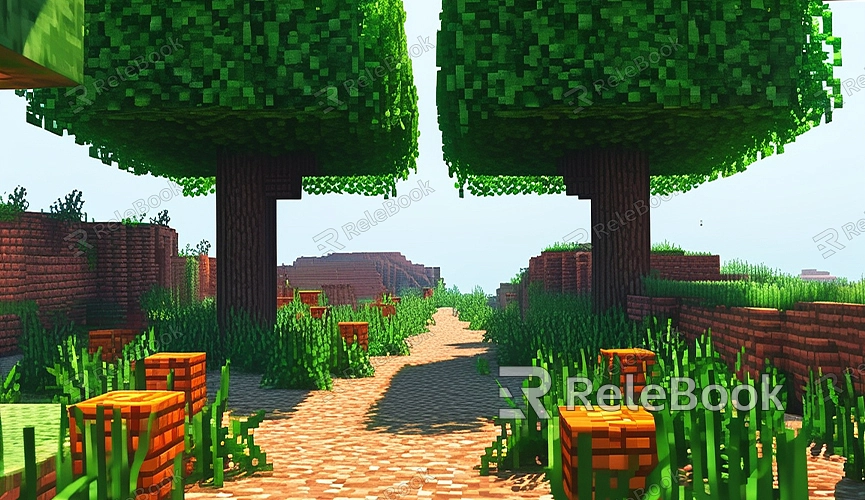
Minecraft is a highly popular sandbox game where players can create various structures and landscapes. Many players want to showcase their creations with high-quality renders beyond just viewing them in-game. Blender, a powerful 3D modeling and rendering software, can help you achieve this goal. In this article, we will detail how to render a Minecraft world in Blender, making your creations more vivid and realistic.
Preparation
Before you start rendering, ensure that you have Blender installed and a tool called Mineways downloaded, which helps export Minecraft worlds into a format that Blender can recognize. Make sure your Minecraft world is saved and you know its storage location.

Exporting the Minecraft World
First, open Mineways and import your Minecraft world. You can select the area you want to export on the map, then click on the “File” menu and choose the “Export for Rendering” option. In the export settings, select the OBJ format and save the file.
Importing into Blender
Next, open Blender and import the OBJ file you just exported. In Blender’s “File” menu, find the “Import” option and select the “Wavefront (.obj)” format. Locate your exported file and click import.
After importing, you will see your Minecraft world appear in Blender’s 3D view. Adjust the perspective, lighting, and materials as needed for rendering.
Setting Materials and Lighting
To make your Minecraft world more realistic and vivid, you need to set up materials and lighting. Blender offers a very flexible material and lighting system that you can adjust as needed.
First, select an object and enter the material editor. In the material editor, you can adjust parameters like color, reflectivity, and texture to make your object look more realistic. You can set different materials for each type of block or use a unified material to simplify the work.
Next, set up the lighting. You can add a sunlight source to simulate natural light or use point lights and spotlights to create more complex lighting effects. Adjust the position, intensity, and color of the lights to make your scene look more realistic.

Render Settings
In Blender, render settings are crucial as they determine the final image’s quality and effect. Enter the render settings panel and choose the appropriate render engine. Blender includes several render engines, including Eevee and Cycles, with Cycles providing more realistic lighting effects.
In the render settings, you can adjust the resolution, sampling rate, ray tracing, and other parameters. Depending on your hardware configuration and needs, choose suitable parameters to balance render speed and quality.
Start Rendering
Once everything is set, you can start rendering. Click the render button, and Blender will begin computing and generating the final image. This process may take some time, depending on the scene’s complexity and your render settings.
Post-Processing
After rendering is complete, you can do post-processing to further enhance the image. Blender has a powerful compositor where you can perform color correction, add effects, and more. You can also export the image to other image processing software for further editing.
Through this guide, you should now understand the basic steps to render a Minecraft world in Blender. By setting up proper materials and lighting and using high-quality render parameters, you can showcase your Minecraft creations more vividly and realistically. If you need high-quality 3D textures and HDRIs, or 3D model downloads while creating models and virtual scenes, you can download them from Relebook. After downloading, you can directly import these textures and 3D models into Blender for immediate use.

