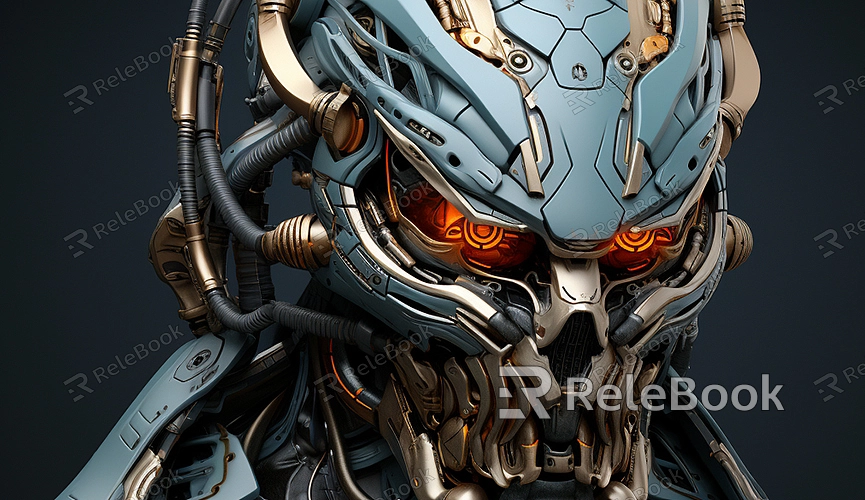
How to Create Character Models in Maya
Character modeling in Maya involves multiple steps and techniques. To become proficient in Maya, it's recommended to practice extensively. Maya comes equipped with a variety of tools that not only allow for the creation of complex 3D models and virtual scene models but also showcase powerful capabilities in modeling various characters, animals, plants, and more. Below is a simple guide to character modeling in Maya that you might find helpful.

1. Familiarize Yourself with Human Anatomy: Before diving into modeling, understanding the structure and proportions of the human body is crucial. This includes knowledge of the skeleton, muscles, fat layers, and other components.
2. Create Basic Shapes: Utilize Maya's geometry tools (such as spheres, cylinders, cubes, etc.) to build the basic shapes of the human body, including the head, torso, limbs, etc. Combine these basic shapes to achieve more complex structures.
3. Edit Geometry: Use tools like "Edit Mesh," "Polygon," or "Subdivision Surface" to modify the shape of objects and make them more closely resemble the human form. This may involve operations like moving vertices, edge loops, extruding faces, etc.
4. Plan Topology: Topology planning is a key step in modeling, determining the model's smoothness, deformability, and animation effects. Ensure that topology considerations are taken into account throughout the modeling process.
5. Add Details: Use sculpting tools and other modeling techniques to add more details, such as facial features, wrinkles, skin texture, and other intricate elements.
6. Materials and Textures: Assign appropriate materials to your model and apply texture maps to enhance realism.
7. Set Joints and Skeleton System: If you intend to create animations, set up an appropriate skeleton system, bind it to the model, and assign proper weights to each joint.
8. Test Animation: Conduct simple animation tests to check if the skeleton system works smoothly and if there are any unnatural movements during the model's motion.
9. Rendering and Post-Processing: Render the scene and use Photoshop or other image editing software for post-processing, such as color correction and special effects compositing.
10. Save and Export: Lastly, save your work regularly and export the model in different file formats, such as .fbx or .obj, as needed for use in other software.

