How to Add Textures in AutoCAD 3D?
Understanding the Basics of Texturing in AutoCAD 3D
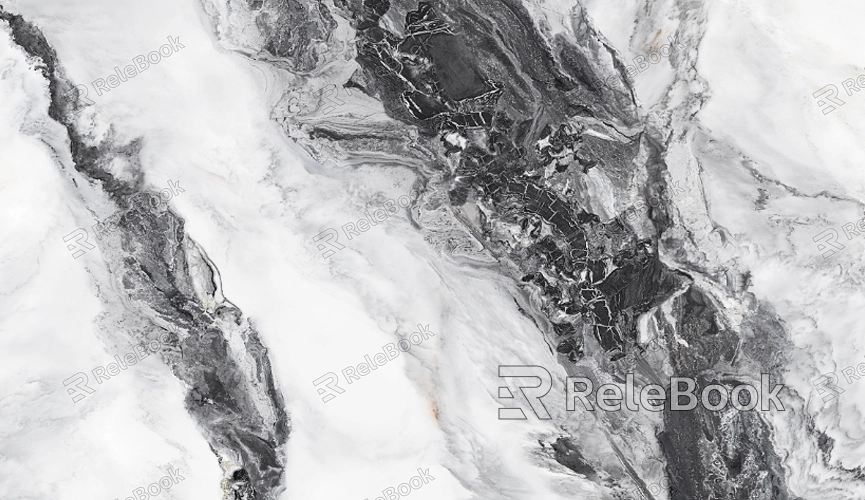
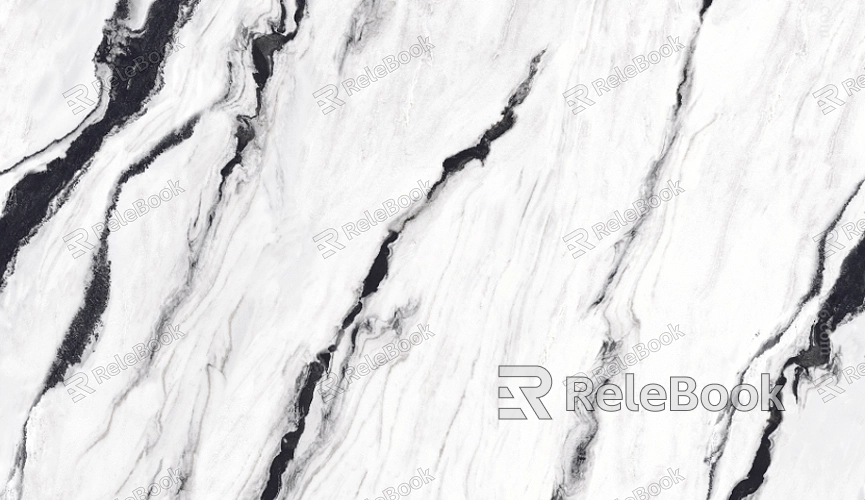
Before diving into the process of adding textures, it's important to understand what textures are and how they function in the context of 3D modeling. In simple terms, a texture is an image applied to the surface of a 3D model to give it color, detail, and depth. Textures can simulate various materials like wood, metal, fabric, or stone, making the model appear more realistic. AutoCAD allows users to apply both predefined materials and custom textures to 3D objects.
Textures in AutoCAD are managed through the Materials Library, where you can access a wide range of materials, each with its texture. You can also create custom materials by importing texture images and adjusting their properties to suit your specific needs. The key to effective texturing is understanding how textures map onto the surfaces of 3D objects, which involves controlling the scale, orientation, and placement of the texture.
Preparing Your 3D Model for Texturing
The first step in adding textures to a 3D model is ensuring that your model is properly prepared. This involves a few key steps:
1. Clean up your geometry
Before applying textures, make sure your 3D model is clean and free of unnecessary geometry. Remove any overlapping or intersecting faces, as these can cause issues when applying textures.
2. Scale your model
Ensure that your model is scaled correctly. Textures will map onto the surface of your model based on its dimensions, so it’s important to have the right proportions.
3. Organize your model
Group or separate different parts of your model based on the materials or textures you plan to apply. This will make the texturing process more efficient and manageable.
Once your model is ready, you can begin the process of applying textures.
Applying Predefined Textures from the Materials Library
AutoCAD’s Materials Library comes with a wide selection of predefined materials that you can apply directly to your 3D models. Here’s how to apply these textures:
1. Open the Materials Browser
In the AutoCAD interface, go to the ‘Render’ tab and click on the ‘Materials Browser’ button. This will open the Materials Library, where you can browse through various predefined materials.
2. Select a material
Browse through the categories or use the search function to find the material that best suits your needs. Each material comes with its texture, which is automatically applied when you assign the material to your model.
3. Assign the material to your model
To apply a material, simply drag and drop it onto the part of the model you want to texture. You can also use the ‘Apply Material’ button to select specific objects or faces.
4. Adjust the material properties
Once the material is applied, you can fine-tune its appearance by adjusting properties such as reflectivity, transparency, and texture scale. These adjustments can be made in the Materials Editor, accessible from the Materials Browser.
This method is straightforward and ideal for quick applications, especially when the predefined textures meet your requirements.
Creating and Applying Custom Textures
Sometimes, predefined materials may not be sufficient for your design needs. In such cases, you can create custom textures by importing images and applying them to your model. Here’s how:
1. Import your texture image
First, you need a texture image, which can be a photograph or a creation. The image should be in a format that AutoCAD supports, such as JPEG, PNG, or BMP. Save this image in a directory that is easily accessible.
2. Create a new material
Open the Materials Browser and click on ‘Create New Material.’ This will open the Materials Editor, where you can start defining your custom material.
3. Assign the texture image
In the Materials Editor, go to the ‘Appearance’ tab and locate the ‘Image’ option under ‘Diffuse Map.’ Click on the folder icon and browse to the location of your texture image. Select the image and it will be applied to the material.
4. Adjust texture properties
You can now adjust the properties of your custom material. This includes the texture scale, which controls how the texture is mapped onto the surface, as well as properties like bump mapping for added depth.
5. Apply the custom material
Once your material is ready, you can apply it to your model in the same way you would apply a predefined material. Use the drag-and-drop method or the ‘Apply Material’ button to assign the material to specific objects or faces.
Creating and applying custom textures allows for greater creativity and control, enabling you to achieve the exact look you want for your 3D model.
Fine-Tuning and Rendering Your Textured Model
After applying textures, it’s important to review and fine-tune your model to ensure that the textures look as intended. Here are some steps to consider:
1. Check texture alignment
Examine your model closely to ensure that the textures are aligned correctly. Look for any stretching, tiling, or misalignment that may need adjustment.
2. Adjust texture mapping
If you notice any issues with texture alignment, you can use the ‘Texture Mapping’ tool to adjust how the texture is applied. This tool allows you to control the orientation, scale, and placement of the texture on each surface.
3. Preview the model in different lighting
Lighting plays a crucial role in how textures appear. Use the ‘Render’ tab to preview your model in different lighting conditions, and adjust the texture properties as needed to achieve the desired effect.
4. Render the model
Once you’re satisfied with the texture application, you can render the model to create a high-quality image or animation. Use the ‘Render’ command in AutoCAD to set up the rendering parameters, such as resolution, lighting, and output format.
Rendering allows you to see how the textures interact with light and shadows, giving you a realistic preview of your final model.
Troubleshooting Common Texturing Issues
Texturing in AutoCAD can sometimes be challenging, especially when dealing with complex models. Here are some common issues you might encounter and how to resolve them:
1. Texture not appearing
If your texture isn’t showing up on the model, make sure that the material is correctly applied and that the texture image is in the correct file format and location.
2. Texture stretching or tiling
If the texture appears stretched or tiled incorrectly, check the texture scale and mapping settings. You may need to adjust the UV mapping to correct these issues.
3. Rendering artifacts
If you notice artifacts or glitches in your rendered image, check your model for overlapping faces or incorrect geometry. Simplifying your model and adjusting the rendering settings can also help resolve these issues.
By addressing these common problems, you can ensure that your textures look their best in your final model.
FAQ
Can I use any image as a texture in AutoCAD?
Yes, you can use any image as a texture, provided it is in a supported format such as JPEG, PNG, or BMP. The image should be high resolution for the best results.
How do I scale a texture in AutoCAD?
You can scale a texture by adjusting the texture scale in the Materials Editor. This controls how large or small the texture appears on the surface of your model.
What is UV mapping, and why is it important?
UV mapping is the process of projecting a 2D image (the texture) onto a 3D model. It’s important because it determines how the texture aligns with the model’s surfaces, affecting the final appearance.
Can I apply multiple textures to a single object in AutoCAD?
Yes, you can apply different textures to different faces of a single object by selecting the faces individually and assigning different materials to them.
Why does my texture look pixelate when I render my model?
Pixelation can occur if the texture image is low resolution. To avoid this, use high-resolution images and ensure that the texture scale is appropriate for the model size.
