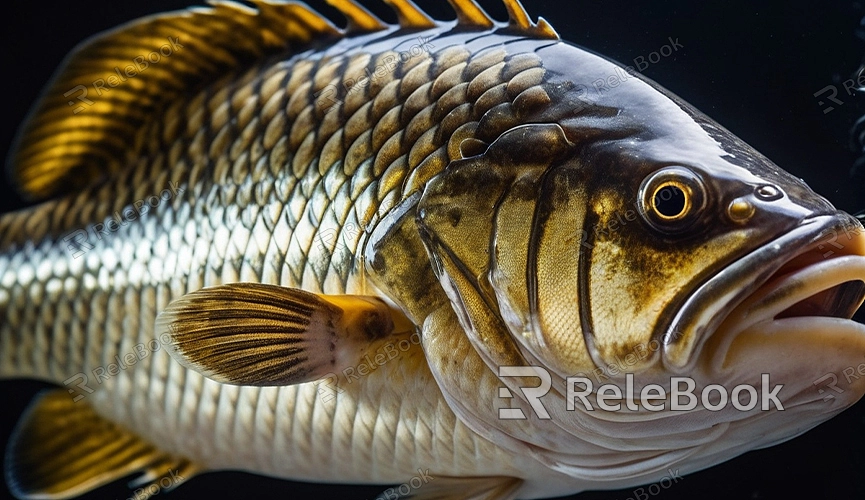
C4D How to Make a 3D Fish Model
Creating a 3D fish model is a common task for 3D designers working on virtual water scenes or animations. Cinema 4D (C4D), a powerful 3D modeling and animation software, offers a variety of tools and features to help accomplish this task. This article will guide you through the process of making a 3D fish model in C4D, including modeling, adding details, and rendering, enabling you to create a realistic 3D fish model.

Basic Modeling
The first step in making a 3D fish model is basic modeling. C4D provides numerous modeling tools to help you create the basic shape of a fish.
1. Create the Basic Shape: Open C4D and start a new project. From the menu bar, choose “Object,” then select “Cube” or “Sphere” as the base shape for the fish body. A sphere is often more suitable as it closely approximates the natural contours of a fish.
2. Adjust the Shape: Select the “Select Tool,” then enter “Point Mode” or “Edge Mode” to start adjusting the base shape. Use the “Scale” tool to stretch and reshape the sphere, making it more fish-like. Adjust in the viewport to ensure a natural, smooth outline.
3. Refine the Model: Use the “Extrude” and “Knife” tools to add details to the model. For example, use the extrude tool to create the shapes of the fins and tail, and use the knife tool to add more segments, making the model more detailed.
Adding Details
After completing the basic modeling, the next step is to add details to make the fish model look more realistic and layered.
1. Create Fins: Select the fish body, enter “Polygon Mode,” and then select the polygons on the body. Use the “Extrude” tool to create the fins. Adjust the shape and size of the fins as needed to ensure they align with the overall design of the fish.
2. Add a Tail: Use the “Extrude” and “Scale” tools to create the fish tail. Consider using the “Spline” tool to create a more natural tail shape. Refine the tail details to ensure a smooth connection with the fish body.
3. Detail Refinement: Use the “Smooth” tool to smooth out the surface of the model, making it look more natural. Increase the segment count of the model to improve detail, ensuring each part of the fish conforms to a natural form.
Texturing and Materials
Adding textures and materials to the fish model is key to making it more realistic. C4D offers powerful material editing features that allow you to create various texture effects easily.
1. Create Materials: In the material panel, create a new material. Adjust the color, reflectance, and glossiness of the material to set the surface effect of the fish body. Choose suitable textures based on the type and color of the fish.
2. Apply Textures: In the “Texture” tab, select “Add Texture” and import the appropriate texture maps. You can use pre-made fish skin textures or customize texture patterns as needed. Apply the texture to the fish model and adjust the scale and position to match the shape of the fish body.
3. Set Up UV Mapping: UV mapping is the process of correctly applying texture maps to a 3D model. In C4D, use the “UV Unwrap” tool to adjust the UV mapping of the fish model, ensuring the texture displays naturally on the model.
Rendering Setup
Rendering is the key step to showcase your 3D fish model's final effect. C4D offers various rendering settings to help you achieve high-quality render results.
1. Set Up the Camera: Add a camera to the scene and adjust its angle and position to get the best view. Ensure the camera is focused on the fish model and choose appropriate lens settings to highlight the model's details.
2. Adjust Lighting: Add suitable light sources to illuminate the fish model, ensuring even and natural lighting. Use “Point Lights” or “Area Lights” to simulate realistic lighting effects and adjust the intensity and position of the light sources.
3. Choose Render Settings: In the render settings panel, choose the appropriate render engine and output resolution. Adjust the render quality settings to achieve the best render effect as needed. Choose the “High Quality Render” option to ensure the final image's clarity and detail.
Creating a 3D fish model involves starting with basic modeling, gradually adding details, setting up materials and textures, and finally rendering. Cinema 4D's powerful tools and features can help you accomplish these steps with ease, resulting in a realistic 3D fish model.
If you need high-quality 3D textures and HDRIs or 3D model downloads for creating models and virtual scenes, you can download them from Relebook. After downloading, you can directly import the textures and 3D models into your projects for use.

