How to Add Texture to a 3D Object in Blender?
Preparing Your 3D Model for Texturing
Before applying textures, it is important to properly prepare your 3D model. This preparation involves ensuring that your model has clean geometry, proper UV mapping, and is free from unnecessary complexity that could complicate the texturing process.
1. Clean Geometry
Start by checking the geometry of your model. Ensure that there are no overlapping vertices, non-manifold edges, or other geometric errors that could affect the texture application. Use Blender’s built-in tools, such as "Merge by Distance" and "Check for Degenerate Geometry," to clean up your model.
2. UV Unwrapping
UV mapping is the process of projecting a 2D image (texture) onto a 3D model. For texturing to work effectively, your model needs to be UV unwrapped correctly. To unwrap your model, select it in Object Mode, switch to Edit Mode, and press U to bring up the UV mapping options. Choose "Smart UV Project" for automatic unwrapping or "Unwrap" for manual control. Proper UV unwrapping ensures that the texture aligns correctly with your model’s geometry.
3. Simplify and Optimize
If your model is too complex, consider simplifying it by reducing the number of polygons. This can be done using the Decimate Modifier or manually by merging vertices. An optimized model not only makes texturing easier but also improves performance when rendering or using the model in real-time applications.
Applying a Base Material
Once your model is ready, the next step is to apply a base material, which acts as a foundation for the textures you will add later. In Blender, materials define the appearance of your object, including its color, reflectivity, and other surface properties.
1. Creating a New Material
To create a new material, select your object and navigate to the Material Properties panel on the right side of the screen. Click the "New" button to create a new material. You can name the material something descriptive, like "Base_Material," to keep things organized.
2. Adjusting Material Properties
With the new material created, you can now adjust its properties. The most basic property is the "Base Color," which determines the color of the material. You can either choose a solid color or connect a texture image to this property. Additionally, you can tweak other properties like "Roughness," "Metallic," and "Specular" to define how light interacts with the surface of your model.
Adding Textures
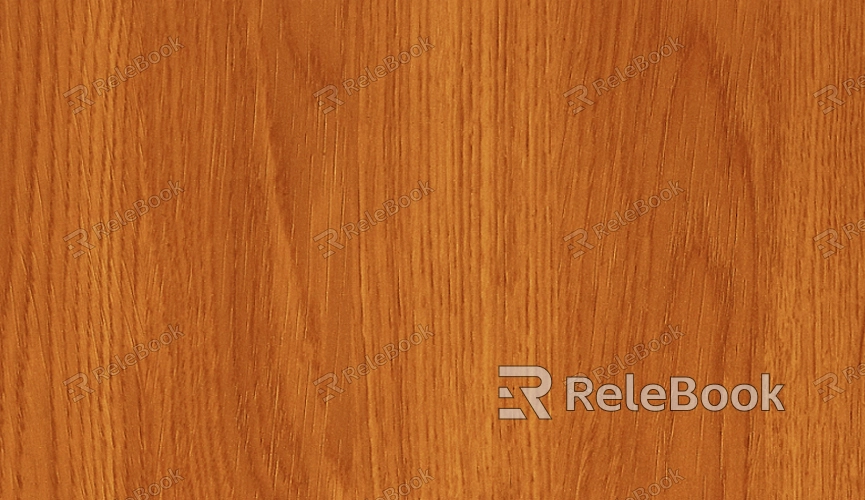
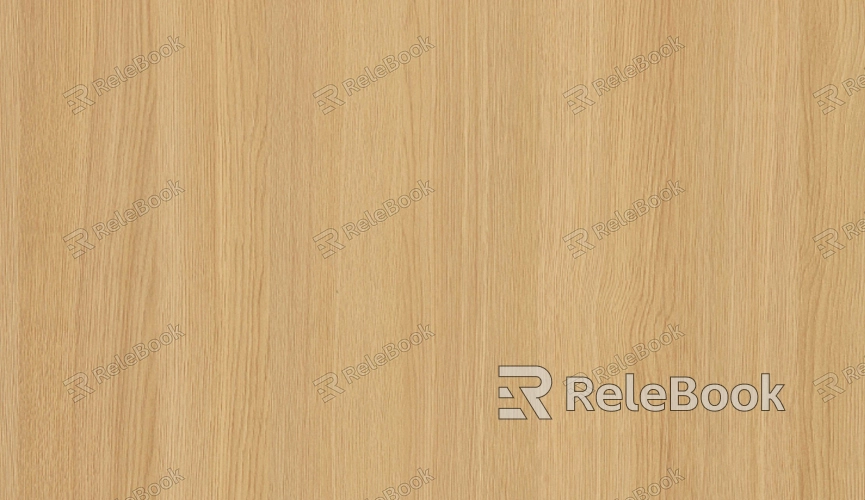
Textures are images that are mapped onto the surface of your 3D model to create detailed appearances such as wood grain, fabric patterns, or metallic surfaces. Blender allows you to apply different types of textures, including color, bump, normal, and specular maps, each contributing to the final look of your model.
1. Adding a Color Texture
The most common type of texture is a color texture, which gives your model its primary visual detail. To add a color texture, go to the Shader Editor (Shift + F3) and ensure that your material node setup is visible. Add an "Image Texture" node (Shift + A > Texture > Image Texture) and connect it to the "Base Color" input of the "Principled BSDF" shader. Load your desired texture image into the "Image Texture" node by clicking "Open" and selecting the image file.
2. Adding Bump and Normal Maps
Bump and normal maps are used to simulate surface details such as scratches, grooves, and other fine details without adding extra geometry. To add a bump map, insert a "Bump" node (Shift + A > Vector > Bump) and connect it between the "Image Texture" node and the "Normal" input of the "Principled BSDF" shader. For normal maps, use a "Normal Map" node (Shift + A > Vector > Normal Map) instead of a "Bump" node and connect it similarly.
3. Specular and Roughness Maps
Specular and roughness maps control the shininess and roughness of your model’s surface. To add these maps, create additional "Image Texture" nodes for each map and connect them to the corresponding inputs on the "Principled BSDF" shader. Specular maps are connected to the "Specular" input, while roughness maps are connected to the "Roughness" input. These maps help you achieve realistic reflections and surface variations.
Fine-Tuning and Rendering
After applying your textures, the next step is to fine-tune your material settings and prepare your model for rendering. This stage involves adjusting texture scaling, mapping coordinates, and refining material properties to ensure everything looks perfect.
1. Scaling and Mapping Textures
If your texture appears stretched or misaligned, you may need to adjust its scaling or mapping. This can be done using the "Mapping" node (Shift + A > Vector > Mapping) in conjunction with the "Texture Coordinate" node (Shift + A > Input > Texture Coordinate). The "Mapping" node allows you to scale, rotate, and translate your texture on the model’s surface, giving you precise control over its appearance.
2. Adjusting Material Properties
Take some time to tweak the material properties based on how the textures interact with the lighting in your scene. Adjust the roughness, specular, and other properties until you achieve the desired look. You can also experiment with different lighting setups in Blender to see how your textured model reacts under various conditions.
3. Rendering Your Model
Once you’re satisfied with the texture application, it’s time to render your model. Switch to the "Rendered" view (Z > 8) to preview how your model will look in the final render. Make any last-minute adjustments, and then render the scene by pressing F12. You can save the rendered image by going to Image > Save As in the Render Result window.
Texturing is an essential skill in 3D modeling that adds depth, realism, and character to your creations. By following the steps outlined in this guide—preparing your model, applying a base material, adding textures, and fine-tuning your settings—you can create stunning 3D models that stand out. Whether you’re a beginner or an experienced artist, mastering texturing in Blender will significantly enhance the quality of your work. To further elevate your 3D projects, download high-quality models and textures from Relebook and take your designs to the next level.
FAQ
Why does my texture look stretched or distorted on my model?
This usually occurs due to improper UV unwrapping. Ensure that your model is unwrapped correctly by adjusting the UV islands in the UV Editor to fit your texture properly.
How can I make my textures look more realistic?
Using high-resolution textures, applying normal or bump maps, and fine-tuning material properties like roughness and specular can enhance the realism of your textures.
Can I use multiple textures on a single object?
Yes, you can use multiple textures by creating different materials for each part of the object or by using texture masks to blend different textures.
What is the difference between a bump map and a normal map?
A bump map uses grayscale values to simulate surface depth, while a normal map uses RGB colors to provide more detailed surface information, resulting in more accurate and realistic surface details.
How do I apply a texture to a specific part of my model?
You can assign a separate material to specific parts of your model by selecting the geometry in Edit Mode and assigning it a new material slot. Alternatively, you can use texture painting to apply textures directly to specific areas.
