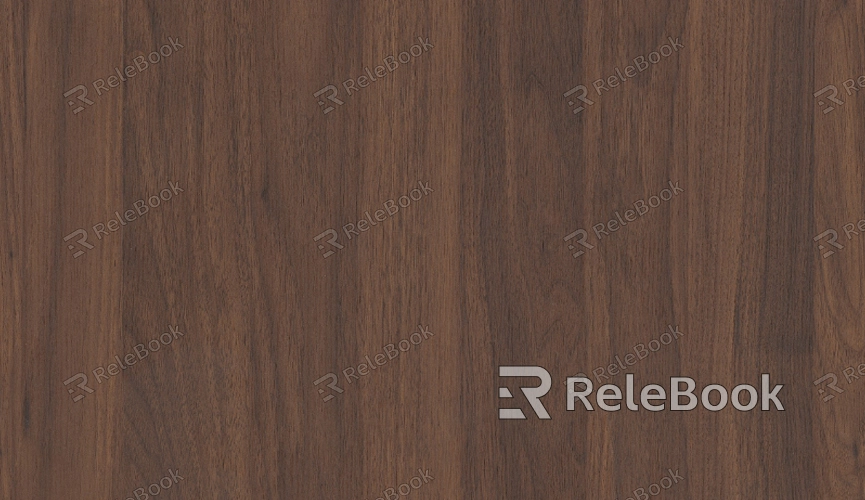
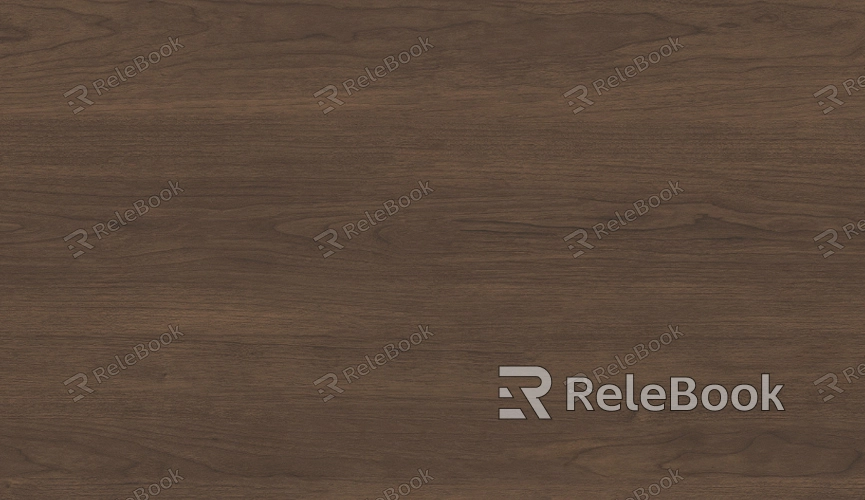
How to Draw Wood Texture Simply?
Wood textures are commonly used in a variety of artistic projects, whether you're creating an interior design sketch, a landscape painting, or an art piece. The texture of wood, with its distinct grain patterns, knots, and uneven surfaces, adds richness and depth to any composition. In this article, we'll explore the techniques for drawing a simple yet realistic wood texture, breaking down the process into easy steps. By the end, you'll be able to replicate this natural texture with ease and accuracy.

Understanding the Basics of Wood Texture
Before diving into drawing, it's important to understand what makes up the texture of wood. Wood comes from trees and has unique features like grains, rings, and imperfections such as knots. The wood grain varies depending on the type of tree and how the wood is cut. These elements give wood its organic and irregular look.
The first step to drawing wood is to observe these elements closely. Whether you're working from a reference image or life, study how the grains run through the wood, how light plays across the surface, and the irregularities that make each piece of wood unique.
Gathering Your Tools and Materials
You don’t need many fancy tools to draw wood textures. Depending on your preferred medium, you can use simple pencils, charcoal, or tools. Here's what you'll need:
Pencils (preferably ranging from 2H to 6B for varying shades)
Erasers (both regular and kneaded)
Blending stumps or tortillons for shading (optional)
A reference image or piece of wood for accurate detailing (optional)
For designers, programs like Photoshop or Procreate offer brushes that mimic textures, but you can still achieve a realistic effect by adjusting the opacity and pressure sensitivity of your pen.

Drawing the Basic Outline of the Wood
Start by sketching the basic shape of the wood you want to draw. This could be a piece of planking, a log, or even just a small wooden object. At this stage, don’t worry too much about details. Simply establish the outline and any prominent features like edges or borders.
Focus on the main flow of the grain—wood typically has long, flowing lines that run in the direction of the wood’s growth. If you're drawing a log, remember that the grain may have circular patterns around the growth rings. Keep your lines light and loose, allowing for adjustments later.
Creating the Wood Grain Texture
Once the basic shape is in place, begin adding the wood grain texture. This step can take some patience as it involves a repetitive process of layering.
Start with light, thin pencil strokes to indicate the direction of the grain. Follow the natural flow of the grain, ensuring your strokes mimic the uneven, curving nature of wood. The key here is subtlety. The grain should not be overly defined at this stage but should suggest direction and flow.
As you continue, gradually add more layers of shading and darker strokes to indicate the depth and variation in the grain. The closer you get to the edges or knots of the wood, the darker and more pronounced the grain should appear.
Adding Shadows and Depth
To make your wood texture look three-dimensional, shading is crucial. Wood is not a flat surface, and light interacts with it in complex ways. Use the following techniques to add depth:
Observe where the light source in your drawing is coming from. The side of the wood facing the light will be brighter, while the opposite side will be darker.
Use a softer pencil (like 4B or 6B) to deepen the shadows. Apply the shading gradually and blend it lightly with a blending stump or your finger to create smooth transitions between light and dark areas.
For additional realism, make sure the grain shading follows the flow of the wood. This helps maintain the natural look of the texture.
Detailing the Knots and Imperfections
No piece of wood is perfect, and neither should your drawing be. Wood has natural imperfections, including knots, cracks, and variations in grain. These details are what make wood textures feel alive and authentic.
To add knots, draw circular or irregular shapes within the grain lines. These can be darker or lighter than the surrounding wood, depending on the light source. The key to drawing knots is to make them look integrated into the texture rather than separate from it.
For cracks or other imperfections, use sharp, irregular lines that break the smooth flow of the wood grain. These can be deeper than the surrounding grain, so don't hesitate to use a darker pencil for emphasis.
Refining the Texture
Once you’ve added the basic details, it's time to refine your drawing. Go over the texture to ensure that the shading is smooth and the grain flows naturally. If needed, lighten areas with an eraser to create highlights, especially where light would naturally catch the wood’s surface.
A kneaded eraser can be particularly helpful for lifting some of the graphite in areas where you want a more subtle light reflection. You can also use it to add small highlights along the wood grain for extra realism.
Enhancing the Texture with Color (Optional)
While this guide focuses on drawing with pencil, you can enhance the texture of wood by adding color. Colored pencils, watercolors, or markers can be used to bring out the natural hues of wood. Depending on the wood you’re trying to replicate, you might use browns, reds, yellows, or even grays to mimic the look of different wood types.
For instance, a light oak wood might require softer yellows and browns, while a darker mahogany would need deep reddish-brown tones. Layer your colors in thin washes to avoid making the drawing look too flat.
Final Touches and Detailing
The final step is to take a step back and evaluate your drawing as a whole. Look for areas where the texture could be enhanced or refined, such as adding finer details to the grain or adjusting the depth of the shadows. Consider the composition of the wood texture in relation to the entire piece, ensuring that it adds to the overall aesthetic of the drawing.
The more time you spend refining and adjusting, the more realistic your wood texture will appear. The key to mastering this technique is practice and patience.
Drawing wood textures can be a satisfying and rewarding skill to develop. By carefully observing the natural characteristics of wood and applying techniques like layering, shading, and adding imperfections, you can create lifelike wood textures in your drawings. Whether you're creating a rustic scene or simply exploring different textural techniques, mastering wood texture will elevate your artwork to new levels.
If you’re looking to expand your library of textures and models, don’t forget to check out Relebook for 3D models and textures that can enhance your projects even further!
FAQ
What is the best pencil to use for drawing wood textures?
For a realistic wood texture, a range of pencils from 2H to 6B works well. Lighter pencils (like 2H or H) are great for sketching the basic lines and grain patterns, while darker pencils (4B or 6B) are ideal for shading and adding depth.
How can I make the wood grain look more realistic?
To make the wood grain look realistic, focus on smooth, flowing lines that mimic the natural curves and irregularities of the grain. Layering and shading with varying pressure will create depth and dimension, making the grain look more authentic.
Should I draw wood textures with or without a reference?
It’s always best to use a reference image, especially if you're aiming for realism. A reference allows you to observe the fine details and variations in wood texture that you might miss otherwise.
How long does it take to learn to draw wood texture?
The time it takes to master wood texture drawing depends on your skill level and practice. For beginners, it may take a few hours to produce a basic wood texture, while more advanced artists may take several days to achieve a highly detailed and realistic effect.

