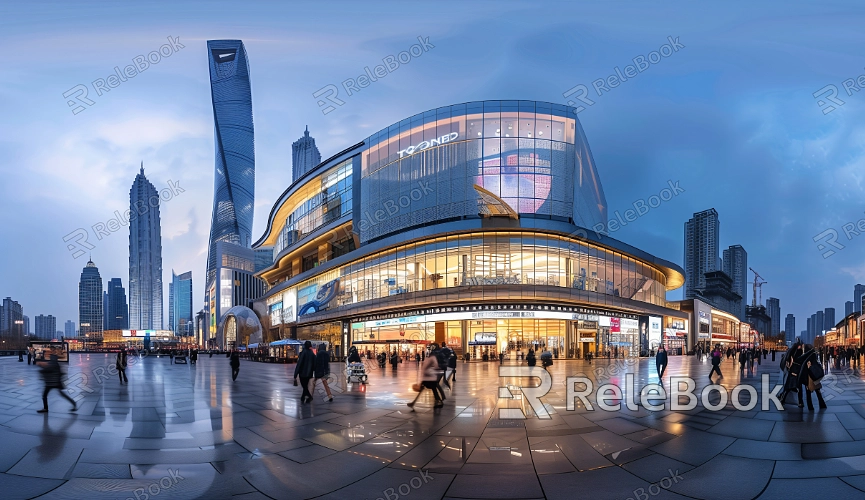
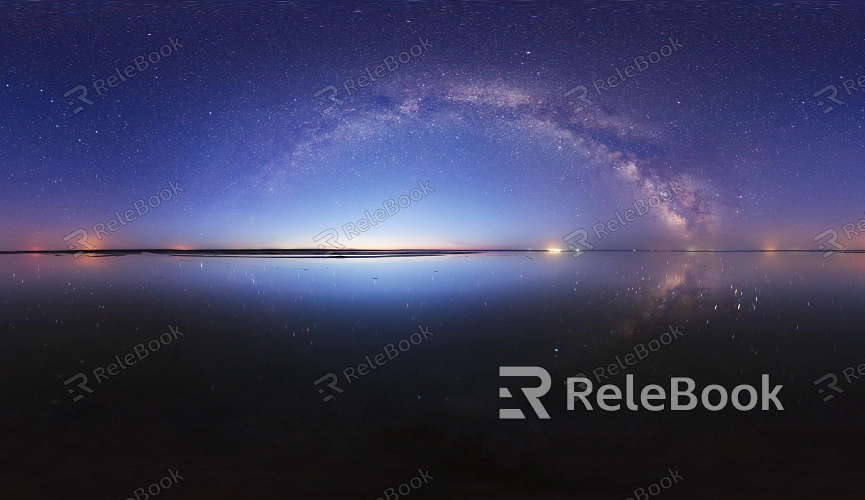
How to Configure HDR
In popular 3D software like Blender, 3ds Max, and Maya, HDR (High Dynamic Range) images are widely used for creating realistic rendering effects due to their ability to provide richer brightness and color details. However, to fully harness the benefits of HDR images in your projects, it’s essential to configure them correctly. This guide will walk you through the steps to configure HDR images, helping 3D modeling and rendering designers enhance the quality of their work.

1. The Importance of HDR Configuration
Enhancing Lighting Effects
HDR images are often used to simulate environmental lighting, reflections, and refractions within a scene. If HDR is not configured properly, the lighting might appear unnatural, affecting the realism of the final render. By configuring HDR correctly, you can ensure that the HDR image integrates well with other light sources in the scene, achieving optimal lighting effects.
Improving Color Representation
One of the main advantages of HDR images is their ability to display a broader range of colors. Without proper configuration, however, you might encounter issues like color distortion or saturation problems, especially in high-contrast scenes. By setting up HDR correctly, the colors in the scene will be more accurately represented, enhancing the overall visual impact.
2. Basic Steps for Configuring HDR
Importing the HDR Image
The first step in configuring HDR in 3D software is to import the required HDR image. In Blender, 3ds Max, or Maya, you typically load HDR images through the environmental lighting settings. Once imported, you can preview its effect in the viewport, preparing for further adjustments.
Adjusting Brightness and Contrast
After importing the HDR image, the next crucial step is adjusting its brightness and contrast. This step is vital for finding a suitable baseline, making sure the image looks natural in the scene. By fine-tuning brightness and contrast, you can prevent the HDR image from appearing too bright or too dark, ensuring the lighting effect is just right.
Setting Up Tone Mapping
Tone mapping is another key step in HDR configuration. It compresses the high dynamic range of the HDR image into a visual range while preserving the lighting and color details. You can adjust the tone mapping curve in the software to control the brightness and color transitions, achieving a more natural effect.

3. Optimizing HDR Configuration
Testing and Tweaking
Once you’ve initially configured the HDR, it’s crucial to perform test renders. This helps you evaluate how the HDR image performs in the actual render and identify potential issues, such as uneven lighting or color shifts. By conducting multiple tests and making adjustments, you can further optimize the HDR configuration to meet your expectations.
Adjusting Exposure
Depending on the needs of your scene, you might need to adjust the exposure range of the HDR image. By increasing or decreasing exposure, you can alter the intensity of the lighting effect, making it better suited to your project’s visual requirements. This process usually involves several attempts and fine-tuning to achieve the ideal result.
Fine-Tuning Color Balance and Saturation
During HDR configuration, tweaking color balance and saturation is also essential. Proper color balance ensures that the colors in the scene are consistent, while appropriate saturation enhances the color vibrancy. By carefully adjusting these parameters, you can further enhance the visual appeal of your renders.
4. Real-Time Preview and Final Confirmation
Previewing the Configuration in Real-Time
Many 3D software programs offer real-time preview features that allow you to see the effect of your HDR adjustments instantly. This capability is extremely useful for quickly spotting issues and making necessary changes without having to render the entire frame. Real-time previews ensure that each step of your HDR configuration leads to the expected improvement.
Final Render to Confirm the Results
After completing all HDR configurations and adjustments, it’s crucial to perform a final render to confirm the results. This final render ensures that all your configuration work meets expectations and provides a reliable basis for the final output.
By configuring HDR images correctly, you can achieve more realistic lighting effects and color representation in your 3D scenes, significantly enhancing the overall quality of your project. If you’re looking for high-quality HDR image resources, 3D textures, SketchUp models, or 3ds Max models to create your virtual environments, Relebook offers a wide range of options to help you achieve outstanding visual results.

