How to Export Textures in Maya 3D
Textures play a crucial role in enhancing the realism and detail of 3D models. Whether you're creating game environments, animated characters, or architectural visualizations, the application of textures is key. Maya 3D is one of the industry’s most widely used 3D modeling and animation tools, known for its powerful features that make handling models and textures a precise and detailed task. As a designer, I've faced many challenges during the texture export process, especially when transferring textures between different rendering engines and software. Today, I'll walk you through how to export textures in Maya, helping you manage your texture assets more efficiently in your projects.

1. Understand the Basic Workflow for Exporting Textures in Maya
Before diving into texture export, it's important to understand the basic workflow in Maya. Maya offers a variety of texture mapping methods and compatibility with other software, so knowing the correct steps will help you avoid common mistakes and boost your productivity.
Texture Types: Maya supports a range of texture types, including diffuse, normal maps, displacement maps, and reflection maps. When exporting, ensure that all related texture files are correctly embedded or linked.
Export Formats: Maya supports multiple export formats, such as .fbx, .obj, .ma, and .mb. Typically, we recommend using the .fbx format because it offers better compatibility and ensures proper texture display in many rendering engines and other 3D software.
2. Applying Textures to Your Model in Maya
The first step to exporting textures is ensuring that your model has textures correctly applied. The process of applying textures in Maya is relatively straightforward, but there are a few important details to keep in mind.
UV Unwrapping: Before applying textures, the model must be UV unwrapped. Maya provides powerful UV editing tools that help you accurately unwrap even complex models. Make sure that there are no overlaps or stretching in the UVs, as this will impact the quality of your texture mapping.
Adding Textures: In Maya's Hypershade editor, you can assign different textures to various parts of the model. By selecting material nodes and importing the texture maps into the appropriate channels (such as diffuse, bump, or reflection), you ensure proper mapping and the correct visual appearance of your textures.
3. Exporting 3D Models and Textures
Once your model and textures are set up, the next step is exporting them. Pay special attention to the texture paths and file formats to ensure they load correctly into other software or rendering engines.
Choose Export Format: In Maya, select the "Export Selection" option under the "File" menu, and then choose the export format from the dialog box. The .fbx format is often the best choice as it preserves the relationship between the model and textures, as well as animations and materials.
Ensure Texture Embedding: In the export settings, ensure that the "Embed Media" option is selected. This embeds texture files directly into the exported .fbx file, ensuring the textures travel with the model.
Check Texture Files: If you choose a non-embedded format, such as .obj, the texture files will be saved separately. In this case, make sure the model and texture files are stored in the same folder and that their relative paths remain unchanged.

4. Post-Processing and Texture Optimization
After exporting your model and textures, you can further optimize them to improve rendering performance and visual quality. Maya offers various techniques for improving texture display.
Texture Compression: For larger projects, texture file sizes may impact rendering efficiency. Using texture compression tools can reduce the file size without sacrificing visual quality.
Adjust Texture Resolution: Depending on the needs of the project, adjust the resolution of your textures. For real-time rendering or game development, selecting an appropriate texture resolution can help boost performance without compromising on visual fidelity.
5. Using External Plugins to Improve Workflow
While Maya provides built-in tools for texture export, using external plugins or tools can greatly enhance efficiency for specific tasks.
Plugin Tools: Rendering plugins like Arnold, V-Ray, and others offer deeper integration with Maya, helping designers handle materials and textures more efficiently. For projects that require complex texture handling, choosing the right rendering plugin can improve the final result.
Batch Export Tools: If you need to export multiple models and textures, using batch export tools can save a significant amount of time. These tools often allow you to process multiple models simultaneously, automating much of the export process.
6. Accessing High-Quality Texture Resources
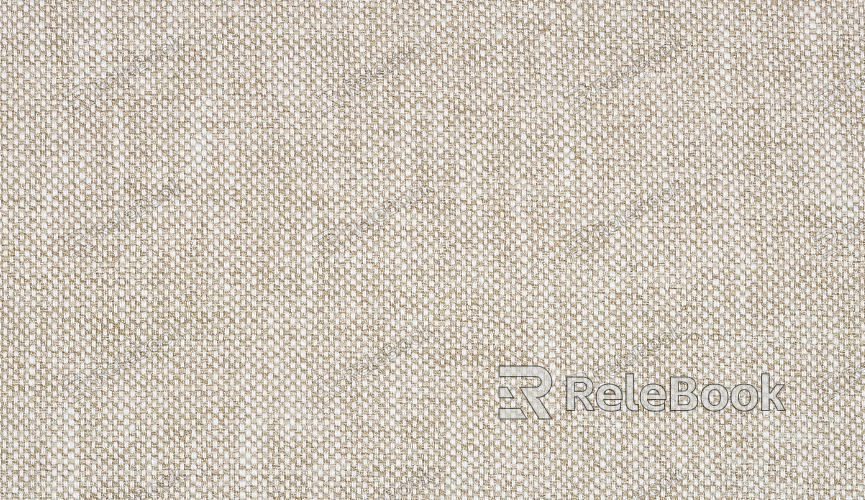
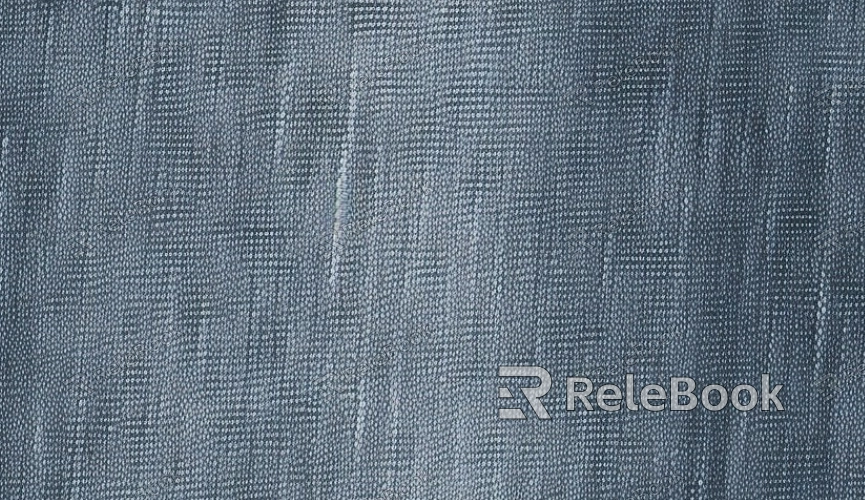
During the texture creation process, you might find yourself lacking the time or resources to produce all textures from scratch. In such cases, consider using ready-made, high-quality texture assets. Platforms like Relebook offer a wide range of professional textures that can help you quickly complete your projects.
Relebook Texture Library: Relebook offers an extensive library of textures, covering a variety of materials and styles suitable for different project types. By using these pre-made texture resources, you can save valuable time and improve the quality of your work. Visit Relebook Textures to quickly download high-quality textures and boost your creative process.
By following these steps, you'll be able to successfully export textures in Maya and further optimize them for rendering in other 3D software. This not only enhances the level of detail and realism in your models but also helps improve your workflow and efficiency. If you're looking for high-quality texture resources, Relebook offers a wide selection that will make your project creation process even smoother and your results more visually impressive.

