How to Make Marble Texture in Illustrator?
Creating a marble texture in Adobe Illustrator can be an exciting challenge, offering a chance to add an elegant, high-end touch to your design projects. Whether you're designing for media, packaging, or any form of print, the ability to replicate the natural beauty of marble can significantly enhance your visual outcomes. In this article, we'll guide you through the process of creating a marble texture from scratch in Illustrator, focusing on the techniques that allow you to capture the nuances of color, veining, and depth.

Preparing Your Canvas and Tools
Before diving into the design process, it's essential to set up a clean and organized workspace in Illustrator. Begin by creating a new document, ensuring the canvas size fits your intended design needs. Choose RGB if you’re designing for screen or CMYK for print. To get started, it’s helpful to use a high resolution for smoother results, especially if you’re planning to use your marble texture in print or larger-scale designs.
Next, you’ll need to familiarize yourself with the main tools in Illustrator that will help you create the marble effect. Some of the key tools include the Pen Tool, Gradient Tool, Mesh Tool, and Opacity Mask. These tools will allow you to manipulate shapes and gradients to build up the layers of texture that make up the marble surface.
Creating the Base Texture
To begin, create a solid base color that will serve as the foundation of your marble texture. You can use a light gray or white to start. Using the Rectangle Tool, create a large rectangle that fills your canvas. This will be your background.
Once you have your base, apply a subtle gradient using the Gradient Tool to introduce some depth. A gradient from light gray to slightly darker gray works well for this purpose. This gradient will simulate the light reflections on the marble surface and help set the stage for the veining.

Adding Veining to the Marble
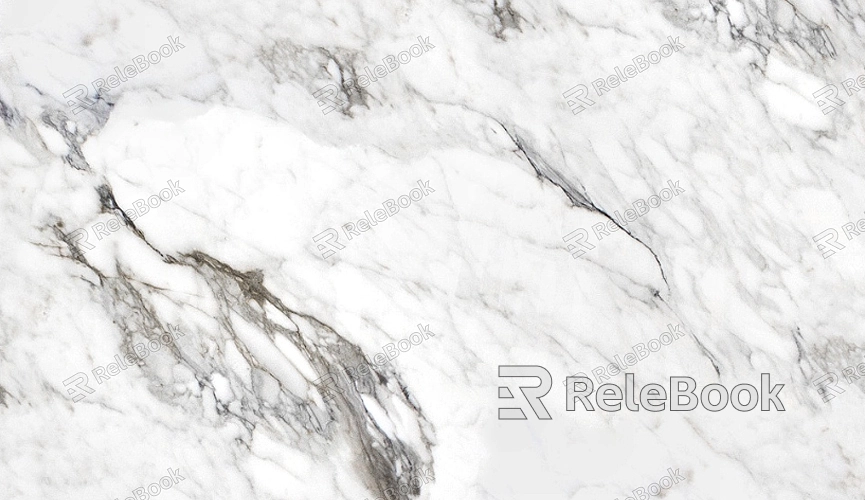
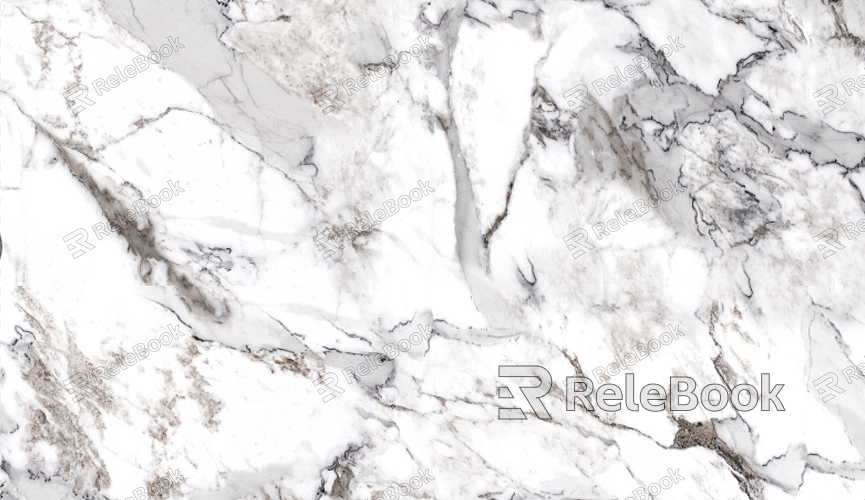
Marble’s signature feature is its intricate veining, which can range from thin, delicate lines to thicker, more pronounced streaks. To replicate this, we will use the Pen Tool and the Brush Tool.
Start by selecting the Pen Tool and sketching irregular lines across your background to mimic the veining. The lines should not be too straight or uniform—marble veins are typically random and flowing. Use a medium gray color for these initial lines, and try to make them different in thickness and direction to replicate the randomness of real marble.
Next, use the Brush Tool to refine the veins. You can apply a custom brush that gives a soft, irregular texture to the veins, making them appear more natural. If you don’t have a custom brush, you can modify the brush settings to adjust the stroke’s appearance, making the veining look more organic.
Creating Depth with Opacity Masks
To make the veining look more integrated into the marble surface rather than just sitting on top of it, use an opacity mask. This will give the veins a more translucent, realistic look, mimicking the way real marble veins sometimes appear to fade in and out of the surface.
Create a white shape over your veining lines, ensuring it covers the areas you want to apply the mask to. Then, select both the shape and the veining, and go to the Transparency Panel. Click on the Make Opacity Mask button, which will blend the veins smoothly into the background, giving them a more subtle, layered effect.
You can adjust the opacity of the mask as needed, depending on how pronounced you want the veins to be.
Refining the Color and Texture
To add even more realism to your marble texture, refine the colors and textures within the surface. Start by adding more variations of gray, from very light to darker shades, to simulate the natural differences in marble.
Use the Gradient Tool again to introduce more complex color shifts in your background. Apply additional subtle gradients across the texture to replicate the complex interplay of light and shadow that occurs on polished marble surfaces.
If desired, you can also experiment with textures using the Effect menu. Applying a slight grain or noise effect can add another layer of complexity, simulating the tiny imperfections and natural grain of real marble.
Final Adjustments and Enhancements
Once you’re happy with the veining and depth of the marble texture, it’s time to make any final adjustments. Review the overall composition to ensure the veining looks natural and well-balanced across the entire surface. If necessary, refine the gradient fills, opacity masks, or veining strokes for better integration.
You can also apply a slight blur or texture effect to make the overall surface feel more cohesive. Additionally, depending on your project, you may want to adjust the saturation or brightness of the entire texture to fit within the context of your design.
Exporting and Using Your Marble Texture
When you’re satisfied with your marble texture, it’s time to export it. Illustrator allows you to save your work in various formats, such as AI, PNG, or JPEG, depending on how you plan to use the texture. If you're using it for a project, exporting it as a PNG with a transparent background may be ideal. For print, exporting as a high-quality TIFF or PDF ensures you retain the detail and resolution.
Creating a marble texture in Illustrator may seem daunting at first, but with the right tools and techniques, you can achieve stunning, realistic results. By using gradients, custom brushes, opacity masks, and a good understanding of marble's unique qualities, you can simulate the elegant appearance of marble in your design projects. With practice, your ability to replicate various textures in Illustrator will improve, giving your designs a polished, professional touch.
To further enhance your projects, consider exploring additional resources, such as downloading 3D models and textures from the Relebook website. With these assets, you can expand your design possibilities and bring even more realism to your work.
FAQ
How can I make the veining in my marble texture more natural?
To make the veining look more natural, avoid making the lines too straight or uniform. Use the Pen Tool to create random, flowing lines of varying thickness. You can also experiment with different brushes to give the veins a more organic appearance.
Can I use textures from stock websites instead of creating my own?
Yes, you can use stock textures, but creating your own in Illustrator gives you more control over the design and allows for customization. It also helps you better integrate the marble texture into your overall design.
How do I apply the marble texture to objects in my design?
Once you’ve created your marble texture, you can use the Clipping Mask function to apply the texture to specific shapes or objects. Simply place your texture on top of the object and use Object > Clipping Mask > Make to mask the texture to the shape.
Can I use Illustrator to create other textures like wood or stone?
Yes! Illustrator is versatile and can be used to create a wide range of textures. By applying similar techniques—like using gradients, textures, and opacity masks—you can simulate various surfaces such as wood, stone, or fabric.

