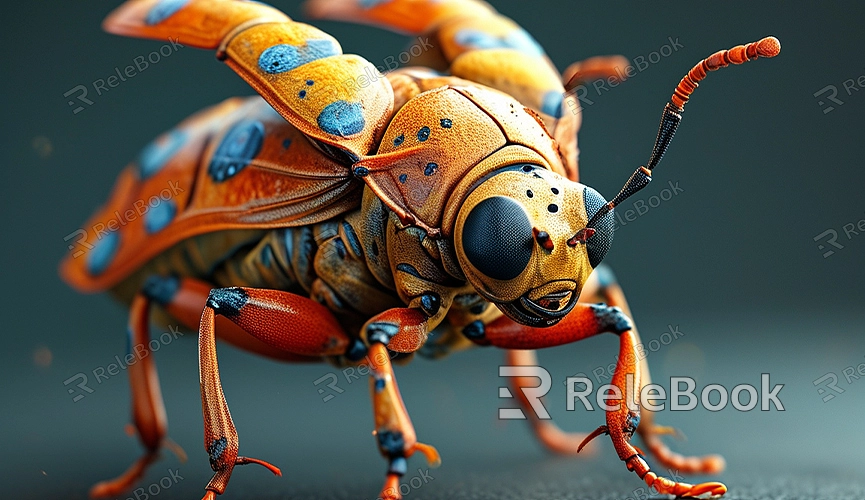
How to Make a 3D Insect Model
3D insect models have widespread applications in game development, animation, and scientific visualization. Whether you're aiming to create a realistic insect model or a simplified version for educational or display purposes, mastering the basic techniques for making 3D insect models is crucial. This guide will detail how to create a 3D insect model using Blender, helping you get started and produce a satisfactory result.
Choosing the Right Tools and Resources
To create a 3D insect model, the first step is to choose a suitable 3D modeling tool. Blender is a powerful open-source software that’s well-suited for creating a variety of 3D models, including insects. With Blender's extensive features, you can handle modeling, sculpting, and rendering tasks.

Before you begin modeling, it’s helpful to gather reference images of insects. These images can be real photographs of insects or design sketches downloaded from the internet. Reference images will help you accurately recreate the insect's details.
Steps to Create an Insect Model
1. Create the Base Model
In Blender, start by creating a base model for the insect. This can be accomplished through the following steps:
- Add Base Geometry: In Blender, begin with basic geometric shapes such as cubes, spheres, or cylinders. Choose a suitable shape and adjust it in the view.
- Shape Adjustment: Use “Edit Mode” to deform the base geometry. By extruding, scaling, and moving vertices, you can gradually outline the insect's basic shape.
- Add Details: Based on your reference images, gradually add details such as antennae, wings, and legs.
2. Refine the Model
After establishing the base model, refine it to enhance realism:
- Sculpt Details: Use Blender’s sculpting tools to add finer details to the insect’s appearance. Sculpting tools can help add surface textures and details like bumps and grooves.
- Add Detailed Elements: Incorporate small details such as wing veins and segmented legs. Utilize Blender’s “Subdivide” function to increase the polygon count for more detailed effects.
3. Texturing and Materials
Adding textures and materials to the model will make the insect look more realistic:
- UV Unwrapping: In Blender, use the UV unwrapping feature to unfold the model’s surface into a 2D plane for easier texturing.
- Create Textures: Use image editing software (like Photoshop or GIMP) to create textures for the insect. You can paint the insect’s textures yourself or download relevant texture images from the internet.
- Apply Materials: Apply the textures to the model. Adjust material properties in Blender’s material editor to achieve a natural appearance.
4. Rendering and Output
Once the model is complete, render it to generate the final image or animation:
- Set Up the Scene: In Blender, set up appropriate lighting and camera angles to highlight the details of the insect model.
- Choose a Rendering Engine: Blender supports various rendering engines such as Cycles and Eevee. Choose the appropriate engine based on your needs and configure the render settings.
- Render the Image: Click the render button to generate the final image. After rendering, you can perform post-processing to further enhance the effect.
Using High-Quality Resources to Enhance the Model
To improve the realism and detail of your insect model, using high-quality 3D textures and HDRI (High Dynamic Range Imaging) resources is very beneficial. If you need a lot of high-quality 3D textures, HDRIs, or model downloads for your projects, you can get them from Relebook. Simply download and import the textures and 3D models into your project. Relebook provides a wealth of resources that can greatly simplify your workflow and enhance the final results.
Creating a 3D insect model involves multiple steps, from base modeling to refinement, texturing, and rendering. With tools like Blender and quality resources, you can craft highly realistic insect models. Mastering these techniques will not only improve your modeling skills but also add more professional details to your projects.
