How to Add Image-Based Lighting with HDR in Maya
In the realms of film, gaming, and architectural visualization, the realism of lighting in 3D scene rendering is crucial to the final outcome. Image-based lighting (IBL) utilizing HDR (High Dynamic Range) images as light sources is a powerful technique that not only enhances the realism of renders but also provides more natural and detailed lighting effects, saving significant time and effort. This article will explain how to use HDR images to implement IBL in Maya and offer practical tips to help you achieve your desired rendering results.
1.Introduction to HDR and Image-Based Lighting
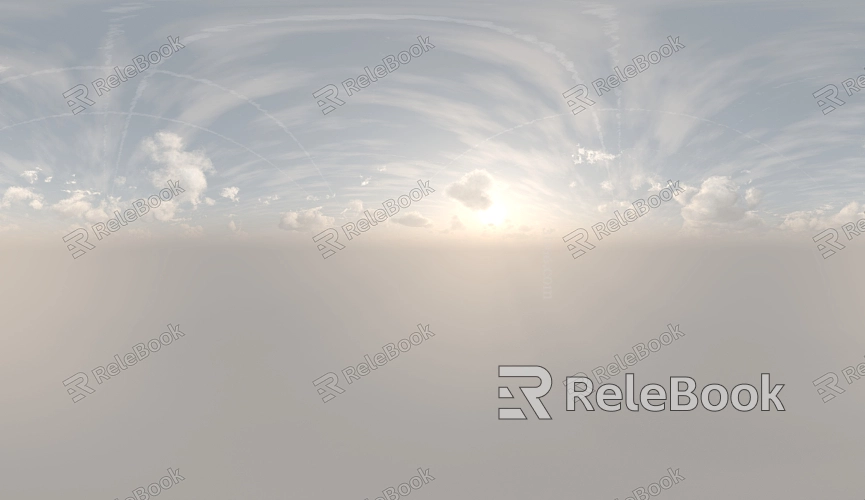
The Advantages of HDR Images
HDR images capture and store a broader range of lighting information, encompassing everything from the darkest shadows to the brightest highlights. This extensive dynamic range makes HDR images particularly valuable in 3D rendering, especially when simulating natural lighting conditions in a scene.
Overview of Image-Based Lighting (IBL)
IBL is a technique that uses images, typically HDR images, as light sources. By doing so, the lighting conditions in the scene are influenced by the image content, resulting in more realistic light and shadow effects. This method is widely used in Maya and can significantly enhance the realism of your scenes.
2.Choosing the Right HDR Image
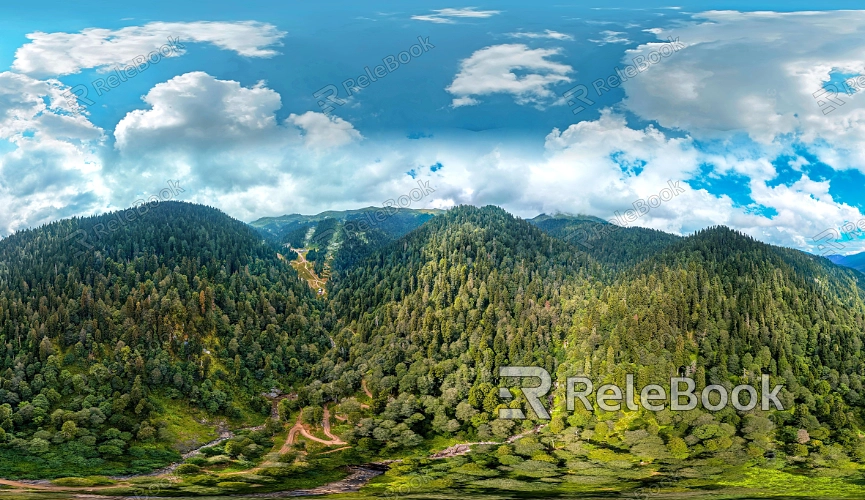
Selecting an HDR Image that Matches Your Scene
When selecting an HDR image, consider whether the dynamic range and resolution of the image suit your scene. For detailed reflection effects, choose a high-resolution HDR image to capture complex lighting details.
Sources of HDR Images
Numerous websites offer free HDR images for download, such as HDRI Haven, where you can find a variety of HDR images for different environments, including indoor, outdoor, daytime, and nighttime scenes.
3.Setting Up HDR Lighting in Maya
Importing the HDR Image
Open your scene in Maya, then go to the “Render Settings” window. Under the “Environment” tab, select the HDR image as the environment light source. Once imported, the HDR image will surround the entire scene, serving as the primary light source.
Adjusting the Direction of the HDR Image
After importing the HDR image, you may need to adjust its orientation to ensure it aligns with the light source in your scene. Use Maya’s rotation tools to modify the image’s angle, ensuring the lighting effects meet your expectations.
4.Optimizing Lighting Settings
Adjusting Exposure and Intensity
Depending on your scene’s needs, the default lighting settings may not deliver the desired results. In the “Render Settings,” you can adjust the exposure and intensity parameters to control the brightness of the HDR lighting, thereby optimizing the overall atmosphere of the scene.
Using Light Filters for Further Control
For more fine-tuned control of the lighting, consider using light filters. These filters allow you to adjust the light emitted from the HDR image, managing the strength of shadows and the distribution of light to better suit the scene’s needs.
5.Enhancing Reflections and Shadows
Adjusting Reflection Intensity
HDR images not only provide lighting but also significantly impact reflections within the scene. In the “Material Editor,” adjust the reflection intensity of materials to ensure surfaces accurately reflect the HDR environment. This is particularly crucial for materials like glass, metal, and water, where precise reflection effects are vital.
Optimizing Shadow Quality
Shadows generated by HDR images add depth to the scene. In Maya, you can adjust the softness and intensity of these shadows through the “Render Settings” to achieve more natural effects, enhancing the scene’s realism.
6.Rendering the Scene and Making Final Adjustments
Choosing the Appropriate Rendering Engine
Maya supports multiple rendering engines, with Arnold being especially suitable for handling HDR image lighting. Select a rendering engine that supports HDR and make sure to enable global illumination and ray tracing features to enhance the final render quality.
Conducting Test Renders and Making Adjustments
Before finalizing your render, perform several test renders to evaluate the lighting effects of the HDR image on your scene. Based on the test results, adjust lighting, exposure, and material settings to ensure the final render meets your expectations.
By using HDR images for image-based lighting in Maya, you can significantly enhance the realism and visual appeal of your 3D scenes. Whether it’s selecting the right HDR image or optimizing lighting settings and reflection effects, each step is critical.
If you’re looking to elevate the quality of your work, consider exploring more high-quality HDR image resources, along with other 3D models and material resources. Relebook offers a wealth of resources to help you better realize your creative vision and improve your rendering results. Visit Relebook today to discover more possibilities and take your work to the next level.
