How to Adjust HDR Texture Map on Skydome
In 3D modeling and rendering workflows, HDR (High Dynamic Range) texture maps are frequently used to create realistic lighting environments, particularly when applied to a skydome. A skydome is a spherical background that surrounds the entire scene, providing comprehensive background illumination for rendering. Whether it’s in architectural visualization, game development, or animation production, HDR skydome textures significantly enhance the realism of the rendered scene. However, applying an HDR texture to a skydome often requires adjustments to ensure that parameters such as scale, brightness, and orientation are optimized for the best results. This article will detail how to adjust HDR texture maps on a skydome across various 3D software, helping designers achieve the desired outcome.
1. Selecting the Appropriate HDR Texture
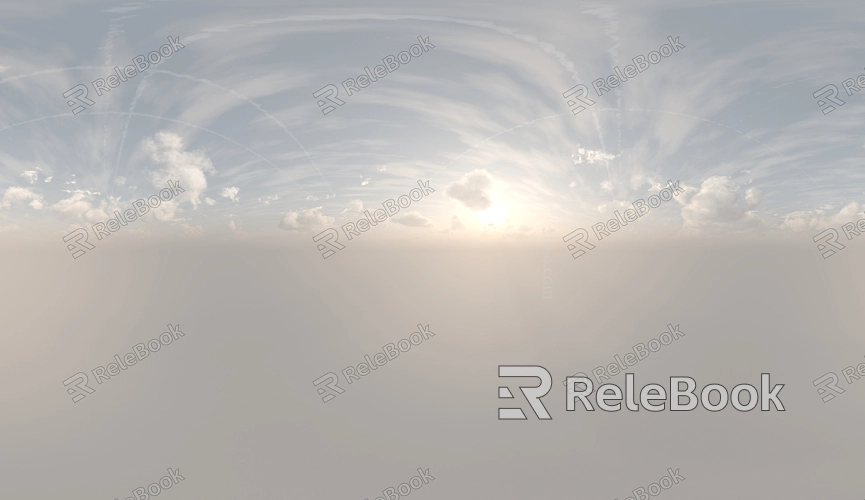
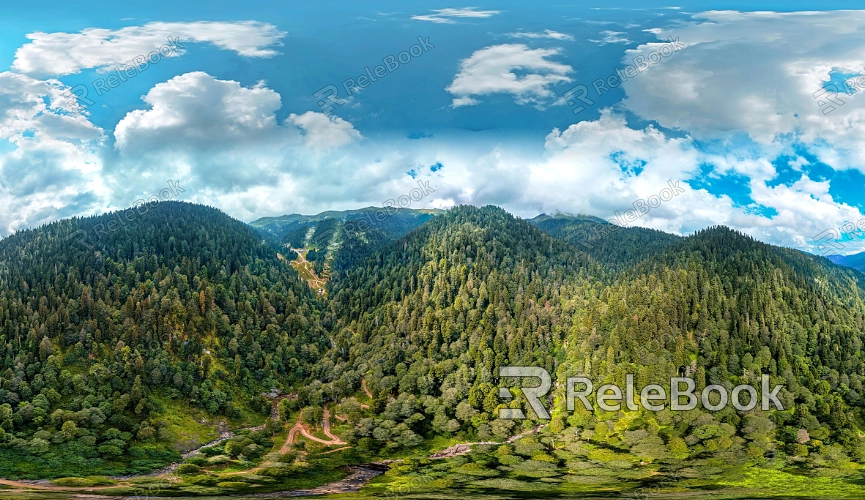
Choosing the Right HDR Image: Different HDR images have unique lighting and environmental characteristics, so selecting the right one is the first step. For example, a daytime sky and a sunset scene require different HDR images. Ensure that the chosen HDR texture matches the needs of your scene.If you find searching for high-quality HDR image resources too complex or time-consuming, or if you're unsure where to start, consider visiting Relebook. At https://textures.relebook.com/, you can easily download high-quality HDR image resources, helping you complete your projects more efficiently.
Resolution Matters: High-resolution HDR images offer more detailed lighting information but also consume more memory. Depending on the complexity of the scene and the final render output requirements, choose an HDR image with the appropriate resolution.
2. Adjusting the Scale and Position of the HDR Texture
Scale Adjustment: When mapping an HDR texture onto a skydome, scale is crucial. Software like Blender, 3ds Max, and Cinema 4D allow users to adjust the texture’s scale. By tweaking the scale parameters, designers can ensure the texture fits the skydome more appropriately, avoiding distortion from stretching or compressing the texture.
Rotation and Positioning: The direction of the HDR texture directly affects the light source’s position. Designers can rotate the skydome or adjust the HDR texture’s angle to control the direction of light, achieving the ideal lighting effect. Many software programs provide specific options to adjust the HDR texture’s rotation, aligning it with the light source in the scene.
3. Adjusting HDR Brightness and Exposure
Exposure Control: HDR images typically contain a wide range of brightness levels. During rendering, adjusting the exposure helps align the light with the scene’s needs. For instance, reducing exposure in a nighttime scene can prevent over-brightening, while increasing exposure in a daytime scene can make the environment more vibrant.
Applying Brightness Adjustments: Some 3D software allows users to directly tweak the brightness settings of the HDR texture or enhance the scene’s overall brightness by adding additional light sources. These adjustments not only affect the final render but also contribute to the scene's realism.
4. Implementing Tone Mapping
The Role of Tone Mapping: Tone mapping compresses the wide dynamic range of an HDR image to fit within the displayable range of a monitor. When adjusting HDR textures on a skydome, tone mapping effectively balances the contrast between highlights and shadows, resulting in a more natural render.
Choosing the Right Tone Mapping Curve: Many 3D software packages offer multiple tone mapping curve options, such as linear or logarithmic mapping. Selecting the appropriate mapping method based on the scene’s requirements can significantly improve the rendering outcome.
5. Tweaking HDR Texture Colors
White Balance Adjustment: The colors in an HDR image directly influence the atmosphere of the scene. For example, a bluish HDR image imparts a cool tone to the scene, while an orangish HDR image creates a warmer ambiance. By adjusting the white balance, designers can better control the scene’s color mood.
Color Correction: Some software supports direct color correction of the HDR image, including adjustments to saturation, contrast, and hue. Proper color correction ensures harmony among the various elements within the scene.
6. Optimizing Rendering Settings
Choosing the Right Render Engine: Different render engines handle HDR textures differently. For complex lighting scenarios, using a render engine that supports global illumination and ray tracing (such as NVIDIA Iray or V-Ray) will significantly enhance the render quality.
Adjusting Sampling Rates: Increasing the sampling rate can reduce noise and improve the clarity and quality of the render, which is particularly important when using HDR skydome textures. By optimizing the sampling rate, designers can maintain quality while reducing render time.
Adjusting HDR texture maps on a skydome is a critical factor in achieving the desired outcome in 3D modeling and rendering. By selecting the right HDR image, fine-tuning the scale and brightness, implementing tone mapping, and optimizing color settings, designers can greatly enhance the realism and visual appeal of their scenes. I hope this guide helps you better adjust HDR texture maps in your daily work, creating more lifelike 3D environments.
For more in-depth tutorials and resources on HDR texture adjustments, consider exploring Relebook. It offers a wealth of knowledge to help you advance in your 3D design journey.If you're looking for high-quality HDR image resources, 3D textures, SketchUp models, or 3ds Max models to create models and virtual scenes, Relebook offers a wide range of options to help you achieve outstanding visual effects in your projects.
