How to Create a Texture for Element 3D
As a 3D designer, I know that adding realistic textures to your models is key to achieving stunning renders. When working with Element 3D, a powerful plugin for After Effects, creating and applying textures is an essential skill. From preparing your materials to adjusting texture coordinates and fine-tuning shaders, each step plays a crucial role in enhancing your render’s quality. In this article, I will guide you through the process of creating textures for Element 3D, providing useful tips and tricks to streamline your workflow and produce more realistic 3D models.
Element 3D is widely used in motion graphics, visual effects, and product rendering. Whether you're creating dynamic 3D visuals for a film project or designing promotional animations, understanding how to properly apply textures in Element 3D will help improve your work. Let's dive into the process.

1. Preparing Texture Materials
The first step in creating textures for Element 3D is gathering the right texture materials. The quality of your textures directly impacts the final render results.
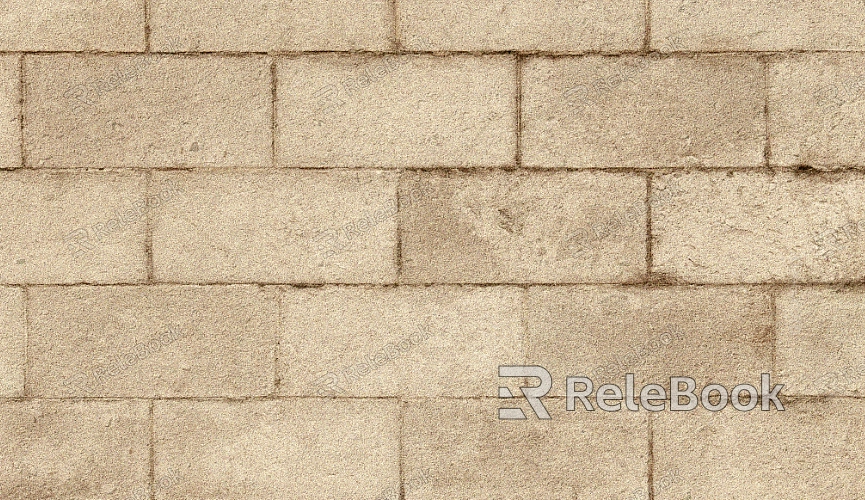
Choosing the Right Type of Texture: Common texture types include diffuse maps, normal maps, and specular maps. Choosing the correct texture type based on your render needs is critical. For example, reflective surfaces require specular maps, while rough surfaces benefit from normal maps to simulate intricate details.
Source of Textures: You can source textures from online texture libraries, purchase texture packs, or even create your own by photographing real-world surfaces. Be sure the textures are high resolution to avoid pixelation or blurry details when rendered.
If sourcing high-quality textures seems overwhelming or time-consuming, you can visit Relebook, where you can easily download premium 3D texture assets.
2. Importing Textures into Element 3D
Once your texture materials are ready, it's time to import them into Element 3D.
Create Your 3D Model: Open After Effects and launch Element 3D to create your 3D model. Whether it's a basic shape or a complex model from a 3D software package, Element 3D can handle it.
Import Textures: In Element 3D, select the model and load your texture files into the material settings. You can assign different types of textures to different material channels. For instance, the Diffuse channel gets your color texture, the Specular channel holds your specularity map, and the Bump channel uses a normal map.
3. Adjusting UV Mapping
The way a texture wraps around your 3D model depends on UV mapping. Proper UV mapping ensures your textures fit correctly on the model's surface.
Understanding UV Unwrapping: UV unwrapping is the process of flattening a 3D model into a 2D plane. If you’ve already unwrapped the model in another 3D software, you can simply import it into Element 3D. Otherwise, you'll need to use Element 3D’s tools for basic adjustments.
Adjust UV Coordinates: Element 3D allows you to manipulate UV coordinates, adjusting texture scale, rotation, and position. This ensures the texture fits naturally on the model’s surface without stretching or overlapping.
4. Creating and Adjusting Materials
The right material can make your textures appear more realistic. In Element 3D, you can customize materials to enhance the final look.
Material Types: There are various material types in Element 3D, including diffuse, gloss, and metallic. Select the material that best suits the texture’s properties, then apply your textures to the corresponding material channels.
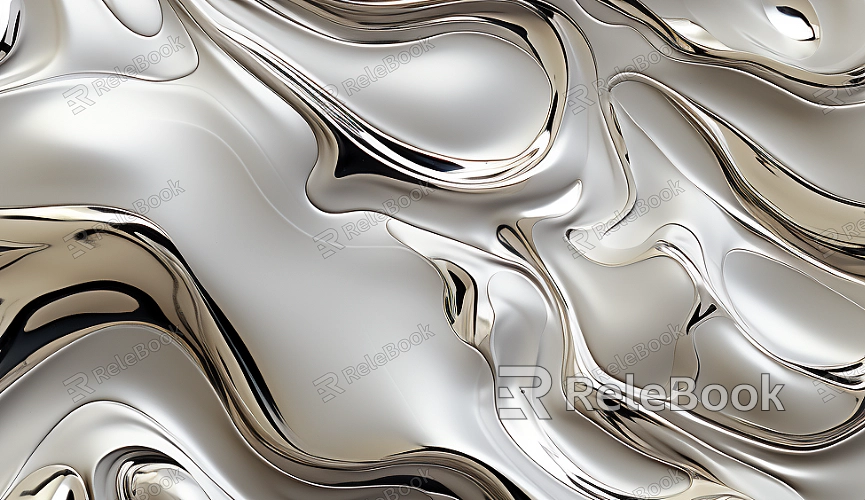
Fine-Tuning Material Settings: You can adjust material parameters like reflectivity, glossiness, and roughness to give your texture more depth. For instance, increasing reflectivity will make metallic textures shinier, while adjusting roughness can simulate a more detailed surface finish.
5. Rendering Settings and Optimization
To get the best results, it’s important to optimize your rendering settings.
Lighting and Shadows: Proper lighting is essential for highlighting texture details. The direction, intensity, and quality of your light sources and shadows will influence how your textures appear in the final render. Element 3D allows for different light setups to help bring your textures to life.
Render Optimization: To reduce render time and improve performance, you can tweak some settings in Element 3D. For instance, use lower resolution textures for preview renders, or adjust anti-aliasing settings to improve image quality.

6. Advanced Texturing Techniques
Element 3D also supports more advanced texturing techniques that can take your renders to the next level.
Normal Maps and Bump Maps: These maps add fine details to your model's surface. Even low-poly models can look more complex when using these types of maps to simulate surface imperfections or small details.
Reflections and Refractions: For transparent or reflective objects, use reflection and refraction maps to simulate light behavior and optical properties, making your textures look more realistic.
7. Paying Attention to Details and Post-Processing
Before finalizing your render, fine-tuning the details is crucial.
Fixing Texture Issues: Examine how the texture maps onto your model’s surface. Look for stretching, pixelation, or blurriness. If necessary, you can use image editing software like Photoshop to refine the textures before applying them to your model.
Post-Processing: After rendering, you can use After Effects’ adjustment layers to fine-tune the color, contrast, and brightness of your textures. This extra step can significantly enhance the final result.
By following these steps, you should be able to create more realistic and detailed textures for Element 3D. Whether you're working on basic texture mapping or advanced material adjustments, mastering these techniques will improve your renders and save you time during the creation process.
If you’re looking for high-quality 3D texture resources, SketchUp models, or 3ds Max models to enhance your project, Relebook offers a wide range of assets to help you achieve exceptional visual results.

