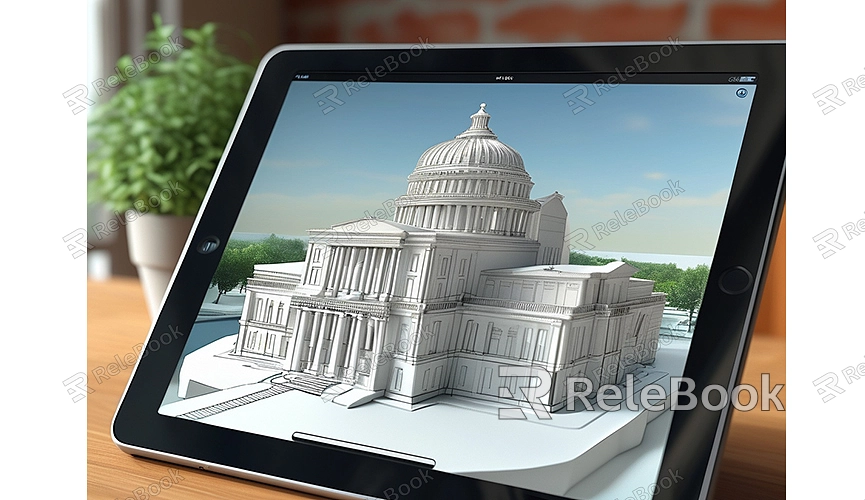
How to Make a 3D Model from an Image
In the world of 3D modeling, creating a 3D model from a 2D image is both fascinating and practical. It allows us to convert flat images into three-dimensional models for various applications, such as game development, animation, virtual reality, and more. This article will provide a step-by-step guide on how to create a 3D model from an image.
Preparation
Before starting, ensure you have the following tools and materials ready:
- One or more 2D images for modeling.
- A 3D modeling software, such as Blender or Maya.
- Appropriate texture and material files to use during the modeling process.
Importing the Image
The first step is to import the prepared image into your 3D modeling software. Using Blender as an example, here are the steps:
1. Open Blender software.
2. In the top menu bar, select "Edit" > "Preferences," then go to the "Add-ons" tab and enable the "Import-Export: Images as Planes" add-on.
3. Once the add-on is enabled, go to "File" > "Import" and select "Images as Planes," then choose your image file to import.
Creating the Base Model
After importing the image, the next step is to create a basic 3D model based on the image. There are several methods to achieve this:
- Manual Modeling: Use Blender’s modeling tools, such as vertex, edge, and face editing functions, to manually outline and detail the model based on the image.
- Tracing the Outline: Use the image as a reference, and in Blender, utilize mesh tools to trace the outline, then gradually refine the model.
Adding Details
Once you have created the base model, you’ll need to add more details to match the characteristics of the original image. This can be done using Blender’s sculpting tools and subdivision surface modifier. Here’s how:
1. Subdivide the Mesh: Select the model, press the "W" key, and choose "Subdivide" to increase the number of faces, making the model smoother.
2. Sculpting Tools: In Blender's sculpt mode, use various sculpting brushes to add finer details to the model, such as bumps, textures, and other intricate features.
Applying Textures
After completing the model, the next step is to apply textures to make it more realistic. Follow these steps to apply textures:
1. UV Unwrapping: Select the model, press the "U" key in edit mode, and choose a suitable UV unwrapping method, such as "Smart UV Project" or "Project from View."
2. Adding Materials: In the "Materials" tab, click the "New" button to add a new material to the model.
3. Applying Textures: In the "Shading" workspace, use the "Shift+A" shortcut to add an "Image Texture" node. Select your texture image file and connect it to the "Base Color" input of the material output node.
Adjusting Lighting and Render Settings
To achieve the best visual effects during rendering, you’ll need to configure lighting and render settings. Here are some basic steps:
- Add Light Sources: Use the "Shift+A" shortcut to add light sources, such as point lights or area lights. Adjust their position and intensity based on your scene requirements.
- Set Up the Camera: Select the camera object and adjust its position and angle to capture the best view. Press the "0" key to switch to the camera view for a preview.
- Choose Render Engine: In the "Render" tab, select the render engine, such as Eevee or Cycles. Cycles generally provides higher-quality render results.
- Set Resolution and Samples: In the "Output Properties" tab, configure the resolution of the rendered image. Then, set the sample count in the "Render" tab for better quality (higher samples reduce noise but take longer to render).
Start Rendering
Once everything is set up, press the F12 key to start rendering. Blender will generate a high-quality image of your 3D model with applied textures and lighting effects.
By following these steps, you’ve now mastered the basic process of creating a 3D model from an image. Whether it’s manual modeling, tracing outlines, applying textures, or adjusting render settings, every step requires careful attention. If you need high-quality 3D textures, HDRI files, or downloadable 3D models for your projects, you can find them on Relebook. Simply download and import them into your model for immediate use. Hopefully, these tips will enhance your workflow and help you create even more beautiful 3D works.
