How to Make Leather Texture in Blender?
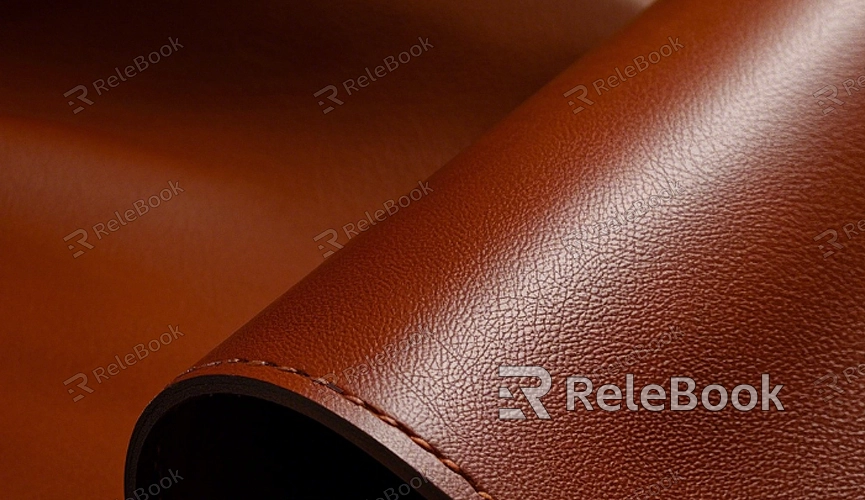
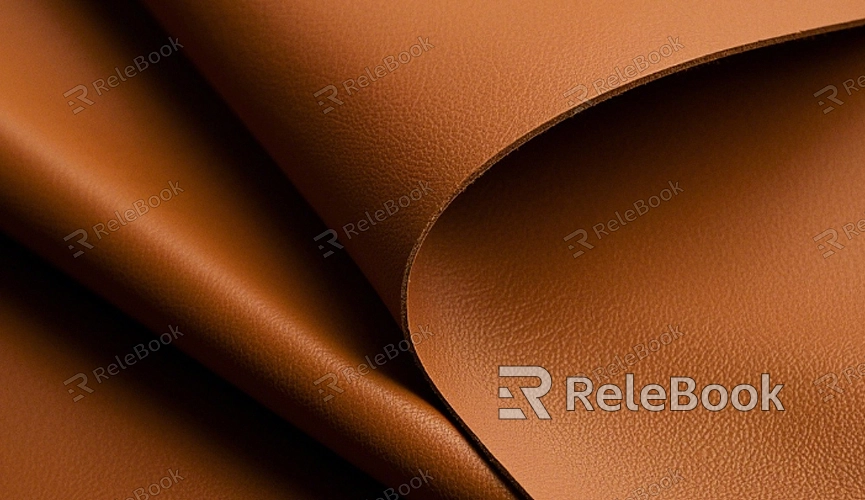
Creating realistic leather textures in Blender is a rewarding skill that can elevate the realism of your 3D models. Whether you're designing products, or furniture, or creating assets for video games, understanding how to replicate leather's distinct characteristics can make a significant difference in the quality of your work. Leather has a unique surface that blends smoothness with natural irregularities, wrinkles, and pores, making it both a challenge and a pleasure to simulate. In this article, we'll explore step-by-step methods for creating leather textures in Blender, from setting up the basic materials to fine-tuning details for a hyper-realistic effect.

Setting Up the Scene
The first step in creating leather textures in Blender is to set up your scene. Start by opening a new project and creating the object on which you will apply the leather texture. This could be a simple plane, a chair, or any other object you want to cover with leather. If you're working on a model that already has the shape you want, ensure that it's properly UV-wrapped before proceeding. Proper unwrapping is crucial to avoid texture stretching and to maintain the leather’s natural look.
Once the object is ready, go to the "Shading" workspace in Blender, where you can start adding and editing materials. In the Shader Editor, create a new material for your object and begin by adding a Principled BSDF shader, which is a versatile shader ideal for creating realistic materials.
Creating the Base Leather Texture
Now comes the core of the leather texture creation process. Leather is often characterized by its distinct surface details, such as pores, wrinkles, and slight color variations. To simulate this, you will need to use a combination of texture maps, procedural generation, and noise patterns.
Start by adding a noise texture to your material. The noise texture will serve as the foundation for the leather’s surface irregularities. Adjust the scale of the noise to match the desired level of detail. A larger scale will create broader, smoother irregularities, while a smaller scale will generate fine details that resemble pores and wrinkles. You can enhance the effect by mixing the noise texture with a bump map or normal map, which will add depth and simulate the physical surface of the leather.
Next, you’ll want to give the leather some color. Leather often has warm, earthy tones like brown, tan, or even deep red. Use a ColorRamp to control the color variation, adjusting the sliders to create a range of shades that suit your design. You can also add a Voronoi texture or Musgrave texture to simulate the more random patterns found in real leather.

Adding Realistic Surface Detail
While the base leather texture gives you a good start, real leather has a lot of subtle imperfections. To mimic these, you need to create more detailed surface features.
The next step is to enhance the roughness and imperfections. Add a grunge texture or use an image of real leather to create detailed surface variations. Mix this with your noise texture to create more pronounced scratches, wrinkles, and small imperfections. The roughness map plays an important role in making the leather look more realistic by controlling how shiny or matte the material appears. Leather typically has a slight sheen, so be sure to adjust the roughness to give it a more authentic look.
To make the surface look even more natural, you can add small imperfections using a Surface Imperfections Texture. These could be tiny scratches, dirt, or scuffs that naturally occur on real leather over time. This adds realism, as these small details are often overlooked but are crucial in achieving the final look.
Adding Bump Maps and Normal Maps
Now that you have a detailed leather texture, it’s time to add depth and physicality to your material. A bump map or normal map will simulate the small surface details that give leather its tactile, 3D quality.
Bump maps affect the way light interacts with the surface by simulating small displacements on the surface without altering the geometry. For leather, you want to emphasize fine details like pores, wrinkles, and slight texture variations. You can create a bump map using a grayscale image or use Blender’s built-in noise textures to generate one procedurally.
A normal map works similarly to a bump map but provides more detailed information about the surface’s microstructures. To create a realistic normal map for leather, you can either generate one from a high-poly model or use a texture image designed specifically for this purpose. Connect your bump or normal map to the normal input of the Principled BSDF shader to give your leather material the right surface details.
Adding Highlights and Refining the Look
Leather often has subtle highlights that catch the light due to its smooth yet slightly uneven surface. To add this effect, adjust the Specular and Roughness values in your Principled BSDF shader. Lowering the roughness can increase the glossiness of the material, giving it a shinier, more polished appearance. If you're going for a more matte or worn look, increase the roughness for a flatter finish.
You can also add a Fresnel effect to simulate the way light reflects off the surface at glancing angles. The Fresnel node can be connected to the specular input of the Principled BSDF shader to create a more realistic, glossy effect that mimics the natural reflection you would find on leather surfaces.
Fine-Tuning the Leather Texture
Once you’ve added the basic leather texture, surface details, and highlights, it’s time to fine-tune your material. Play around with the sliders for roughness, specular, and color until the leather appears natural. Leather often shows slight color variation due to its natural imperfections, so don’t be afraid to experiment with subtle changes in hue.
Additionally, you can add more detail with custom texture maps. If you have access to high-quality images of leather, these can be incorporated into your shader to provide even more realistic surface variation. Be sure to adjust the mapping to fit your model’s UV layout, ensuring the texture is applied correctly.
Rendering Your Leather Material
After you’re satisfied with the appearance of your leather material, it’s time to render your scene. Set up your camera and lighting to showcase the leather texture effectively. When lighting your leather object, keep in mind that leather can appear quite different under various lighting conditions. Try using soft, diffused light for a more natural look, and experiment with different lighting angles to highlight the material's details.
Before rendering, be sure to check your material in both the Viewport and the Render Preview to ensure that the texture looks realistic. Make final adjustments to the lighting, camera angles, and material properties as needed.
Creating realistic leather textures in Blender requires a combination of texture maps, procedural techniques, and fine-tuning to capture the natural imperfections of real leather. By following these steps, you can produce high-quality leather materials for your 3D models that add depth and realism to your creations. Leather textures are a crucial element in many industries, from interior design to gaming and animation, making this skill valuable for both professionals and hobbyists alike.
If you’re looking for additional textures and 3D models to enhance your designs, you can explore the Relebook website, where you can download high-quality textures and assets for your projects.
FAQ
What is the best way to create leather textures in Blender?
The best method involves using a combination of procedural textures, noise, bump maps, and normal maps. Start with a base noise texture to simulate the surface irregularities of leather, then refine it with a color ramp, roughness map, and bump or normal maps for more realistic depth.
Can I use real leather images for texture mapping in Blender?
Yes, real leather images can be used as texture maps in Blender. Just make sure the image is properly UV-mapped to the object to avoid distortion. You can also use these images for bumps or normal maps to enhance realism.
How do I create wrinkles or surface imperfections on leather?
To create wrinkles and surface imperfections, use a combination of procedural noise textures, grunge textures, and bump maps. These elements simulate the unevenness and natural wear found in real leather.
Why does my leather texture look flat in Blender?
If your leather texture looks flat, it may be due to insufficient bump or normal mapping. Ensure that your texture includes depth details and adjust the roughness and specular values in the shader to achieve the right finish.
How can I adjust the glossiness of my leather material?
You can adjust the glossiness of leather by tweaking the Roughness slider in the Principled BSDF shader. Lower roughness will create a shinier finish, while higher roughness will make the leather appear more matte and worn.

