How to Create HDR with a Single Image
HDR images significantly enhance the visual realism and impact of virtual scenes in architecture, interior design, and gaming. Typically, HDR effects are achieved by combining multiple photos taken at different exposures. However, it is also possible to simulate HDR using just one image in tools like Photoshop. This approach is particularly useful when you don’t have multiple exposure shots. In this article, we’ll walk you through the steps to create HDR effects from a single image, helping 3D modeling and rendering designers elevate their visual work.
1. Understanding HDR Images
What is an HDR Image?
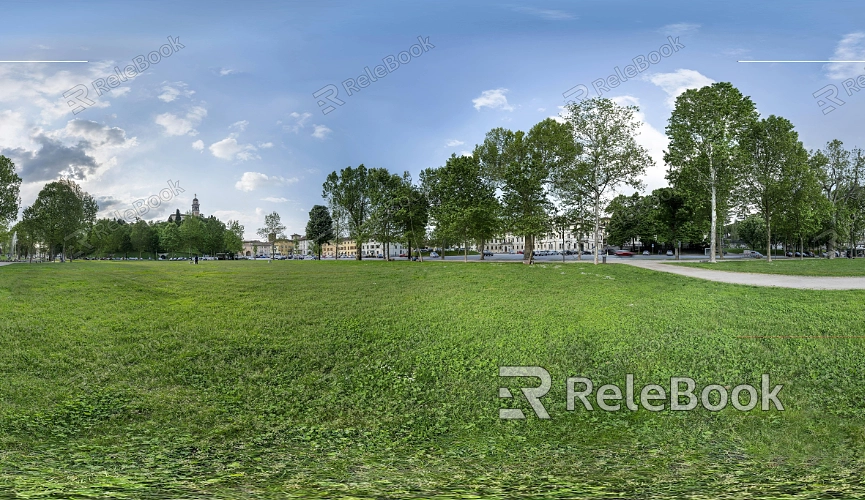
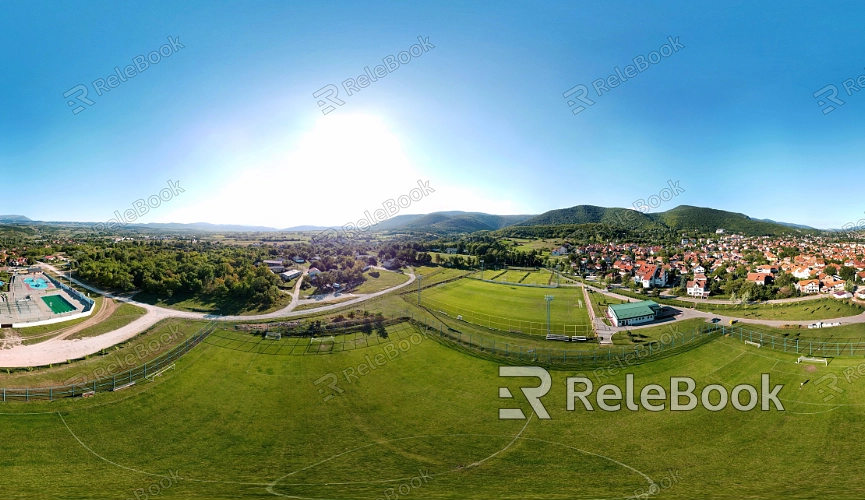
HDR images capture a broader range of brightness levels, revealing more detail and color. Unlike traditional images that display a limited dynamic range, HDR images can preserve details in both highlights and shadows, creating a more striking and realistic visual experience.
Application in 3D Design
In 3D modeling and rendering, HDR images are often used as environment lighting or reflection maps. They provide more realistic lighting and environmental effects, making the rendered images appear more natural and three-dimensional.
2. Preparing and Adjusting a Single Image
Choosing the Right Image
Select an image that has rich details and high contrast. Ideally, the image should have distinct highlights and shadows, which will better simulate the HDR effect.
Adjusting Exposure and Contrast
Open the image in Photoshop. Use the "Brightness/Contrast" tool under the "Image" menu to adjust the image’s contrast and exposure, thereby extending the dynamic range of the image.
Applying HDR Filters
Take advantage of Photoshop’s built-in filters to simulate HDR effects. Choose "Lens Correction" from the "Filter" menu and adjust the "Vignette" and "Color Brightness" settings in the "Custom" tab to enhance the contrast and detail of the image.
3. Creating HDR Effects with Layers and Adjustments
Duplicating Layers
Duplicate the original image to create multiple layers for different adjustments. Typically, you will need three layers: one for highlights, one for shadows, and one for mid-tones.
Applying Layer Adjustments
Apply different adjustments to each layer. Use the "Curves" or "Levels" tool under the "Image" menu to enhance details in each layer separately. The highlight layer can be made brighter, while the shadow layer can be darkened.
Merging Layers
Combine the adjusted layers into one. Use layer masks or adjust layer opacity to balance the effects across different layers, resulting in a final image that displays rich detail and contrast.
4. Enhancing the Effect with Color Grading and Sharpening
Applying Color Grading
Use the "Color Balance" or "Gradient Map" tool under the "Image" menu to adjust the image’s tone and color, making it more vivid and lifelike.
Sharpening the Image
To improve image clarity, use the "Sharpen" tool in the "Filter" menu. You can choose "Smart Sharpen" or "Sharpen" to enhance the details of the image.
Final Adjustments
Review the overall effect and make final tweaks as needed. Use the "Levels" or "Curves" tool under the "Image" menu to fine-tune the brightness and contrast, ensuring the HDR effect looks natural and balanced.
By following these steps, you can create HDR effects from a single image in Photoshop, enhancing the dynamic range and visual impact of your work. This method simplifies the process of creating HDR images, allowing you to achieve similar results without the need for multiple exposure photos. These techniques will help you achieve better visual results in your 3D design and rendering projects. If you’re looking for more high-quality HDR image resources, 3D textures, or models, Relebook is a great option. Downloading textures and models from Relebook and incorporating them into your projects can significantly elevate the quality of your work.
