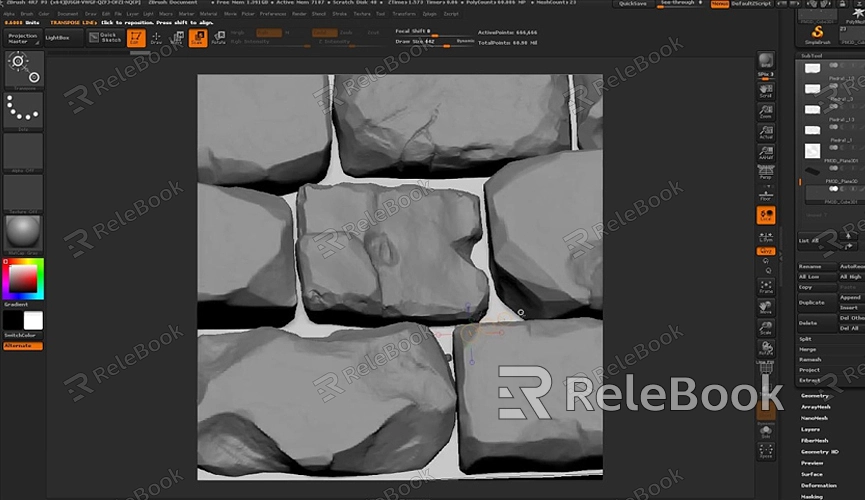
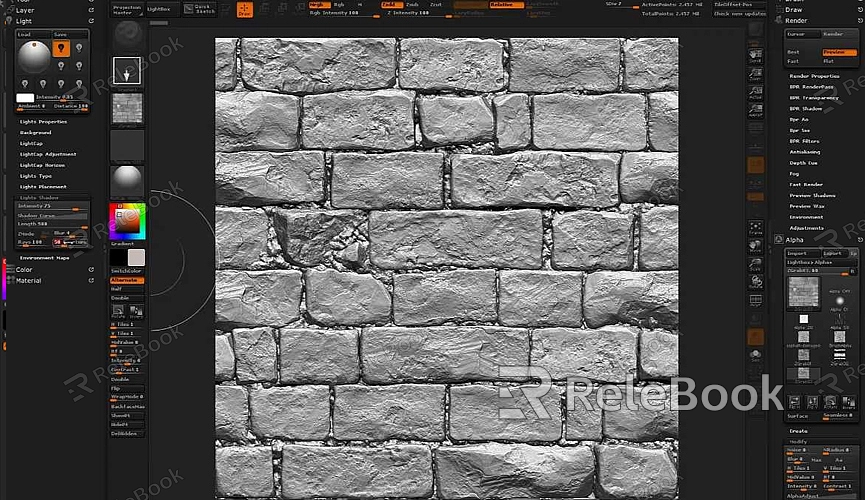
How to Use 3D Textures in ZBrush?

Understanding 3D Textures in ZBrush
Before diving into the process, it’s essential to understand what 3D textures are and why they are crucial in ZBrush. Textures in 3D modeling refer to the surface quality of a model, which can include color, bumpiness, shininess, and other attributes that define how the model's surface interacts with light. These textures are mapped onto the 3D model's surface, allowing for a more realistic or stylized appearance.
In ZBrush, textures can be used in conjunction with various features, such as PolyPaint, UV mapping, and displacement maps, to create detailed models. ZBrush supports several types of textures, including color textures, normal maps, displacement maps, and bump maps, each serving a different purpose in enhancing your model.
Preparing Your Model for Texturing
Before applying textures, your model needs to be prepared. This preparation involves several steps, including subdividing your model and creating UV maps.
1. Subdivision:
Subdivision is the process of adding more polygons to your model to make it smoother and more detailed. This step is crucial because textures require a sufficient level of detail to appear correctly. In ZBrush, you can subdivide your model by going to the Geometry panel and increasing the subdivision levels. Start with a low-resolution model and gradually increase the subdivisions to maintain control over the detailing process.
2. UV Mapping:
UV mapping is the process of unwrapping a 3D model into a 2D space so that textures can be accurately applied. ZBrush provides several tools for UV mapping, including UV Master, which is a plugin that simplifies the process. To create a UV map, go to the ZPlugin menu, select UV Master, and choose the "Unwrap" option. ZBrush will automatically generate a UV map for your model, which you can tweak as needed.

Applying Textures in ZBrush
Once your model is prepared, you can start applying textures. ZBrush allows for several methods of texturing, each suited for different tasks and levels of detail.
1. Using PolyPaint:
PolyPaint allows you to paint directly onto your 3D model without the need for a UV map. This feature is useful for quickly adding color and detail. To use PolyPaint, select the "RGB" button in the top left of the ZBrush interface, choose your brush, and begin painting on your model. You can import existing textures and use them as a base for PolyPainting by importing the texture into the Texture menu and selecting "Texture On."
2. Using Projection Master:
Projection Master is a powerful tool for applying textures and details to your model. It allows you to drop your model to the canvas, apply textures, and then pick it up again. To use Projection Master, go to the top menu and select the Projection Master button. From there, choose the settings that best suit your needs, such as color, material, and deformation, and apply your texture. After you're done, pick up the model, and the texture will be applied.
3. Using Spotlight:
Spotlight is another method to apply textures to your model. It allows you to project an image onto your model and paint over it. To use Spotlight, import a texture image into ZBrush's Texture menu and click the "Add to Spotlight" button. You can then position, scale, and rotate the image over your model and paint the texture onto the surface. This method is particularly useful for adding intricate details from a reference image.
Refining and Enhancing Textures
After applying the base textures, refining and enhancing them is key to achieving a polished look. ZBrush offers several tools for this purpose.
1. Using the Surface Noise Feature:
Surface Noise in ZBrush allows you to add procedural textures to your model. You can access this feature from the Tool menu by selecting the "Surface" tab and clicking on "Noise." Adjust the scale, strength, and other parameters to add subtle or dramatic textures to your model's surface.
2. Creating and Applying Displacement Maps:
Displacement maps are grayscale images that push and pull the surface of your model to create high-resolution details. To create a displacement map, sculpt the high-resolution details on your model, then generate a displacement map from the lowest subdivision level. Apply this map to the model to recreate the fine details without needing millions of polygons.
3. Baking Textures:
Baking textures involves transferring the details from high-resolution models onto lower-resolution models. This process is crucial for optimizing your model for real-time applications or rendering. In ZBrush, you can bake textures such as normal maps, ambient occlusion, and cavity maps using the "Multi Map Exporter" plugin. These maps can then be applied to the low-resolution model to maintain the appearance of detail without the computational overhead.
Exporting Your Textured Model
Once your model is fully textured, you may need to export it for use in other software or for rendering. ZBrush allows for the export of models and textures in various formats.
1. Exporting Models:
To export your model, go to the Tool menu and select "Export." Choose the desired file format, such as OBJ or FBX. These formats support the inclusion of texture maps, so ensure your textures are correctly applied before exporting.
2. Exporting Textures:
Textures can be exported separately from the Texture menu. Select the texture you wish to export and click "Export." Save the file in a format like PNG or TIFF for compatibility with other 3D software or rendering engines.
FAQ
Can I use 3D textures from other software in ZBrush?
Yes, ZBrush supports the import of textures created in other software. You can import textures in various formats, such as PNG, JPEG, or TIFF, and apply them to your model using the methods outlined above.
How can I fix seams in my textures?
Seams occur when textures don't align perfectly across UV borders. You can fix seams by adjusting the UV map in UV Master, or by using the "Fix Seams" function in the Texture Map menu, which helps blend the edges of the textures.
What is the difference between normal maps and displacement maps?
Normal maps add the appearance of detail to a model by altering how light interacts with its surface, but they don’t change the actual geometry. Displacement maps, on the other hand, physically alter the model’s geometry based on grayscale values, creating true 3D detail.
Can I apply multiple textures to a single model in ZBrush?
Yes, you can apply multiple textures to different parts of a model using different UV maps or by masking areas and applying textures selectively with tools like PolyPaint or Spotlight.
How do I optimize textures for real-time rendering?
For real-time rendering, it’s crucial to use normal maps and lower-resolution textures to reduce the model’s overall polygon count. Baking high-resolution details into normal and displacement maps can help maintain visual quality while optimizing performance.

