Where Does HDR Efex Save Images
HDR Efex Pro is a popular plugin widely used in various 3D modeling software such as 3ds Max, Blender, and Cinema 4D. This plugin allows designers to enhance image quality through a range of effects and adjustments. Knowing how to locate and manage the saved images when using HDR Efex Pro is crucial for efficient workflow management. This article explores where HDR Efex Pro saves images, helping designers streamline their processes.

1. Default Save Locations for HDR Efex Pro
Overview of Default Save Locations
HDR Efex Pro typically saves processed images to a default folder. The exact location may vary depending on the operating system and plugin settings. Generally, images are saved in the user’s "Pictures" folder or a directory specified within the HDR Efex Pro plugin.
Custom Save Locations
To better manage project files, users can set a custom save location in HDR Efex Pro’s settings. This helps avoid confusion between multiple projects and ensures that all related images are stored in a centralized location for easy access and management.
2. Finding Saved HDR Images in 3ds Max
File Browser
In 3ds Max, users can quickly access saved HDR images using the built-in file browser. After opening 3ds Max, go to the "File" menu, choose "Open" or "Import," and navigate to the folder where the images are saved. This is the most direct method for locating processed HDR images.
Plugin Settings Check
In some cases, HDR Efex Pro might specify the save path in the plugin settings. Checking the plugin settings can help confirm where images are saved. Open the plugin settings window in 3ds Max and look for HDR Efex Pro’s options to find the save path configuration.
3. Locating Processed Images in Blender
Blender’s File Browser
Blender offers a file browser that makes it easy to locate saved HDR images. In Blender, select the "File" menu and choose "Browse Data" to navigate to the folder where images are saved. This method allows for quick access to image files for further use.
Output Settings Check
Blender’s output settings can also help identify where images are saved. Open the render settings panel in Blender and check the image output path. This setting typically shows the location of all saved image files, helping users quickly locate their processed HDR images.
4. Managing HDR Images in Cinema 4D
Render Output Path
In Cinema 4D, users can manage image save locations through the render settings window. Open Cinema 4D, go to the "Render Settings" panel, and review the output path settings. These settings display the directory where HDR images are saved, ensuring that all processed images are stored in the specified location.
Using External File Management Tools
For users managing a large number of images, Cinema 4D allows the use of external file management tools to organize and find images. Set up a dedicated folder on your computer for all processed HDR images and use file management tools to categorize and manage them effectively.
Understanding how to locate saved HDR images across different 3D modeling software can greatly enhance workflow efficiency and prevent file loss or confusion. By following the guidance provided, you can easily find and manage processed HDR images in 3ds Max, Blender, and Cinema 4D. This will help you better organize project files and ensure a smooth post-processing workflow.
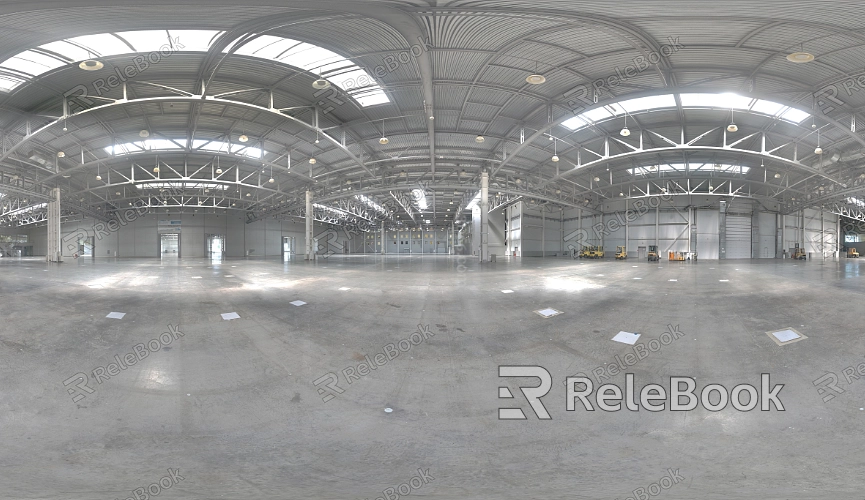
If you’re looking for high-quality HDR image resources, 3D textures, or models, Relebook is an excellent option. Relebook offers a vast resource library to help you find the images and materials you need to elevate your design work. Explore Relebook to take your rendering results to the next level.
