How to Paint Textured Wallpaper?
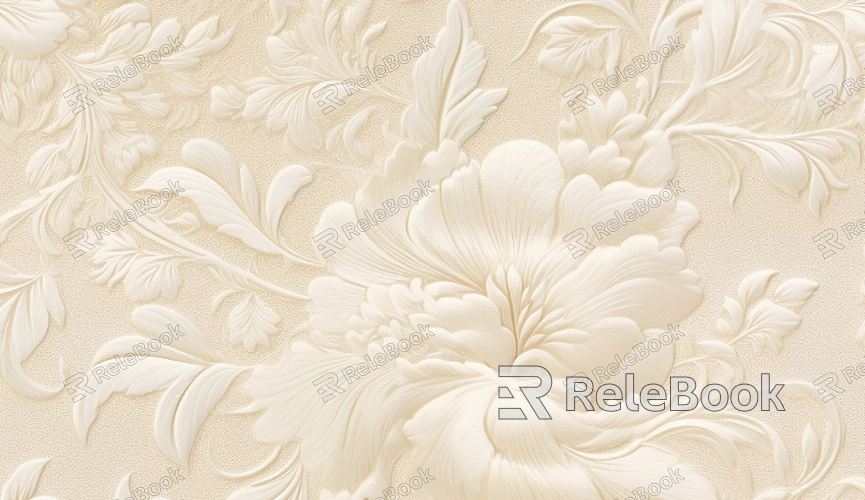
Textured wallpaper adds a unique character to a room, but when it's time to update or change the look, painting over it can seem overwhelming. The uneven surfaces and intricate designs that make textured wallpaper attractive also present challenges when applying a fresh coat of paint. However, with the right preparation and technique, painting over textured wallpaper is a feasible and rewarding DIY project. This guide will walk you through the steps involved, share helpful tips, and answer common questions to make the process smoother and more successful.

Evaluate the Wallpaper’s Condition
Before diving into the painting process, it’s crucial to assess the condition of your textured wallpaper. If the wallpaper is peeling, lifting at the edges, or suffering from damage, you might need to consider removing it entirely or making repairs first. Peeling wallpaper can cause the paint to lift and will result in an uneven, unprofessional finish. If the wallpaper is securely attached to the wall with no visible damage, it’s usually safe to paint over it. Minor tears or gaps can be fixed with wallpaper adhesive or a patching compound, ensuring a smooth surface for painting.
Clean the Surface Thoroughly
Cleaning the textured wallpaper before painting is essential to ensure the paint adheres well. Dust and dirt can accumulate in the grooves and patterns, leading to uneven paint coverage. Use a soft cloth or a sponge and mild detergent mixed with water to gently scrub the wallpaper. Avoid soaking the wallpaper, as too much water can loosen it from the wall. Once cleaned, allow the surface to dry completely. If necessary, use a vacuum with a brush attachment to remove any stubborn dust or dirt from the texture.
Apply a Primer Designed for Textured Surfaces
Priming is one of the most important steps when painting over textured wallpaper. A high-quality bonding primer will create a stable foundation, helping the paint adhere better and providing a smoother finish. Make sure to choose a primer specifically designed for wallpapered walls or textured surfaces. These primers are formulated to penetrate the grooves and rough textures, ensuring even paint application later on.
Use a brush to apply the primer in the crevices of the texture and a roller for larger areas. Work in small sections to ensure you cover the entire surface evenly. Allow the primer to dry thoroughly before moving on to the next step. Depending on the product you use, this may take several hours to overnight.

Choose the Right Paint
When selecting paint, you want to ensure it complements the texture while providing good coverage. For textured surfaces, it’s best to use acrylic-based paint, as it offers excellent adhesion and flexibility, ensuring long-lasting results. Acrylic paints also dry quickly and are less prone to cracking compared to other paint types.
The finish of the paint also matters. A matte or satin finish is ideal for textured wallpaper because these finishes tend to highlight the texture without creating too much shine. Glossy finishes can make the surface appear uneven, drawing attention to imperfections. A satin finish provides a slight sheen while maintaining a smooth, uniform look. If you prefer a higher gloss, semi-gloss paints can work, but be prepared for some of the texture to stand out more.
Painting Over the Textured Wallpaper
Now comes the main event—applying the paint. Begin by cutting in the edges with a small brush, especially around the corners, ceiling, and baseboards. Take your time with this step to avoid any messy edges and ensure clean lines. A steady hand is essential, particularly when working near trim or areas where you don’t want paint to spill over.
For the larger areas, use a thick-napped roller. A roller with a ¾-inch to 1-inch nap will work best for textured wallpaper, as it can reach into the grooves and depressions of the texture, applying paint evenly. Start by loading the roller with paint and applying it in a ‘W’ or ‘M’ motion, which helps spread the paint more evenly. Work in sections, covering a manageable area at a time. Avoid overloading the roller, as too much paint can drip into the textured areas, leading to an uneven finish.
Once the first coat is applied, allow it to dry completely before adding a second coat. Textured surfaces may require more coats than flat walls, so be patient. After the second coat, inspect the wall for any areas that may need a touch-up. If the paint has settled unevenly in some places, a third coat might be necessary. Let the final coat dry thoroughly before moving on.
Consider Special Techniques for Heavier Textures
Some textured wallpapers, particularly those with pronounced designs or heavy embossing, may require additional steps to achieve an even finish. In these cases, a thick, high-build paint can be a useful option. This type of paint is designed to cover deeper textures, ensuring a more consistent look. Alternatively, you may choose to apply the paint using a brush rather than a roller to control the amount of paint used and prevent drips in the grooves.
If the texture is too intricate, or you want to maintain its appearance but slightly tone it down, consider using a technique called dry brushing. This involves using a small amount of paint on a dry brush to lightly coat the surface, leaving some of the texture visible. This technique can create a subtle, sophisticated look while enhancing the textured design.
Finishing Touches
Once you’ve applied the necessary coats of paint and allowed them to dry completely, it’s time for the finishing touches. Inspect the wall for any areas where paint may have dripped onto the trim or floor, and clean these up carefully. If necessary, touch up any areas where the paint coverage isn’t as even as you would like.
You may also want to add a coat of clear sealer to protect the painted wallpaper, especially in areas with heavy traffic or moisture exposure. A clear satin or matte sealer can protect the paint while preserving the texture of the wallpaper beneath. Be sure to choose a sealer compatible with the type of paint you use.
Painting over textured wallpaper can be a straightforward process with the right preparation and technique. By cleaning the surface, priming properly, selecting the right paint, and using the correct tools, you can achieve a smooth, even finish that enhances the texture rather than hiding it. With these steps in mind, you’re ready to transform your space with a fresh new look. For additional design inspiration and resources, don't forget to explore 3D models and textures available on the Relebook website to bring even more creativity to your interior projects.
FAQ
Can I paint over any textured wallpaper?
Yes, you can paint over most textured wallpapers as long as they are in good condition and securely attached to the wall. If the wallpaper is damaged or peeling, it’s best to repair or remove it first.
How do I deal with deep textures in wallpaper?
For deep textures, you can use a thicker paint or a high-build primer to fill in the grooves. Alternatively, you can apply the paint using a brush for better control over coverage in intricate patterns.
How long should I wait between coats of paint?
Typically, it’s recommended to wait 4-6 hours between coats, depending on the paint type and the humidity of your environment. Ensure that each coat is completely dry before applying the next.
What type of roller should I use for textured wallpaper?
For textured wallpaper, choose a thick-napped roller (¾-inch to 1-inch nap) that will allow the paint to get into the grooves and uneven areas of the texture.

