How to Process HDR Images
In fields such as architectural visualization, interior design, and environmental modeling, HDR technology significantly enhances the visual impact and realism of images. It has become a crucial step in achieving realistic rendering effects with software like 3ds Max, Blender, and Cinema 4D. This article will explore how to process HDR images and provide practical guidelines for doing so.
1. Basic Concepts and Applications of HDR Image Processing
Basic Concepts of HDR Image Processing
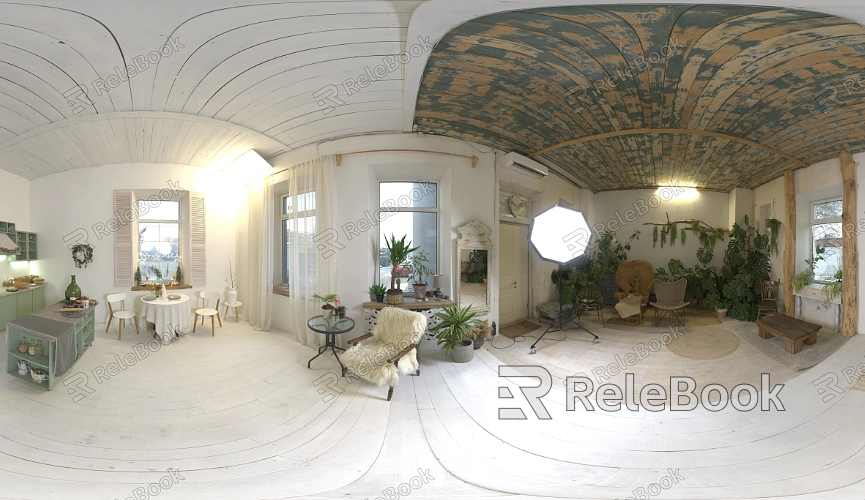
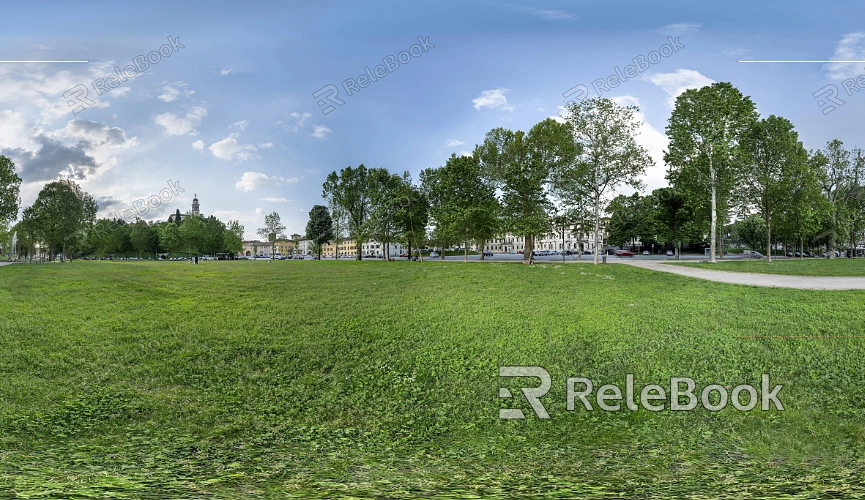
HDR image processing involves combining multiple images taken at different exposures to create a high dynamic range image. This technique captures a broader range of light and detail from a scene, resulting in a more natural and realistic visual effect. HDR image processing is particularly valuable in scenes requiring complex lighting and shadow effects, such as architectural interiors and external environments.
Applications of HDR Image Processing
In 3D modeling and rendering, HDR technology is widely used in software like 3ds Max, Blender, and Cinema 4D. Designers leverage HDR image processing to enhance the light and color depth of rendered images, making the final output more visually striking. This is especially crucial for projects that demand high-quality visual representation, such as virtual reality, advertising, and special effects.
2. Basic Steps for HDR Image Processing
Image Capture and Selection
The first step in HDR image processing is capturing images at different exposures. Typically, at least three photos are needed: one at normal exposure, one overexposed, and one underexposed. These images capture varying brightness levels, providing the raw material for HDR composition.
HDR Image Composition
HDR image composition requires specialized software tools such as Photoshop, Photomatix, or HDR Efex Pro. Import the selected images into these programs and use the HDR composition feature to merge them into a single high dynamic range image. This process is usually automated, with the software adjusting the brightness details and combining them into an image that covers the full range of light.
Image Adjustment and Optimization
After creating the HDR image, further adjustments are often necessary. Designers can use image editing software to fine-tune the color, contrast, and details of the image. The goal is to maintain a natural appearance while maximizing visual impact. This step is crucial, as improper adjustments can lead to image distortion or unnatural visual effects.
3. Processing HDR Images in 3D Software
Processing HDR Images in 3ds Max
Launch 3ds Max and load the required image assets.
Use HDRI features in V-Ray or other rendering engines to compose the HDR image from different exposures.
Adjust lighting settings and exposure controls to achieve the best rendering results.
Export the final HDR image for further use or editing in your project.
Processing HDR Images in Blender
Open Blender and go to the “Render Settings” panel.
Use Blender’s built-in HDRI composition tools to import and merge images of different exposures.
Adjust HDRI intensity and color balance to optimize the final rendering effect.
Render the image and save the HDR image file for future use.
Processing HDR Images in Cinema 4D
Start Cinema 4D and import the relevant image assets.
Utilize Cinema 4D’s HDR composition tools to combine multiple exposures into one HDR image.
Configure how the HDR image will be used in the rendering settings, and adjust lighting and material properties as needed.
Export the processed HDR image for use in project development.
4. Post-Processing and Application
Post-Processing the Image
The final HDR image often requires last-minute adjustments in an image editing software. Designers can tweak color, contrast, and brightness settings to ensure optimal performance across different display devices. Additionally, tools can be used to correct any flaws in the image, further enhancing its visual quality.
Applying HDR Images to Projects
Incorporate the processed HDR image into 3D models and scenes, making fine adjustments to lighting and environmental effects as needed. High-quality HDR images can greatly enhance rendering results, making scenes appear more realistic and visually impactful. In practice, applying HDR images helps designers achieve higher visual standards and improve the quality of the final work.
By learning how to process HDR images, designers can significantly elevate image quality and visual effects in 3D modeling and rendering. The steps and tips provided in this article will help you efficiently create and use HDR images in your projects. For additional high-quality HDR images, 3D textures, or models, Relebook is an ideal resource. With a comprehensive library of assets, Relebook makes it easy to find the images and materials you need to enhance your designs. Explore Relebook and take your rendering work to the next level.
