How to HDR an Image
HDR processing enhances the visual impact and realism of images by merging multiple exposures to capture the full range of light and detail within a scene. This technique is commonly used in rendering and modeling within software like 3ds Max, Blender, and Cinema 4D. In this article, we’ll explore how to perform HDR processing in these 3D software programs and provide practical steps to achieve optimal results.
1. Understanding HDR Processing and Its Applications
The Basics of HDR Processing
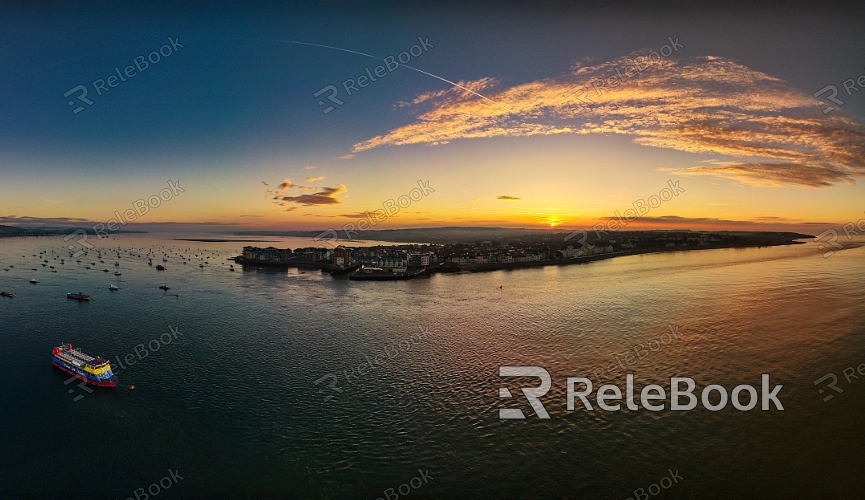
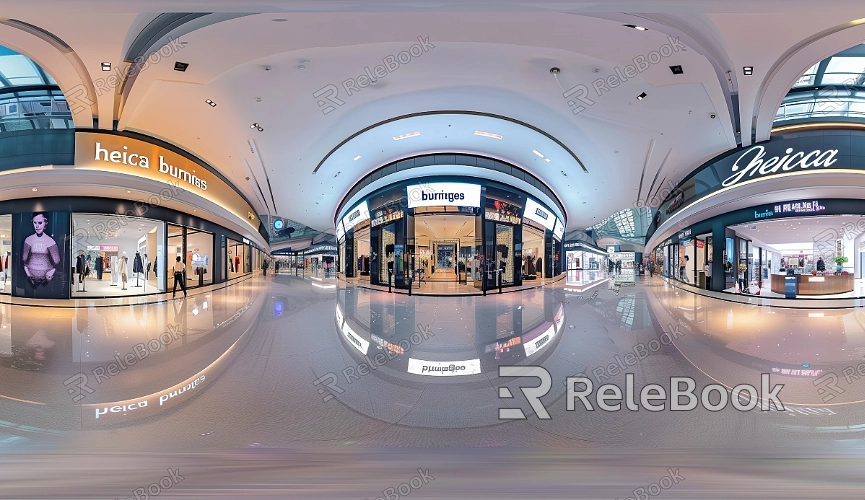
HDR processing involves combining several images taken at different exposures to create a single image with a wider range of brightness. This allows the image to capture details in both the highlights and shadows, offering a more natural and realistic representation of the scene. HDR is particularly useful in scenarios that require high levels of detail and realism, such as indoor and outdoor environmental renderings, architectural visualization, and complex lighting effects.
Application Scenarios
In 3D modeling software, HDR techniques are widely employed in tools like 3ds Max, Blender, and Cinema 4D. Designers use HDR processing to enhance the visual impact of their renders, resulting in a more lifelike and detail-rich final product.
2. Basic Steps for HDR Processing
Selecting the Right Images
Before performing HDR processing, it’s essential to capture or select multiple images at different exposures. Typically, you’ll need at least three images: one properly exposed, one overexposed, and one underexposed. These images should collectively cover the full range of brightness in the scene.
Merging HDR Images
Use professional software to merge the images. Most 3D software and image editing tools, such as Photoshop, Photomatix, and HDR Efex Pro, offer HDR merging capabilities. Import the selected images into the software and use the merge function to create a single HDR image. The software will automatically process the details from different exposures, resulting in a high dynamic range image.
Adjusting and Optimizing
The merged HDR image may require further adjustments. Use the editing tools within the software to correct colors, adjust contrast, and sharpen the image. It’s crucial to maintain the natural look of the image while avoiding overprocessing, which can lead to unnatural results.
3. Performing HDR Processing in Popular 3D Software
In 3ds Max
Open 3ds Max and load the necessary image assets.
Use the HDRI feature within V-Ray or other rendering engines to merge the images into an HDR image.
Adjust the lighting and exposure settings in the render settings for the best results.
Export the final HDR image for further rendering and editing.
In Blender
Open the "Render Settings" panel in Blender.
Use Blender’s HDRI merging tool to import and merge images with different exposures.
Adjust the intensity and color balance of the HDRI to optimize the image.
Render and save the HDR image file.
In Cinema 4D
Launch Cinema 4D and import the required images.
Use Cinema 4D’s HDR merging function to combine the images into one HDR image.
Configure the render settings to use the HDR image, adjusting lighting and material properties as needed.
Complete the rendering and export the processed HDR image.
4. Post-Processing and Application
Post-Processing the Image
Processed HDR images often require additional adjustments in image editing software. Use tools to correct any color inconsistencies, optimize contrast, and adjust brightness. This ensures that the image will look its best across various display devices.
Applying the HDR Image to Projects
Apply the processed HDR image to your 3D models and scenes. Depending on your needs, you may need to adjust the image’s lighting and environmental effects to enhance the realism and visual appeal of the scene. High-quality HDR images can significantly improve the final render’s quality.
Understanding how to perform HDR processing can help designers enhance image quality and visual effects. By following the steps outlined in this article, you can efficiently create and use HDR images in your 3D modeling and rendering projects. If you’re looking for more high-quality HDR image resources, 3D textures, or models, Relebook is an excellent choice. Relebook offers a vast library of resources to help you easily find the images and assets you need, elevating your design work to the next level. Explore Relebook and take your renderings to new heights.
