How to Make a 3D Model of an Insect?
Research and Reference Collection
Before diving into the technical aspects of 3D modeling, gathering reference materials is crucial. A thorough understanding of the insect you'd like to model will greatly impact the accuracy and realism of your final product.
1. Choosing the Insect
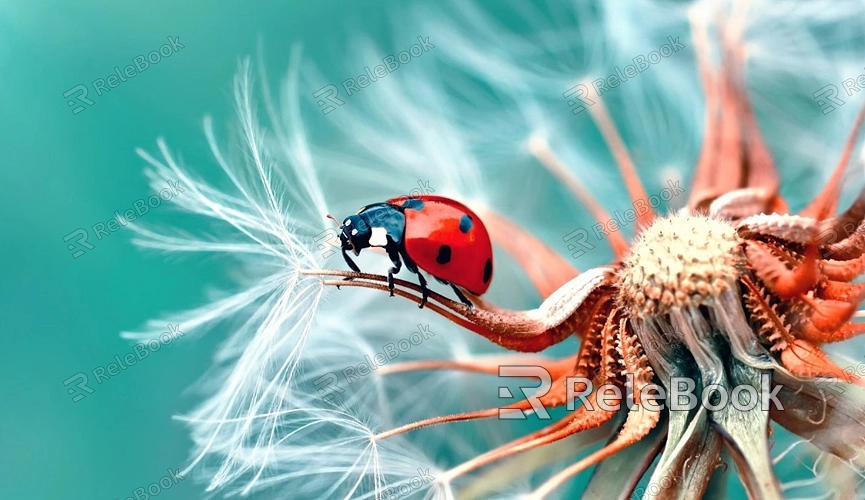
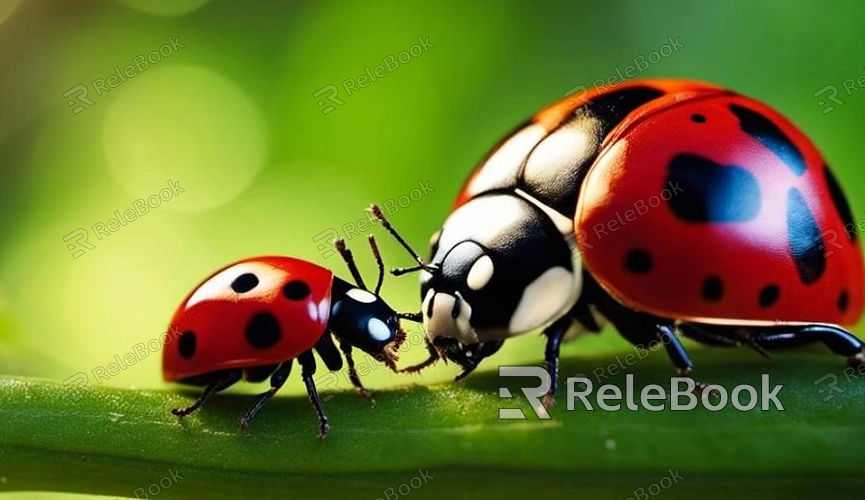
Select the insect species you want to model. Common choices include butterflies, beetles, and dragonflies. Research the insect's anatomy, including its body segments, wings, and legs. Use scientific resources, field guides, and high-resolution photographs to get a comprehensive view of the insect.
2. Collecting Reference Images
Obtain a variety of images from different angles to capture the insect’s full structure. These images will serve as a guide throughout the modeling process. Ensure that your references include close-ups of intricate details such as wing patterns and leg structures.
Setting Up the Workspace
A well-organized workspace is essential for efficient modeling. Depending on your software of choice, the setup process may vary, but the general principles remain consistent.
1. Choosing the Software
Select a 3D modeling software that suits your needs. Popular options include Blender, Autodesk Maya, and 3ds Max. Each software has its strengths, so choose one based on your familiarity and the complexity of the model you wish to create.
2. Configuring the Environment
Set up your software workspace with a clean and organized layout. Import your reference images into the software, aligning them as background images or using them as textures. This setup will help guide your modeling process and ensure accuracy.
Modeling the Basic Structure
Start by creating the fundamental shapes and structures of your insect. This step involves blocking out the primary forms before adding finer details.
1. Creating the Body
Begin by modeling the insect's body, focusing on the main segments: head, thorax, and abdomen. Use basic shapes such as cylinders and spheres to block out these segments. Gradually refine the shapes to match the proportions and curvature of the insect.
2. Adding Limbs and Wings
Model the legs and antennae separately. For insects with wings, create a separate model for the wings, paying attention to their structure and how they attach to the body. Use your reference images to ensure that the limbs and wings are accurately proportioned and positioned.
Adding Details and Refining the Model
With the basic structure in place, it’s time to focus on adding intricate details that bring realism to your model.
1. Detailing the Body
Add details such as segmentation lines, texture, and any unique markings that are characteristic of the insect. Use sculpting tools to refine the model’s surface, adding finer features like the texture of the exoskeleton.
2. Texturing and UV Mapping
Create UV maps for your model to ensure that textures apply correctly. Develop or source high-quality textures that match the insect’s appearance. Apply these textures to the model, making adjustments as necessary to achieve a realistic look.
Rigging and Animation (Optional)
If you plan to animate your insect model, rigging is the next step. Rigging involves creating a skeletal structure that allows you to move and pose the model.
1. Creating the Rig
Design a rig that includes bones and joints corresponding to the insect’s anatomy. This rig will enable you to manipulate the model’s limbs and body segments effectively.
2. Animating the Model
If animation is part of your project, create animations for various movements such as walking or flying. Use keyframes to define movement sequences and test the animation to ensure smooth transitions.
Rendering and Exporting
Once your model is complete, rendering and exporting are the final steps before presenting or using the model in other applications.
1. Setting Up the Render
Configure the rendering settings to produce high-quality images or animations of your model. Adjust lighting, camera angles, and material properties to enhance the visual appeal of your render.
2. Exporting the Model
Export the model in a suitable format for your intended use. Common formats include OBJ, FBX, and STL. Ensure that the export settings retain the quality of the textures and details.
FAQ
What software is best for beginners to create a 3D insect model?
Blender is an excellent choice for beginners due to its comprehensive features and active community. It’s free to use and supports a wide range of modeling and texturing tools.
How can I ensure my 3D model is anatomically accurate?
Use detailed reference images and study the insect’s anatomy. Consider consulting entomological resources or experts if you’re aiming for high accuracy.
Is it necessary to animate the insect model?
Animation is optional and depends on your project goals. If you need to show the insect in action or use it in interactive applications, rigging and animating will be beneficial.
How do I choose the right textures for my model?
Select textures that match the insect’s appearance based on your reference images. You can create custom textures or use texture libraries available online.
Can I use my 3D model in virtual reality (VR) or augmented reality (AR) applications?
Yes, 3D models can be used in VR and AR applications. Ensure your model is optimized for performance and compatible with the software or platform you are using.
