How to Render and Light a Room Blender
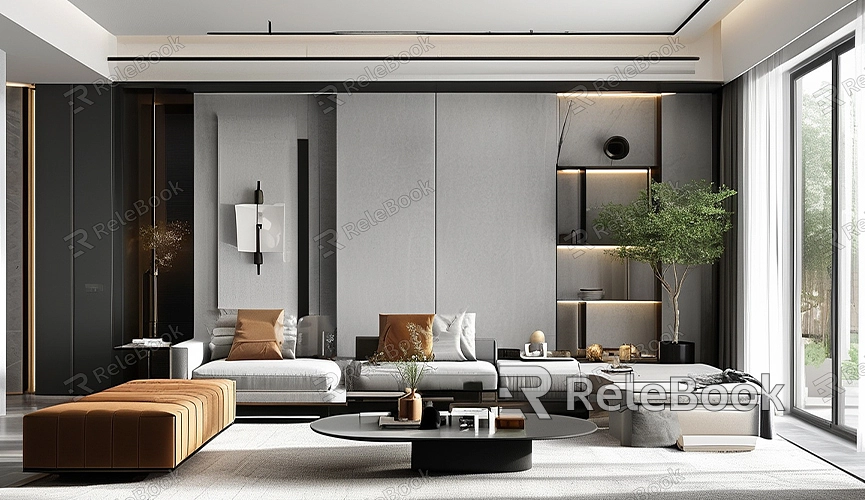
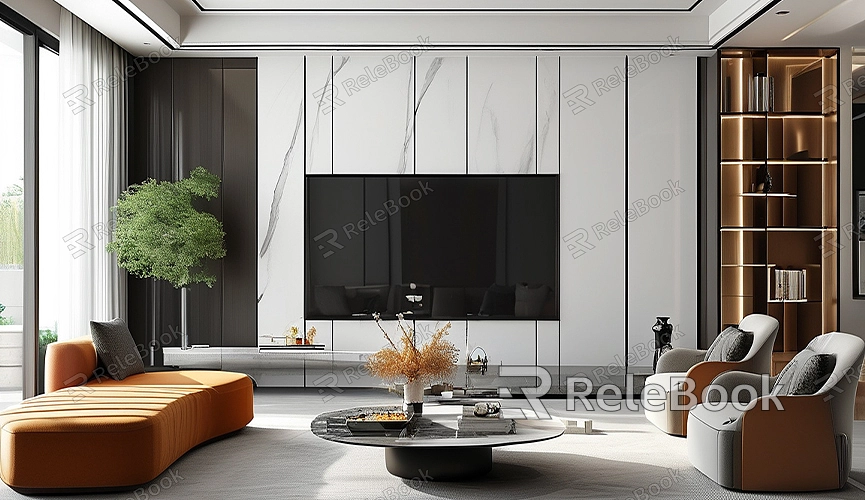
Blender is a powerful 3D modeling and rendering software that can help creators achieve various complex visual effects. In this article, we'll detail how to render and light a room in Blender. Whether you're a beginner or an experienced user, this guide will provide you with practical tips and instructions.
Creating the Room Model

First, you need to create a basic room model. Start with a simple cube and gradually add details.
1. Open Blender: Start Blender and delete the default cube (select it and press X to delete).
2. Add Base Geometry: Press Shift+A to open the Add menu, select “Mesh,” and choose “Cube.”
3. Adjust the Cube: Use the G (move), S (scale), and R (rotate) keys to shape the cube into the basic structure of the room.
4. Extrude for Height: Switch to Edit Mode (press Tab), select the top face, and press E to extrude, creating the height of the room.
Adding Details and Furniture
Next, add furniture and other details to make the room look more realistic.
1. Create Furniture: Use the same method (Shift+A to add geometry, G/S/R keys to adjust) to create furniture like tables, chairs, and beds.
2. Import Models: You can also download pre-made 3D models from the internet and import them into Blender.
Setting Materials and Textures

A realistic room requires appropriate materials and textures. Blender offers a wide range of material and texture settings.
1. Create Material: Select a face of the room, go to the Materials tab, and click “New” to create a new material.
2. Adjust Material Settings: In the material settings, adjust parameters like color, reflectivity, and roughness.
3. Add Textures: Add an image texture node in the material settings and load your texture image. Adjust UV mapping as needed.
4. High-Quality Resources: For high-quality 3D textures and HDRIs, you can download them for free from [Relebook Textures](https://textures.relebook.com/).
Lighting Setup
Lighting is a crucial step in rendering. Proper lighting can significantly enhance the realism of the scene.
1. Add Light Sources: In Object Mode, press Shift+A, select “Light,” and choose from types like “Point Light,” “Spotlight,” or “Area Light.”
2. Adjust Light Properties: After selecting a light source, adjust its power, color, and position in the Properties panel.
3. Use HDRI for Natural Lighting: To simulate natural light, add an HDRI texture to the scene for global illumination. For high-quality 3D models, visit [Relebook 3D Models](https://3dmodels.relebook.com/), which offers a wide range of premium 3D resources.
Rendering Settings
Before rendering, configure the rendering parameters to ensure the output quality meets your expectations.
1. Select Render Engine: Open the Render Properties panel and choose a render engine (e.g., Cycles or Eevee).
2. Adjust Sampling: Increase the number of samples for higher image quality, but be aware that this will increase render time.
3. Set Output Properties: In the Output Properties panel, set the resolution and output format for your image.
Rendering Output
Once your settings are configured, you can start the rendering process. Click “Render” > “Render Image” from the top menu. After rendering, save the final image from the “Image” menu.
By following these steps, you can create a realistic room scene in Blender and perform high-quality rendering and lighting. To summarize, creating a lifelike room model involves integrating modeling, materials, textures, and lighting techniques. For high-quality 3D textures and HDRIs, visit [Relebook Textures](https://textures.relebook.com/). For beautiful 3D models, check out [Relebook 3D Models](https://3dmodels.relebook.com/), where you can find a wide range of top-notch 3D resources. We hope this article helps you improve your Blender skills and create outstanding work.

