How to Apply HDR Textures in Blender
HDR textures are powerful tools frequently used to enhance scene lighting and reflection effects. Whether you're creating realistic interior environments, automotive renderings, or natural simulations, HDR textures can provide a more authentic light and reflection experience. This leads to the common question of how to correctly apply HDR textures in software like Blender, 3ds Max, and Cinema 4D. This article will walk you through the steps and techniques to apply HDR textures in Blender, helping you make the most of this resource to improve the quality of your work.
1.What Is an HDR Texture?
HDR (High Dynamic Range) textures are images containing a significant amount of lighting information, capturing a wide range of brightness levels within a scene. Unlike traditional 8-bit images, HDR textures are typically stored in a 32-bit floating-point format, allowing for more precise representation of light intensity and color. This makes HDR textures ideal for achieving realistic lighting effects in 3D scenes.
Why Use HDR Textures in Blender?
Blender, a powerful open-source 3D software, fully supports the use of HDR textures. When rendering, HDR textures can offer more accurate environmental lighting and reflection effects, making your scenes appear more lifelike. This is particularly crucial in fields such as product visualization, architectural rendering, and visual effects for film.
2.Importing HDR Textures in Blender
To apply HDR textures in Blender, the first step is to import the texture into the software.
Downloading and Selecting the Right HDR Texture
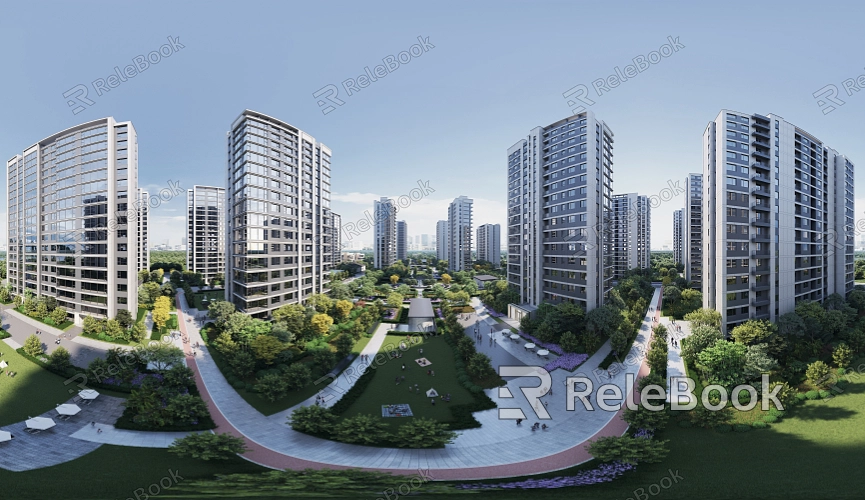
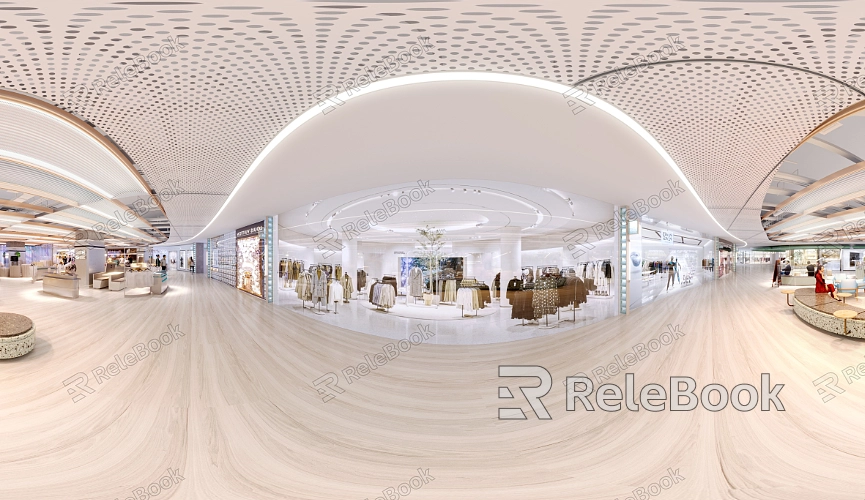
Relebook is an excellent resource where you can download HDR textures that best suit your scene. Depending on your environment’s atmosphere and lighting needs, you can choose from textures like daylight, indoor, and nighttime environments.
Importing HDR Textures in Blender
Once Blender is open, navigate to the "Shader Editor." In the "World" node section, add an "Environment Texture" node, and import your downloaded HDR texture into this node. Finally, connect the "Environment Texture" node to the "Color" input of the "Background" node, applying the HDR texture to your scene.
3.Adjusting HDR Texture Settings
After importing an HDR texture, you’ll likely need to make some adjustments to ensure it provides the best possible lighting effects for your scene.
Adjusting the Rotation of the HDR Texture
You can use the "Mapping" node to adjust the direction of the HDR texture within the scene. By tweaking the "Rotation" parameters, you can change the direction of the lighting to suit the specific needs of your scene.
Controlling Light Intensity
Through the "Strength" parameter in the "Background" node, you can control the intensity of the light provided by the HDR texture. If the lighting appears too strong or too dim, adjusting this parameter will help you achieve the desired effect.
4.Using HDR Textures for Realistic Rendering
HDR textures not only provide environmental lighting but also enhance reflection effects on the surfaces of objects.
Creating Realistic Reflection Effects
HDR textures can generate realistic reflections on object surfaces. By adding a "Glossy BSDF" node in the material editor and connecting it to a "Shader Mix" node, you can make object surfaces reflect the light sources present in the HDR texture.
Enhancing Overall Scene Lighting with HDR
HDR textures can serve as the primary light source for your scene, delivering more natural lighting effects. By adjusting the reflectivity and roughness of objects in conjunction with HDR lighting, you can achieve more convincing render results.
5.Troubleshooting Common Issues with HDR Textures
Designers may encounter common issues when using HDR textures. Here are some solutions:
HDR Texture Appears Too Dark or Too Bright
If the HDR texture’s lighting is too dark or bright, adjust the "Strength" parameter in the "Background" node to optimize the light intensity. Additionally, ensure that no other light sources in the scene are interfering with the HDR texture’s effect.
HDR Texture Doesn’t Fit the Scene
If the HDR texture doesn’t match the scene, consider switching to a different HDR texture or use the "Mapping" node to adjust the rotation and scale parameters until you find the best fit.
6.Rendering HDR Textures in Blender’s Cycles
Blender’s Cycles rendering engine can fully leverage the high dynamic range of HDR textures, producing realistic lighting effects.
Enabling HDR Rendering in Cycles
Make sure Cycles is enabled in the render settings, and that the HDR texture is properly configured. In the render options, enabling "Filmic" color management can help better handle high dynamic range lighting information.
Adjusting Render Settings
Depending on your scene’s requirements, adjust the bounce count and sample numbers for ray tracing to improve both render quality and speed. Proper settings can reduce noise and enhance the lighting effects from the HDR texture.
Using HDR textures in Blender can significantly enhance the realism and quality of your 3D scenes. By correctly importing and adjusting HDR textures and resolving common issues, designers can better control lighting and reflection effects. If you’re looking for more high-quality HDR image resources, 3D textures, Sketchup models, or 3ds Max models, downloading textures and models from Relebook and importing them into 3D Max can greatly improve the quality of your work.
