How to Load a Texture to Paint 3D
In 3D modeling, applying textures to models is a crucial step in the design process, especially when working with detailed character models, environments, or props. While professional software like Blender, Maya, and 3ds Max offers powerful texture handling features, Paint 3D provides a lightweight, user-friendly alternative for simpler projects or beginners. As a 3D designer, I've often used Paint 3D for quick modeling and texture application. In this guide, I will walk you through the process of loading textures in Paint 3D, helping you complete your projects efficiently while maintaining design quality.

Preparing Your Texture Files
Before you can apply a texture in Paint 3D, it’s important to have the right texture files ready. Textures can come from various sources, such as photos, texture libraries, or custom drawings. Choosing the right texture is key to ensuring it looks realistic and fits the model perfectly.
Photographing Textures: You can take high-resolution photos of real-world textures, such as wood, metal, or walls. These textures are ideal for projects that aim to closely replicate real-world materials.
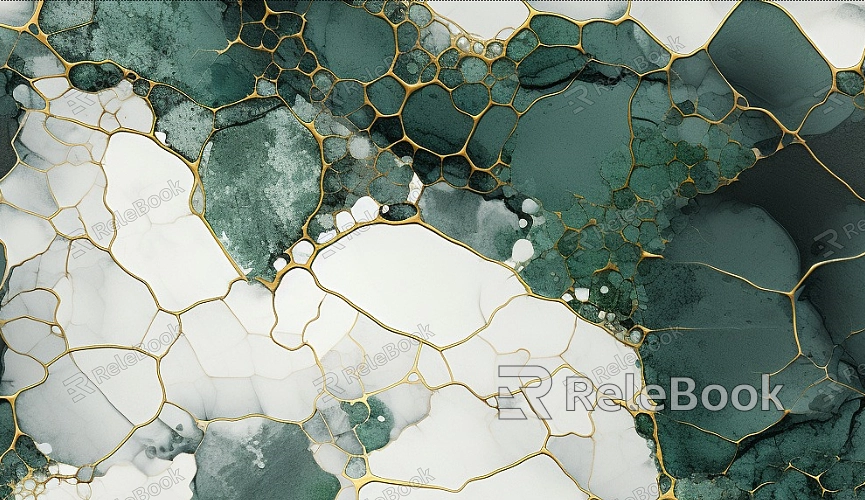
Downloading Textures: Many websites offer both free and paid texture resources. For example, Relebook provides a wide range of high-quality textures that are perfect for various 3D modeling needs.
Hand-Painting Textures: If you have specific design requirements, you can create your own textures using tools like Photoshop or Substance Painter to add custom effects.
Opening Paint 3D and Importing Your Model
Once your textures are ready, the next step is to import your 3D model into Paint 3D for editing. Paint 3D offers a simple and intuitive interface, making it easy to apply textures to your 3D models.
Importing the Model: Open Paint 3D, click the "Open" button in the menu, and select the 3D model file you want to work on. Paint 3D supports several 3D file formats, including STL and FBX.
Selecting the Model: Once your model is loaded into Paint 3D, you can choose it for editing. Rotate the model to check all angles and ensure it’s properly imported.
Applying the Texture to the Model
Applying textures in Paint 3D is straightforward, especially for beginners. You can easily apply a texture directly to your 3D model’s surface, giving it more detail and realism.
Choosing a Texture: In the Paint 3D interface, select the "Sticker" tool from the toolbar. From there, you can browse your computer or a texture library to pick the texture file you want to apply.
Resizing the Texture: After loading the texture, you can stretch or shrink it to fit your model’s surface. Depending on the size and shape of the model, you may need to rotate or distort the texture to ensure it wraps around the model correctly.
Adjusting Material Effects: Beyond basic texture application, Paint 3D allows you to tweak material properties such as reflectivity and glossiness to enhance the visual impact of the texture.

Adjusting UV Mapping
The way a texture maps to a 3D model is determined by its UV mapping. Although Paint 3D has a simplified UV mapping tool, you can still make adjustments to ensure the texture fits well on your model.
Checking UV Mapping: After applying the texture, make sure there are no visible stretching or distortion. Paint 3D will automatically adjust simpler UV maps, but for more complex models, manual adjustments may be needed.
Adjusting the Mapping: If specific areas need fine-tuning, you can use Paint 3D's "Rotate" and "Resize" tools to adjust the texture’s position or orientation.
Adding Detail and Effects
To make the texture appear more realistic and lifelike, you can add additional details and effects within Paint 3D. These elements can bring out the depth and realism of your textures.
Detail Painting: Paint 3D allows you to draw directly on the texture, adding small details like scratches, stains, or wear and tear, which make the texture more realistic.
Adding Gloss and Reflection: While Paint 3D’s material editing options are limited, you can still modify the texture’s glossiness or reflectivity to improve how it interacts with light and enhances its realism.
Saving and Exporting the Model
After applying textures and making any necessary adjustments, it’s important to save and export your work. The file format you choose should be compatible with the environment in which you plan to use the model.
Saving the File: Once you’ve applied all textures and edits, click the "Save" or "Save As" option in the menu to store the model file locally. You can save it in common 3D formats like STL or FBX for use in other 3D software or game engines.
Exporting Textures: If you want to use the texture separately for other projects, you can save the texture image in formats like PNG or JPG, ensuring the texture maintains its quality and transparency.
By following these steps, you can easily load and apply textures in Paint 3D, enhancing your 3D models with more detail and realism. Although Paint 3D may not have the advanced features of professional software, it provides a simple, user-friendly environment that makes texture application intuitive and efficient, especially for beginners.
If you're looking for high-quality texture resources or virtual scenes to enrich your projects, Relebook offers a wide selection of textures that can help elevate your designs. Check out Relebook’s texture library to find the perfect match for your next project!

