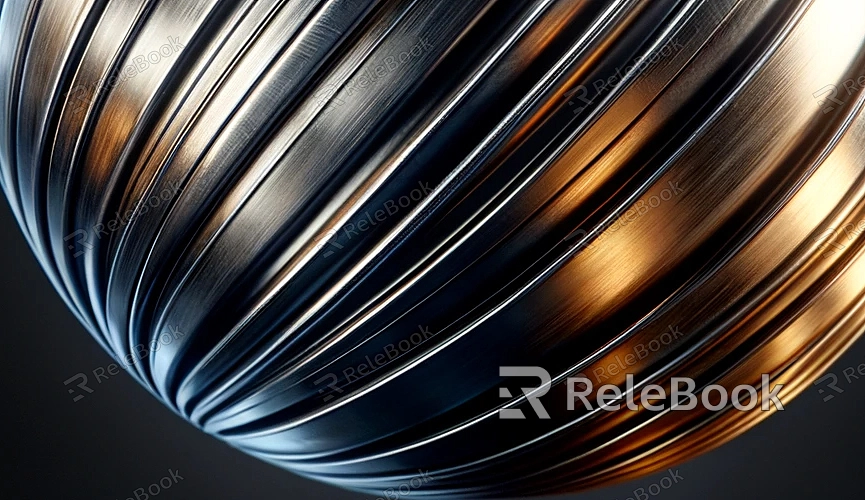
Blender Adding Metal Texture to Models
Metal textures are widely used in the field of 3D design, and in Blender, adding a metal texture to a model typically involves using the node editor and material settings. By leveraging the powerful features built into Blender, various metal textures can be added to 3D models, and adjusting the parameters of the metal texture allows for rendering more realistic and visually appealing results. Here is a simple step-by-step guide that I hope you find helpful.

1. Select the Model: In the 3D view, choose the model to which you want to add a metal texture.
2. Switch to the "Shader" Workspace: In the top toolbar, select the "Shader" workspace. This makes the node editor easily accessible.
3. Create a New Material: Open the "Properties Editor" and switch to the "Material" tab. If your model doesn't have a material yet, click the "New" button to create a new material.
4. Use the Node Editor to Create Material: In the node editor, click "Use Nodes" to enable it. Then, use the Shift+A keys to add a "Principled BSDF" node, which contains various physical properties and is suitable for creating a metal texture.
5. Adjust Metal Parameters: In the "Principled BSDF" node, locate the "Metallic" parameter. Adjust its value to control the metallic appearance. Increase it to near 1.0 to enhance the metal texture.
6. Adjust Other Parameters: Optionally, you can adjust parameters such as "Roughness" (controls surface roughness) and "Specular" (controls specular reflection intensity) to further customize the appearance of the metal texture. Adjust other parameters to control reflectance, roughness, etc., to achieve the desired metal effect. Higher metallic values make the surface look more like metal, and lower roughness values make the surface smoother.
7. Add Texture: If you want to add texture to the metal texture, use the "Image Texture" node in the node editor and connect it to "Base Color" or another appropriate input. Import a metal texture image and adjust the nodes. It's recommended to use high-quality 3D textures downloaded from Relebook for a more realistic model.
8. Render: Finally, click the "Render" button in the toolbar to render and observe the metal texture's effect. Continuously adjust parameters and add textures until you achieve the desired effect. Note that Blender's interface may vary slightly between versions, but the basic operations remain the same. Additionally, the appearance of the metal texture is influenced by lighting and environmental settings, so ensure your scene is set up correctly before rendering.

