How to Add Texture in Paint 3D
Textures play a crucial role in enhancing the realism and detail of 3D models. Whether designing game characters, crafting interior decor concepts, or building simple 3D objects, textures can significantly elevate your work. Paint 3D, a lightweight modeling tool, is popular among beginners and rapid prototypers due to its simplicity. However, many users might wonder how to efficiently apply textures in Paint 3D to make their creations stand out. This article provides a comprehensive guide to help you master the process of adding textures in Paint 3D.

1. Prepare Your Texture Resources
The first step in adding textures is selecting and preparing the right texture files.
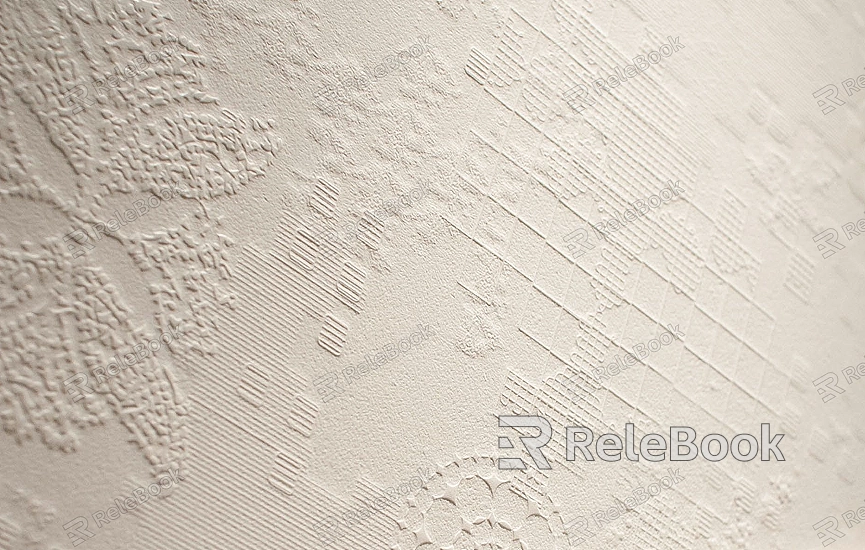
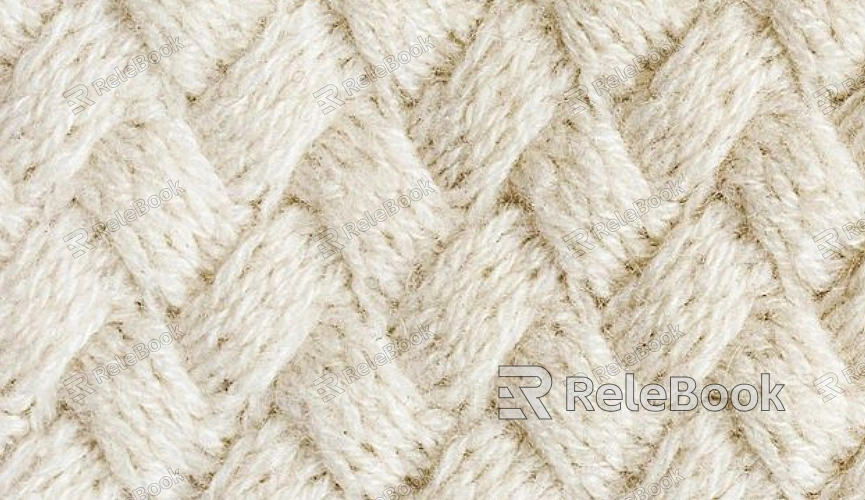
Choose High-Quality Textures: Look for detailed images such as wood grains, metals, fabrics, or stones from texture libraries or your own photos.
Opt for Seamless Images: To avoid visible seams when covering large areas, select seamless textures that tile smoothly.
Find Reliable Sources: Websites like Relebook offer high-resolution textures, saving you time on sourcing and editing.
2. Import Your 3D Model
Ensure your 3D model is ready and correctly imported into Paint 3D.
Open Paint 3D: Start a new project or open an existing file.
Insert the Model: Use the “Insert” option to load your 3D model onto the canvas. Supported formats include .FBX and .OBJ.
Verify the Surface: Before applying textures, check the model's UV mapping to ensure the textures will align correctly without stretching or distortion.
3. Apply Textures Using the Sticker Tool
Paint 3D’s sticker feature is the primary method for adding textures to your model.
Activate the Sticker Tool: Click the “Stickers” icon in the top toolbar to enter texture application mode.
Load Your Texture: Choose “Add Sticker” and import your texture image.
Adjust the Placement: Drag the texture onto the model's surface, scaling and rotating it to fit as needed.
4. Fine-Tune the Texture Mapping
Adjusting the texture settings can improve how it integrates with your model.
Enable Tiling: If the model has a large surface, enable texture tiling to repeat the pattern seamlessly.
Adjust Opacity: Control the transparency to layer textures or blend them with the base color.
Align Textures: Use alignment tools to ensure the texture fits precisely on complex surfaces.

5. Enhance with Additional Layers
Adding texture layers enhances the depth and realism of your model.
Simulate Bump Effects: While Paint 3D lacks advanced bump mapping, you can mimic depth by increasing the contrast of your texture.
Incorporate Shadows: Add subtle shadows around textured areas to enhance the perception of depth.
Add Custom Details: Use the paintbrush tool to add color highlights or details directly onto the texture.
6. Refine the Material Settings
Combining textures with materials creates a more polished look.
Choose a Material Type: Paint 3D lets you apply various material types, such as matte, metallic, or glossy finishes, to different texture areas.
Adjust Reflectivity: Fine-tune the reflectiveness to give surfaces like metals or glass more realistic lighting effects.
Blend Textures and Materials: Experiment with mixing the base material properties with textures for a cohesive appearance.
7. Render and Export Your Model
After applying and refining textures, complete your work by rendering and exporting.
Inspect the Model: View your textured model from multiple angles to ensure seamless application and no distortions.
Save Your Project: Save your work in Paint 3D’s .3MF format for future edits.
Export with Textures: Export your model in formats like .FBX or .OBJ while retaining the applied textures.
While Paint 3D offers basic functionality for adding textures, mastering its tools and settings can result in impressive creations. By following this step-by-step guide, you can efficiently prepare resources, apply textures, and optimize materials for visually stunning models. If you're seeking high-quality 3D textures or models for your next project, explore Relebook’s extensive library to find the perfect assets for exceptional results.

