How to Make a 3D Model of a Mountain
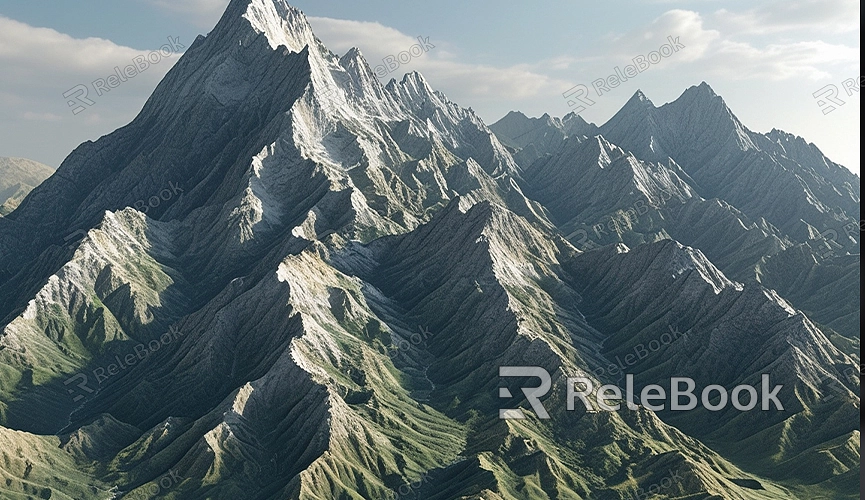
In the world of 3D modeling, mountains often appear in games, films, and virtual reality scenes as part of natural terrain. Whether you are a beginner or an experienced 3D artist, creating a realistic mountain model is a challenging yet rewarding task. This guide will walk you through the process of making a 3D mountain model using common 3D modeling software such as Blender, Maya, or 3ds Max.
Choosing Reference Materials
Before you start modeling, it's essential to gather reference materials. You can obtain high-resolution images or terrain maps of mountains through online resources, field photography, or from resource websites. These references will help you understand the basic shapes of mountains and ensure accuracy in details, making your model more realistic.
In addition to images, you can use terrain generation tools like Google Earth or OpenTopography to obtain real terrain data. These tools can help you generate mountain contours and height maps to serve as the foundation for your modeling.
Creating the Base Model
Once you have your references, you can begin creating the base model in your 3D modeling software. Generally, there are two main approaches to start:
1. Manual Sculpting: In Blender, you can use the "Sculpting Tools" to carve out the mountain’s contours directly on a plane. This method offers high flexibility and is suitable for artists who want to create mountains with unique shapes. You can adjust brush size, strength, and shape to control different areas of the mountain, such as peaks, valleys, and ridges.
2. Using Bitmap Height Maps: Another common method is to use bitmap height maps. You can download or create a grayscale height map and apply it to a plane mesh. The brightness of the grayscale map represents height, with white indicating the highest points and black indicating the lowest. This method allows you to quickly generate a mountain model based on real terrain data.
Adding Details
Once the base model is complete, you can start adding details. Key surface details for mountains include rocks, vegetation, and snow lines. In Blender, you can add these details using various techniques:
- Subdivision Surface: Using the Subdivision Surface Modifier increases the mesh detail of your model, making the mountain’s surface smoother and more natural.
- Displacement Maps: Displacement maps can move the model’s surface based on the grayscale values of an image, adding texture and detail. You can use high-quality rock textures as displacement maps to simulate the irregularities and roughness of the mountain surface.
- Sculpting Tools: For more detailed work on specific areas, you can return to sculpting mode to fine-tune the mountain’s surface, adding natural cracks, rocks, and ridges.
Applying Materials and Textures
With the details added, the next step is to apply materials and textures to the model. The choice of materials and textures is crucial for the final visual effect of the mountain model.
First, assign different materials to various areas of the mountain. Mountains typically feature distinct surfaces such as rocks, vegetation, and snow, each requiring different materials. Using a mix of materials can make your model more diverse and realistic.
Next, applying high-quality textures is key. You can find free or paid texture resources online, such as high-definition rock, grass, or snow textures, and apply them to your model’s surface. For high-quality 3D textures and HDRI for your models and virtual scenes, you can download them for free from [Relebook](https://textures.relebook.com/). Relebook offers a wide range of resources to significantly enhance the quality of your work.
Lighting and Rendering
Once materials and textures are applied, you can set up the scene's lighting and rendering. Proper lighting is crucial to presenting a realistic mountain. You can use HDRI environment lighting to simulate natural lighting effects or add multiple light sources to control shadows and highlights.
Blender’s rendering engines, Cycles and Eevee, are both excellent choices. Cycles uses physically-based ray tracing technology to deliver highly realistic lighting effects, ideal for high-quality static renders. Eevee, on the other hand, is better suited for real-time rendering, making it ideal for quick previews and animations.
Creating a 3D model of a mountain is a challenging process that involves selecting reference materials, building a base model, adding details, and applying textures and materials. Each step requires careful attention to achieve a realistic result. By mastering these techniques, you can create impressive mountain models for use in games, animations, or other projects.
If you need exquisite 3D models, visit [Relebook](https://3dmodels.relebook.com/) to download a variety of high-quality 3D resources. Relebook offers premium textures, HDRI, and 3D models to enhance your creations and improve the appearance of your mountain renders.
