How to Make a 3D Model of a Product
With the continuous advancement of 3D technology, creating 3D models of products has become an essential skill for designers, manufacturers, and marketers. Whether you're designing product displays for e-commerce sites or creating prototypes for manufacturing, learning how to make a 3D model of a product can greatly enhance your efficiency and the quality of your work. In this article, we'll walk you through the detailed process of creating a 3D model of a product using common 3D modeling software such as Blender.
Determine Product Shape and Gather References
The first step in creating a 3D product model is to collect and analyze reference materials. You need to have a thorough understanding of the product’s shape, dimensions, materials, and details. Designers typically use product photos, engineering drawings, or CAD files as references. These materials help maintain the product's accurate proportions and appearance throughout the modeling process.
For example, if you're making a 3D model of a smartphone, your reference materials might include front, side, and back views, along with specific dimensions and material details. These references will guide you in capturing the product’s form accurately.
Start Modeling
Once you have your references, you can begin modeling in a 3D software like Blender. Most product models start from simple geometric shapes such as cubes, cylinders, or spheres. By continuously adjusting the vertices, edges, and faces of these basic shapes, you can refine them into the specific form of the product.
For instance, if you're modeling a smartwatch, start by creating a cylinder for the watch face. Then, add details like borders and buttons through stretching and scaling operations. Ensuring that the proportions of the model match the actual product is crucial for creating a high-quality 3D model.
Add Details
After the base model is complete, you can start adding finer details. Different products require different kinds of details. For example, electronic products may need buttons, screens, and ports, while furniture products need to show wood grain, seams, and curves.
This step requires a lot of patience and meticulous work, as details define the model’s level of refinement. In Blender, you can use sculpting tools to finely detail the model’s surface or add multiple levels of mesh subdivision to enhance the detail of the model.
Apply Materials and Textures
With the shape and details of the product complete, the next step is to apply materials and textures. The choice of materials and textures directly affects the realism and visual appeal of the product model.
Materials can typically be categorized into metals, plastics, glass, etc. In Blender, you can use the node editor to assign different materials to various parts of the model. Additionally, texture maps can add visual details such as reflections on metal surfaces or the texture of wood.
For high-quality 3D textures and HDRI for your models and virtual scenes, you can download free resources from [Relebook](https://textures.relebook.com/). These resources can help you apply detailed material effects, enhancing the overall quality of your work.
Lighting and Rendering
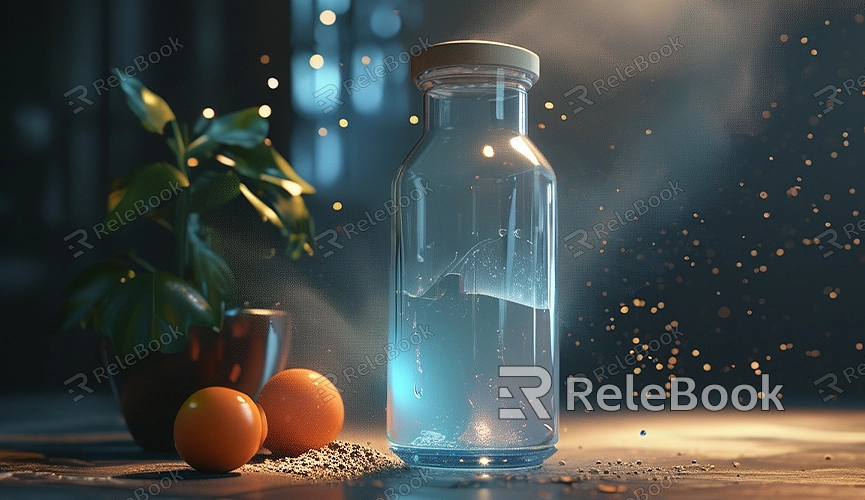
Once the materials and textures are set, the final step is setting up lighting and rendering. Lighting placement significantly affects how the product is displayed. In Blender, you can use multiple light sources to simulate light reflections and shadow effects, making the product appear more three-dimensional and realistic.
For product models, a common approach is the three-point lighting setup (key light, fill light, and back light) to highlight the product's shape and material details. The key light provides the main illumination, the fill light softens shadows, and the back light emphasizes the product's outline. HDRI environment lighting can also be used to enhance the scene’s overall light and atmosphere.
When rendering, you can choose different rendering engines based on your needs. For high-quality details and realism, you might opt for Blender’s Cycles renderer; for quick previews or animations, Eevee is a suitable choice. After rendering, you can output the results as image or video files for presentation or further use.
Creating a 3D model of a product is not only a technical task but also an art form. It requires balancing detail with overall form and mastering various tools and techniques in the software. With the insights provided in this article, you should have a clearer understanding of the product 3D modeling process. From creating the basic shape to detailing and material application, each step demands precision and excellence.
If you need high-quality 3D models, visit [Relebook](https://3dmodels.relebook.com/) to download a wide range of premium 3D resources. Relebook offers numerous resources that can help you produce faster and better-rendered 3D models.
