Blender how to make a 3d model of my house
Blender, as a powerful open-source 3D modeling software, not only allows for the creation of complex animated scenes but also helps users easily make 3D models of their own houses. Whether you're a designer, an architecture enthusiast, or just an average user, creating a house model in Blender is both fun and practical. This guide will walk you through the steps to create a 3D model of your house from scratch in Blender, and provide some useful tips to help you get started quickly.
Preparation
Before you start modeling, you first need to prepare a basic floor plan of your house. This can be a hand-drawn sketch, architectural blueprints, or a house layout obtained online. Having a clear floor plan will help you translate the 2D design into a 3D model more intuitively and ensure that the placement of each room and wall is accurate.
Once you have the floor plan ready, you can import it into Blender as a reference image to assist with your modeling process. Use the "Background Image" feature to add the floor plan to Blender’s viewport, making it easier to draw walls and other structures.
Building the House Structure
1. Modeling the Walls: Start by creating a simple plane using Blender’s "Add" feature. Scale it to match the basic dimensions of the house. Next, use the "Extrude" tool to pull the plane upwards, forming the walls of the house. Gradually build each wall according to the floor plan layout.
2. Creating Door and Window Openings: Use the Boolean Modifier to create door and window openings in the walls. First, create rectangular or circular objects and place them where you need the openings. Then, use the Boolean Modifier to subtract these objects from the walls, creating the desired openings. The Boolean Modifier is a powerful tool that allows you to quickly create complex shapes.
3. Adding Details: Once the basic structure is complete, you can start adding details like windows, doors, and roofs. Create separate objects for windows and doors, ensuring their proportions and positions align with the house structure. For the roof, use "Loop Cut" and "Extrude" tools to create basic roof shapes. If you want a more complex roof, add details such as tiles or decorative elements.
Applying Materials and Textures
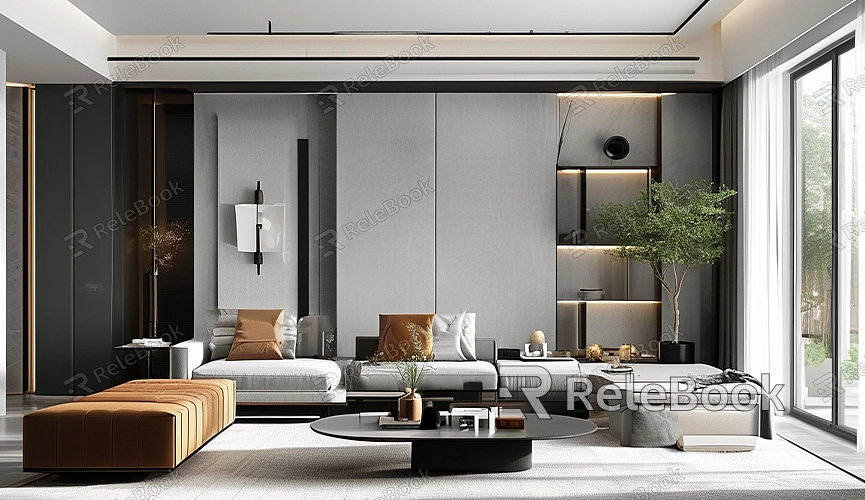
Materials and textures are crucial for enhancing the realism of your house model. By applying appropriate materials to the walls, floors, and roof, you can make the model look more like a real building. Blender's Shader Editor allows you to customize material properties, such as color, glossiness, and roughness.

You can also add high-quality textures to your house model through UV mapping. UV mapping unfolds the 3D model's surface into a 2D space, allowing textures to fit correctly on the model. Common textures for house modeling include bricks, wood, and tiles. If you need high-quality 3D textures and HDRIs for creating models and virtual scenes, you can download them for free from [Relebook](https://textures.relebook.com/).
Adding Lighting and Environment
To make your house model more lively, you can add lighting and environmental effects in Blender. Start by using "Point Light" or "Sun Light" to simulate everyday lighting. You can also use HDRI maps to add environmental lighting, making the house model look more realistic under natural light.
Blender supports various lighting setups. Adjust the intensity, color, and position of light sources based on the house's orientation and environmental needs. For example, if you want the house model to appear under sunrise or sunset lighting, use warm orange light to enhance the scene's atmosphere.
Rendering Settings
After completing the modeling and material application, you can render your 3D model into a high-definition image using Blender's rendering engines. Cycles is a popular choice for Blender, as it offers physically-based ray-tracing effects that simulate more realistic shadows, reflections, and refractions.
Before rendering, ensure that your sampling settings are high enough to avoid noise in the image. You can also enable the "Denoise" feature to further enhance image clarity. Choosing the right resolution and output format will help you achieve a professional-quality final render.
Post-Processing
If you want to further optimize the rendered image, Blender’s compositor offers various post-processing effects. You can add color correction, depth of field effects, or fine-tune light and shadow.
Additionally, consider importing the Blender render results into other post-processing software, such as Photoshop or After Effects, for more advanced visual effects. Although not mandatory, these steps can refine your 3D house model, adding artistic flair to your project.
By following this guide, you now understand the basic steps for creating a 3D model of your house in Blender. From constructing the basic structure to applying materials, setting up lighting and rendering, each step involves key techniques. Whether for architectural design, game development, or personal projects, mastering these techniques will help you create more realistic and detailed house models.
If you need high-quality 3D textures and HDRIs for your models and virtual scenes, download them for free from [Relebook](https://textures.relebook.com/). For exquisite 3D models, visit [Relebook](https://3dmodels.relebook.com/), which offers a wealth of premium 3D resources. These resources will help you complete your creations faster and improve the overall quality of your work.
