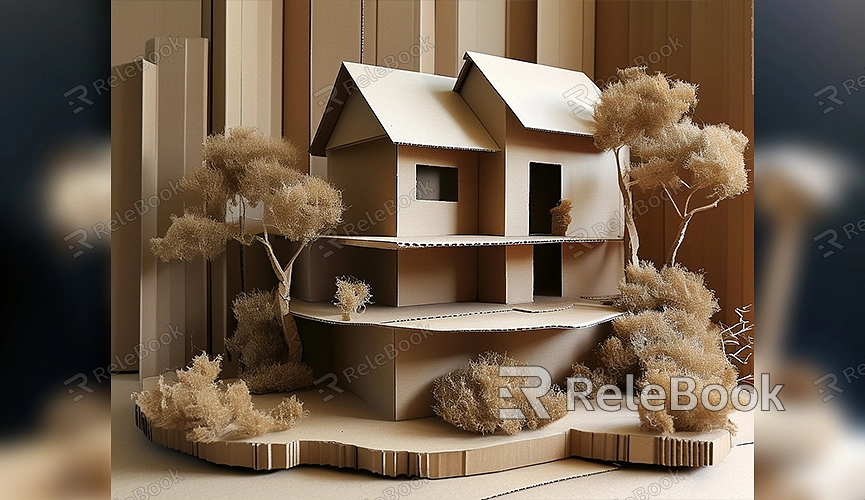
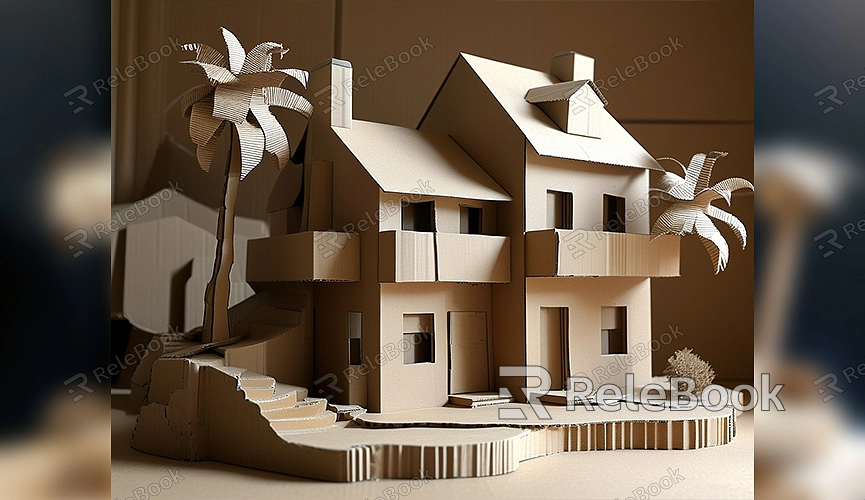
How to Make a 3D Model Out of Cardboard
Creating a 3D model out of cardboard is not only a fun activity but also an excellent way to spark creativity and hone your crafting skills. Cardboard is an ideal material for model-making due to its affordability and ease of use. This guide will walk you through the process of making a 3D model out of cardboard, including the steps for design, cutting, assembly, and painting. Whether you're a beginner or an experienced model maker, these steps will help you craft a satisfying cardboard model.

Designing Your Cardboard Model
The first step in making a cardboard 3D model is to design it. This serves as the foundation for the entire process. You can choose a theme for your model based on your interests, such as buildings, vehicles, animals, and more. Here are some design steps to follow:
- Sketch Your Model: Start by drawing your model on paper using a pencil. The sketch should be as detailed as possible, including views from different angles.
- Determine the Size: As you sketch, decide on the actual dimensions of your model. Use a ruler and protractor to ensure accuracy.
- Create Cutting Templates: Once your design is complete, create cutting templates based on your sketch. You can place the design sheets over the cardboard and cut along the templates.
Cutting and Preparing the Cardboard
Cardboard is the primary material for your model, and precision is key when cutting. Follow these tips for cutting and preparing the cardboard:
- Choose the Right Cardboard: Select cardboard with the appropriate thickness. Thin cardboard may not be sturdy enough, while thick cardboard can be difficult to cut.
- Use Cutting Tools: Use a utility knife or craft knife for cutting. Ensure the blade is sharp to achieve smooth edges.
- Mark and Cut: Secure the cutting template on the cardboard and mark the cutting lines with a pencil. Then cut along the lines, ensuring each piece is precise.
Assembling Your Model

After cutting, the next step is to assemble the model. Pay close attention to the way the cardboard pieces connect and how they are secured:
- Use Glue or Tape: White glue, hot glue, or double-sided tape can be used to assemble the cardboard pieces. Choose an adhesive that works best for the materials to ensure strong bonds.
- Folding and Joining: Follow your design plan to fold and connect the cardboard pieces. Make sure everything aligns properly to avoid any warping.
- Reinforce the Structure: Where needed, reinforce the cardboard structure by adding extra cardboard pieces or supports to enhance stability.
Painting and Decorating
Once the assembly is complete, you can paint and decorate the model to give it more visual appeal:
- Choose the Right Paint: Use water-based or acrylic paints for coloring. These dry quickly and are easy to work with.
- Apply a Base Coat: Before painting, you may want to apply a base coat to improve paint adhesion on the cardboard surface.
- Detail and Decorate: Use brushes, stickers, or other embellishments to add details to your model. These decorations will help personalize your model and give it a unique style.
Enhancing Model Quality
To improve the overall quality of your cardboard model, consider the following tips:
- Use High-Quality Cardboard: Higher-quality cardboard provides better support and durability.
- Precision Cutting and Assembly: Make sure edges are smooth, and the assembly is accurate, reducing visible seams.
- Fine-Tuned Painting: Apply multiple layers of paint and use careful brushwork to enhance the final appearance of the model.
If you need high-quality 3D textures and HDRIs for your models and virtual scenes, you can download them for free from [Relebook](https://textures.relebook.com/). For beautiful 3D models, check out [Relebook](https://3dmodels.relebook.com/), where you’ll find a vast collection of premium 3D resources.
Conclusion
Building a cardboard 3D model is a fun and creative process. From design, cutting, and assembly to painting, each step will provide you with a sense of accomplishment. By choosing the right materials, ensuring precise cutting, and adding detailed decorations, you can create a model that is both beautiful and durable. We hope this guide helps you successfully complete your cardboard model and enjoy the process along the way.

