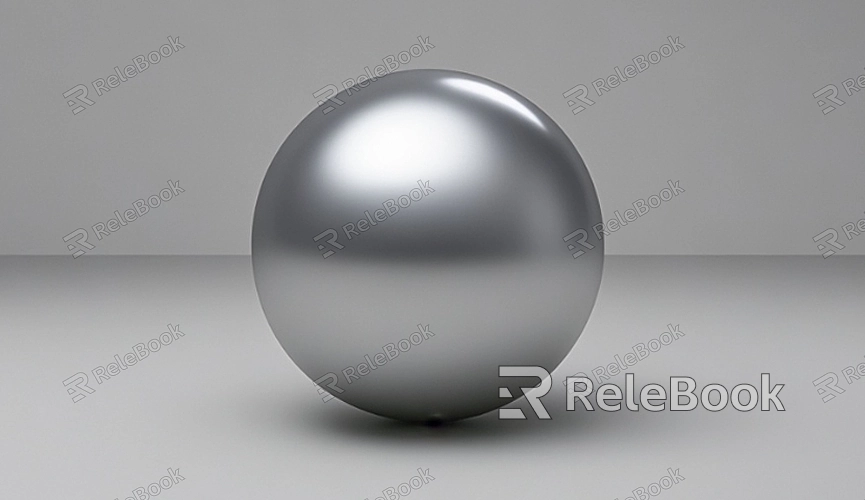
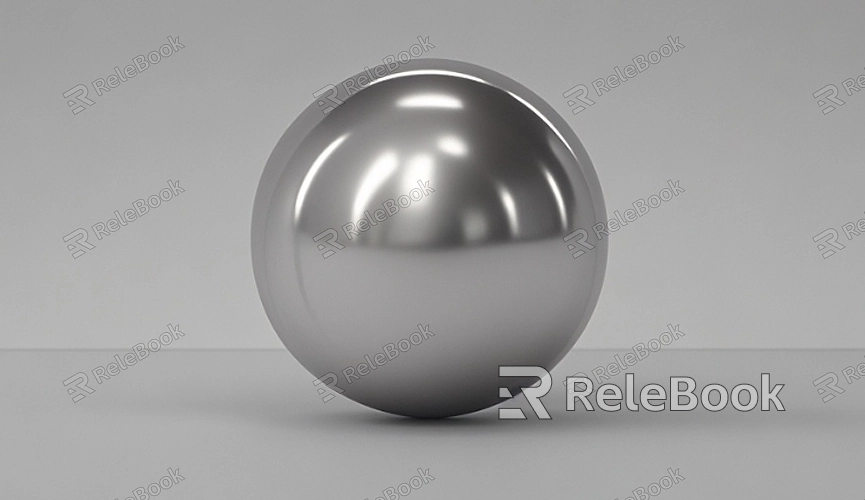
How to Create a Sphere in SketchUp?
Creating a perfect sphere in SketchUp might seem challenging for beginners, but the process is simpler than you might think. By mastering a few key techniques, you can create the sphere you need and apply these skills to generate more complex shapes and models. In this article, we'll walk you through the steps to model a sphere in SketchUp and address some common questions to help you better understand and use these techniques.

Creating Basic Geometric Shapes
The key to creating a sphere in SketchUp starts with two basic geometric shapes: a circle and an arc. Start by drawing a circle after opening SketchUp and creating a new blank document. Select the "Circle Tool" from the toolbar and click once on the drawing plane to set the center point of the circle. Then, move your mouse and click again to set the radius of the circle. This will form the basic outline of the sphere.
Next, use the "Arc Tool" to create a semicircle. After selecting the tool, similarly, set the center point of the arc on the drawing plane, then drag the mouse and click to set the start and end points of the arc. This semicircle will serve as the path for rotating the sphere.
Preparing the Rotation Path
Now that we have both a circle and a semicircle, it’s time to prepare the rotation path. Before proceeding, ensure that the semicircle you drew is aligned with the center of the circle. Use the “Move Tool,” click on the center point of the semicircle, and drag it to align perfectly with the center of the circle. This step is crucial because the sphere will only be symmetrical if the center points are aligned.

Creating the Sphere
With the circle and the aligned semicircle ready, you can now create the sphere. First, select the entire semicircle, then choose the “Follow Me” tool from the toolbar. Next, click on the full circle you previously drew. SketchUp will automatically generate a perfect sphere by rotating the semicircle along the circular path. This process happens almost instantly, and you'll end up with a seamless sphere.
Refining the Details
After the sphere is created, you might want to refine some details. First, you can adjust the number of segments in the sphere to control the smoothness of its surface. To do this, simply input the desired number of segments when creating the circle and arc. Generally, increasing the number of segments will make the sphere's surface smoother but will also increase the model’s complexity.
Additionally, you can use the “Scale Tool” to resize the sphere as needed. If you want the sphere to have specific dimensions, select it and use the Scale Tool to adjust its size while maintaining its proportions. The “Push/Pull Tool” can also be used to further modify certain parts of the model, although this is usually unnecessary for a sphere.
Applying Materials and Textures
Once modeling is complete, adding materials and textures will make your sphere more realistic. Select the sphere, then right-click and choose the “Materials” option. You can select a suitable material from SketchUp’s built-in library or import custom textures to enhance realism.
After applying the material to the sphere, you can further adjust its scale, rotation, and position to ensure the texture displays correctly on the sphere's surface. With the right material and texture, your sphere can transform from a simple geometric shape into a vibrant, visually appealing model.
Final Checks and Export
After completing all adjustments and adding details, the final step is to check the sphere. Rotate and scale the model to ensure the sphere meets your expectations from all angles. If you’re satisfied, you can export the model in various formats, such as SketchUp’s SKP file, 3D printing-friendly STL files, or other common 3D file formats.
When exporting, make sure to choose the appropriate resolution and file type to retain all details for future use.
With this tutorial, you can easily master the basic methods for creating a sphere in SketchUp. While the process is simple, it opens the door to creating more complex models. Whether you're adding more details to your design or creating realistic 3D objects, mastering this skill will be immensely beneficial. Now, you can download more high-quality 3D models and textures from the Relebook website to further enh
FAQance your creations.
Why does the sphere I create in SketchUp sometimes look rough?
This is usually due to a low number of segments in the circle or arc. You can increase the number of segments when creating the circle or arc to make the sphere’s surface smoother.
How can I ensure the sphere I create is the correct size?
When drawing the circle, you can input an exact radius value to ensure the sphere is the correct size. Later, you can also use the Scale Tool to further adjust the size.
Can I cut or modify the sphere after it’s created?
Yes, you can use SketchUp’s “Push/Pull Tool” or “Split Tool” to cut, modify, or add other geometric shapes to the sphere.

