How to Add Textures to 3D Models in Autodesk?
In today's digital design and modeling world, textures play a crucial role in 3D models. Textures not only give models a realistic appearance but also enhance their visual appeal, making them more engaging. For designers and artists using Autodesk software, understanding how to apply textures to 3D models is a fundamental skill. This article will provide a detailed guide on how to add textures to 3D models in Autodesk, including texture preparation, application, and adjustment.
Preparing the Texture
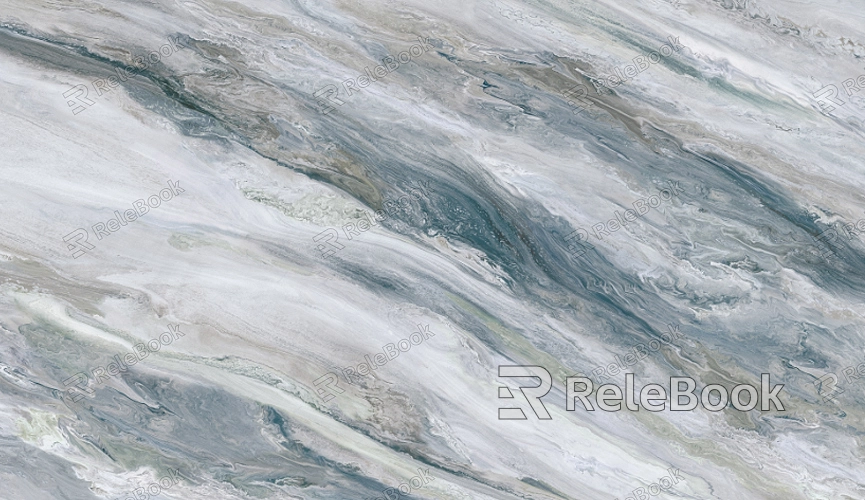
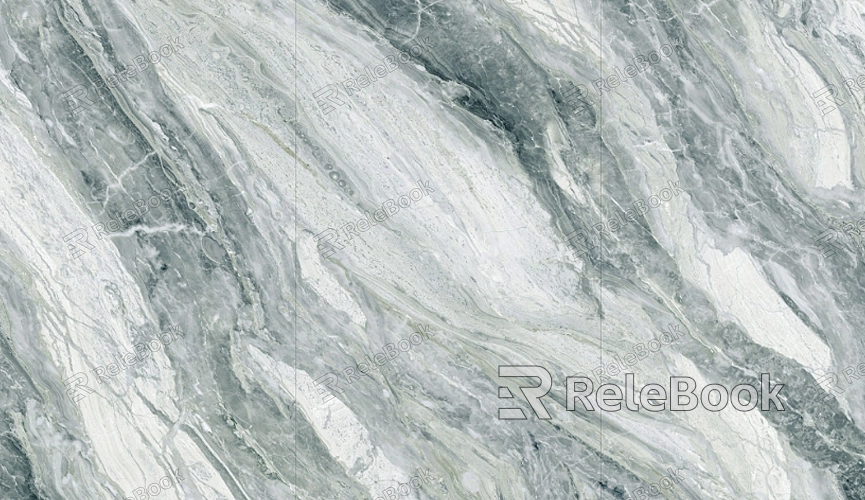
Before applying textures to a 3D model, you first need to prepare the texture files. Texture files are typically images used to simulate the appearance of materials. For example, you might use photos or image editing software to create textures for wood, metal, fabric, and more.
1. Choosing the Right Texture File
Selecting an appropriate texture file is crucial. If your model is a wooden table, for instance, using a high-resolution wood grain image would be ideal. Ensure that the texture file has a high enough resolution to avoid blurriness during application.
2. Editing the Texture File
Sometimes, you may need to edit the texture file to ensure it matches the size and proportions of your model. You can use image editing software like Photoshop to crop, adjust colors, or add details. Save the edited texture file in a format supported by Autodesk, such as JPEG or PNG.
Applying Textures to the 3D Model
In Autodesk software (like Autodesk Maya or Autodesk 3ds Max), the process of applying textures to a 3D model generally involves several steps: creating a material, assigning the texture, and adjusting the mapping.
1. Creating the Material
First, you need to create a material that will serve as a container for the texture. In Autodesk software, this process typically involves the following steps:
- Open the material editor.
- Create a new material and name it.
In the material's properties, find the texture mapping options (often labeled as “Diffuse” or “Albedo”).
2. Assigning the Texture
Next, assign the prepared texture file to the material. In the material editor, locate the texture mapping option and load your texture file. The texture will automatically appear in the material's preview.
3. Adjusting the Mapping
After applying the texture, you need to adjust the texture mapping to ensure it fits correctly on the model’s surface. This process is known as UV mapping. UV mapping is a technique used to unfold a 2D texture image onto a 3D model's surface.
View your model in the UV editor.
Adjust the UV coordinates to align the texture correctly with the model’s surface.
Save and apply these settings, then check the texture’s appearance on the model.
Texture Adjustment and Optimization
Once the texture is applied, you may need to make some adjustments and optimizations to ensure the final result meets your expectations.
1. Adjusting Material Properties
In the material editor, you can tweak various material properties such as glossiness, transparency, and reflectivity. These adjustments can help make your model look more realistic.
2. Rendering Previews
Use the software’s rendering feature to view the texture's effects on the model. Rendering previews can help you identify any texture issues, such as repeating patterns, stretching, or distortion. Based on the preview, make the necessary adjustments.
3. Optimizing Texture Files
To improve rendering efficiency and model loading speed, you may need to optimize texture files. This can include compressing the texture files, reducing texture resolution, or using more efficient texture formats.
Adding textures to a 3D model in Autodesk involves multiple steps, including texture preparation, application, and adjustment. By selecting appropriate texture files, creating and applying materials, adjusting UV mapping, and optimizing texture files, you can enhance the detail and realism of your 3D models. With these skills, you’ll be able to create more vibrant and engaging 3D assets. For high-quality 3D models and textures, you can download resources from Relebook to further enhance your design projects.
FAQ
How do I choose the right texture file?
When selecting a texture file, consider the material and appearance requirements of your model. High-resolution texture files provide clearer details but ensure that the file size and format are suitable for your project.
Why is UV mapping important?
UV mapping ensures that a 2D texture fits correctly onto a 3D model. If UV mapping is inaccurate, the texture may appear stretched, repeated, or misaligned, affecting the model's appearance.
How do I optimize texture files for better rendering performance?
Texture file optimization can be achieved through several methods: compressing texture files, reducing resolution, or using texture atlases (combining multiple textures into one file). These methods can help reduce model load times and improve rendering performance.
