How to Use HDR Sky Texture in Blender
When working with 3D software like Blender, using HDR sky textures can greatly enhance the lighting and environmental reflections of your scenes, bringing a more natural and realistic quality to your projects. Many designers face the challenge of how to add and properly use HDR sky textures, especially when dealing with outdoor scenes or complex lighting setups. This article will guide you through the process of using HDR sky textures in Blender, covering setup methods, common applications, and the importance of this feature in real-world projects. By the end, you'll have a solid grasp of how to leverage this tool to improve the visual quality of your work.
1. Importing HDR Sky Textures
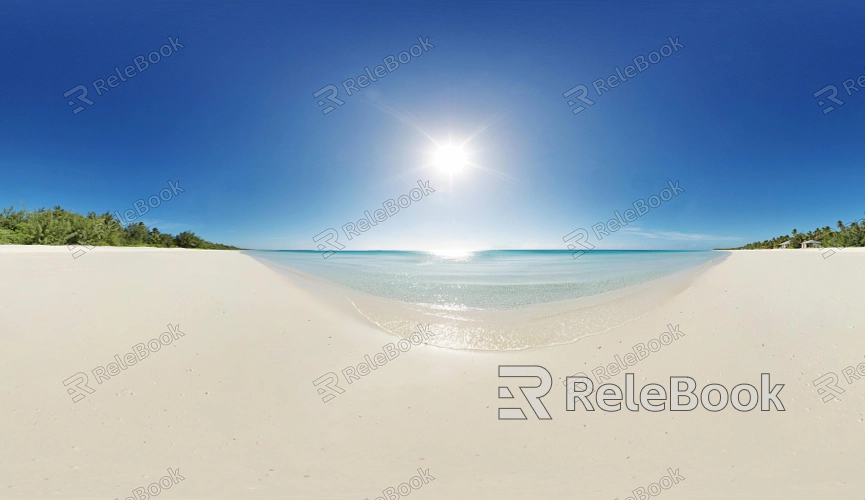
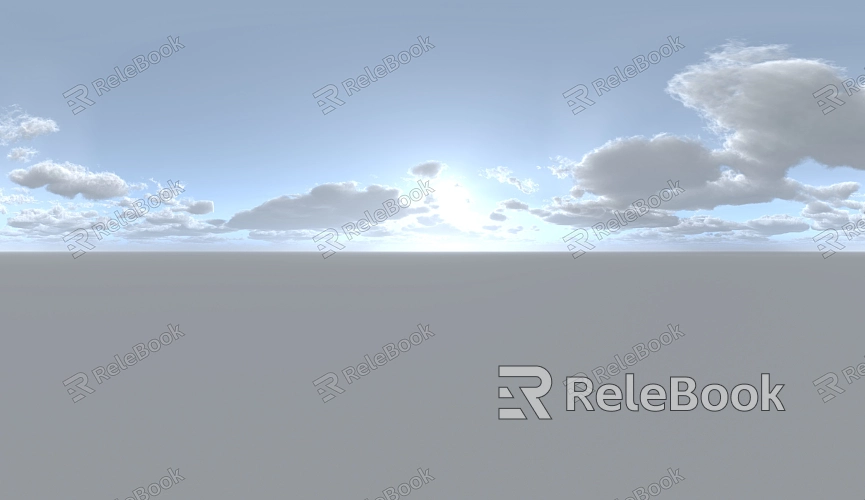
The first step is ensuring that you have a suitable HDR sky texture file, typically in .hdr or .exr format. These files are available for free or for purchase from online libraries and contain rich dynamic range data, making them ideal for rendering complex lighting scenarios. If you find it too time-consuming to search for high-quality HDR textures or create them yourself, you can visit Relebook at https://textures.relebook.com/ to download stunning HDR textures.
To import an HDR file into Blender:
Open Blender and navigate to the Shader Editor.
Switch to the World setting, which controls the global environment of your scene.
In the node editor, add an Environment Texture node and connect it to the Background node.
Click "Open" and select your HDR file to import it, after which you can begin adjusting the texture parameters.
2. Adjusting HDR Intensity and Rotation
Once the HDR sky texture is imported, it will influence the lighting across your entire scene by default. To achieve the best results, it's important to tweak the brightness and rotation to suit your needs.
Adjusting Brightness: Use the Strength property to control the intensity of the HDR texture's light. If your scene appears too bright or too dark, adjust this value to better match the lighting conditions you're aiming for.
Rotating the HDR Texture: In many cases, the default orientation of the HDR texture may not align with your vision. By adding a Mapping node and connecting it to the Texture Coordinate node, you can rotate the sky texture and modify the direction of the light source for more precise control over the lighting effects.
3. Enhancing Reflections with HDR Textures
HDR sky textures not only provide lighting for your scene but also significantly improve the reflection quality on objects. In the real world, surfaces reflect the environment around them. In your virtual scene, HDR textures help simulate this effect, adding a layer of realism.
Setting Up Reflective Materials: Apply reflective materials, such as metal or glass, to objects in your scene. The lighting and color information from the HDR texture will be reflected on these surfaces, creating a more lifelike effect. You can further optimize the look by adjusting the material’s reflection properties.
Using Ray-Traced Rendering: To fully capture the effects of HDR lighting, including accurate reflections and refractions, enable Blender’s ray-traced rendering engine (Cycles). This will calculate how the HDR light interacts with different objects, resulting in more sophisticated lighting effects.
4. Balancing Render Quality and Performance
While HDR sky textures can greatly enhance the visual appeal of your scenes, rendering high-resolution textures can also put a strain on your hardware. It's important to strike a balance between visual quality and rendering speed.
Lowering HDR Resolution: High-resolution HDR files contain a lot of detailed information, but if your computer struggles with performance, consider using lower-resolution HDR textures. Additionally, reducing sampling during rendering can help speed up the process by reducing noise without significantly affecting image quality.
Optimizing Render Settings: You can also reduce rendering time by minimizing unnecessary reflections and refraction calculations or by lowering sampling values slightly. This can help improve performance without a noticeable drop in the final output’s quality.
5. Combining Multiple HDR Textures
In Blender, you're not limited to a single HDR sky texture. By combining multiple textures or mixing them with other light sources, you can create even more dynamic lighting effects.
Blending Different HDR Textures: In some cases, designers might choose to blend several HDR textures to simulate different times of day or various weather conditions. This technique offers a wider range of visual possibilities for your audience.
Adding Artificial Light Sources: Along with the HDR sky texture, you can also introduce additional light sources, such as spotlights or point lights, to emphasize specific areas of the scene or to highlight certain elements. This combination provides more control over the overall lighting atmosphere.
6. Real-Time Preview of HDR Effects
To ensure that your HDR sky texture settings are delivering the desired results, you can use Blender’s real-time rendering preview feature (Viewport Shading). This allows you to instantly see how the sky texture affects your scene without having to perform a full render.
Using Real-Time Rendering: Switch to the Rendered mode in the Viewport Shading options to preview the impact of the HDR light. This feature helps designers quickly make adjustments to materials, lighting direction, and other scene elements.
Quick Tweaks and Adjustments: With real-time preview, you can easily fine-tune the brightness, color, and rotation of the HDR sky texture to ensure the final render matches your expectations.
By mastering the use of HDR sky textures in Blender, designers can infuse their scenes with more realistic lighting and reflection effects. This not only increases the overall realism of your renders but also provides more flexibility in your creative process. Whether you're creating outdoor environments or experimenting with lighting setups, understanding how to import, adjust, and optimize HDR sky textures will make your projects visually stunning. If you’re looking for high-quality HDR images, 3D textures, or 3D models for SketchUp and 3ds Max, Relebook offers a wide range of resources to help you achieve excellent visual results in your projects.
