How to Fix Texture Mapping in 3D Viewer
In 3D modeling and rendering design, texture mapping is one of the key techniques used to add detail and realism to models. However, when using different 3D software and rendering engines, many designers often encounter issues with textures not mapping correctly or failing to display properly. As a 3D modeler and renderer, I have faced this issue numerous times when textures didn’t appear correctly in the 3D viewer. This not only affects the visual presentation of models but can also lead to additional challenges when transferring between different platforms and software. In this article, I will share some common methods to fix texture mapping issues in 3D viewers, helping you resolve such problems more efficiently and streamline your workflow.

Check if UV Mapping is Correct
One of the most common causes of texture mapping issues is incorrect UV mapping. UV mapping defines how a 2D texture is projected onto the surface of a 3D model, so ensuring the accuracy of UV mapping is essential.
Ensure UV Unwrapping Has No Overlaps: Check if the UVs on your model have overlapping areas, as this can lead to improper texture display. Use UV editing tools within your software to check and correct these issues.
Avoid UV Stretching: When UV unwrapping, if stretching occurs, it can distort the texture and prevent it from displaying properly. Use tools to optimize the UV layout, ensuring the distribution is even and avoids unnecessary stretching.
Properly addressing UV unwrapping issues will ensure textures display correctly on your 3D model.
Ensure Texture Path Is Correct
If your texture isn't displaying correctly in the 3D viewer, another potential issue is the file path of the texture. Whether it’s on a local hard drive or network path, the texture file path must be accurate.
Use Relative Paths: When transferring models and texture files to other software or platforms, always use relative paths instead of absolute ones. Absolute paths can cause textures to fail to load if the file location changes.
Verify File Format and Size: Check that the texture file is in a format supported by the software, such as JPEG, PNG, or TIFF. Additionally, ensure that the file size doesn't exceed the handling capacity of your system or rendering engine.
These steps will help ensure your texture files load correctly in the 3D viewer.
Adjust Material Settings
Sometimes, texture display issues aren't due to the texture itself but rather the material settings. Since materials define how textures appear on 3D models, proper material configuration is critical.
Check Texture Channels: Ensure that the texture is correctly applied to the right material channels (e.g., diffuse, normal map, reflection, etc.). Incorrect channel allocation can prevent textures from being rendered properly.
Adjust Material Properties: Certain materials might have properties like reflection or refraction set too high, causing textures to be overshadowed or invisible. Adjusting these properties within the 3D viewer ensures the texture is clearly visible.
Fixing the material settings allows textures to appear more vividly on your model.
4. Confirm Rendering Settings Are Correct
In some cases, texture display issues in the 3D viewer are related to the rendering settings, especially when using real-time rendering engines. Checking whether the rendering settings are compatible with the texture type can help resolve issues like distortion or failure to load textures.
Enable High-Quality Rendering: Make sure your rendering engine is set to high-quality mode to avoid losing texture details due to low-quality settings.
Adjust Texture Filtering Settings: Some rendering engines offer texture filtering options. Make sure appropriate filtering methods are enabled to avoid pixelation or blurriness in the textures.
Proper rendering settings will ensure textures are displayed more naturally and realistically.

Update Software and Plugins
If you're encountering issues with texture mapping not displaying, sometimes the problem may lie in software or plugin compatibility. Keeping your software and plugins up to date can sometimes resolve texture display issues caused by version incompatibility.
Update Graphics Drivers: Texture display problems can sometimes be related to outdated graphics drivers. Ensure your graphics card drivers are up-to-date to maintain compatibility between the software and hardware.
Check for Plugin Updates: Certain rendering plugins can impact texture mapping. Make sure to update plugins regularly to avoid display issues due to outdated versions.
By updating these tools, you can rule out software or hardware issues that may be preventing proper texture display.
Use External Tools for Texture Repair
If the above methods don’t resolve the issue, you may want to consider using external tools for texture repair. Some specialized texture editing tools can help identify and fix mapping issues more easily.
Texture Editing Tools: Programs like Photoshop or Substance Painter can help you fix issues with the texture itself, such as uneven color or stretching.
Batch Processing Tools: For projects that require handling multiple models and textures, using batch processing tools can automatically check and fix texture paths, formats, and other issues, increasing efficiency.
These external tools can be crucial for quickly fixing texture mapping issues in more complex projects.
Access High-Quality Texture Resources
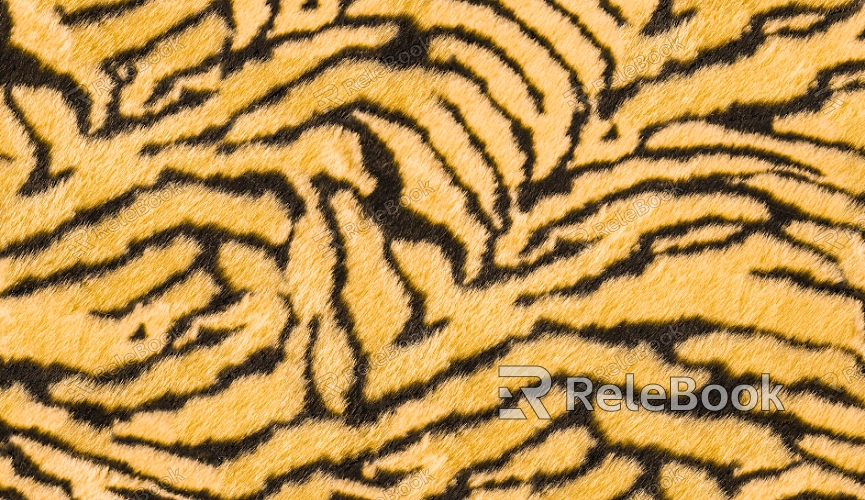
When addressing texture mapping issues, you may need additional texture resources. Using pre-made high-quality textures can save you a lot of time. Platforms like Relebook offer a wealth of texture resources to support your project development.
Relebook Texture Platform: Relebook provides a wide variety of high-quality texture libraries for different types of projects. You can download high-quality 3D textures from Relebook to instantly elevate your project’s quality and avoid time constraints when creating textures.
By following these steps, you can effectively fix texture mapping issues in 3D viewers. Whether it's adjusting UV unwrapping, material settings, or rendering configurations, these methods will help improve the realism and detail of your models, optimizing your design workflow.
If you're looking for high-quality 3D textures, SketchUp models, or 3ds Max models to create models and virtual scenes, Relebook offers a wide selection to help you achieve outstanding visual results in your projects.

