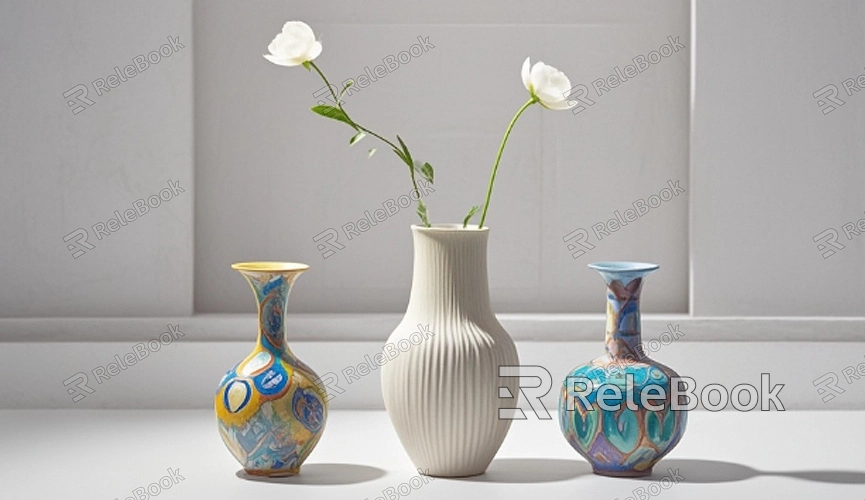
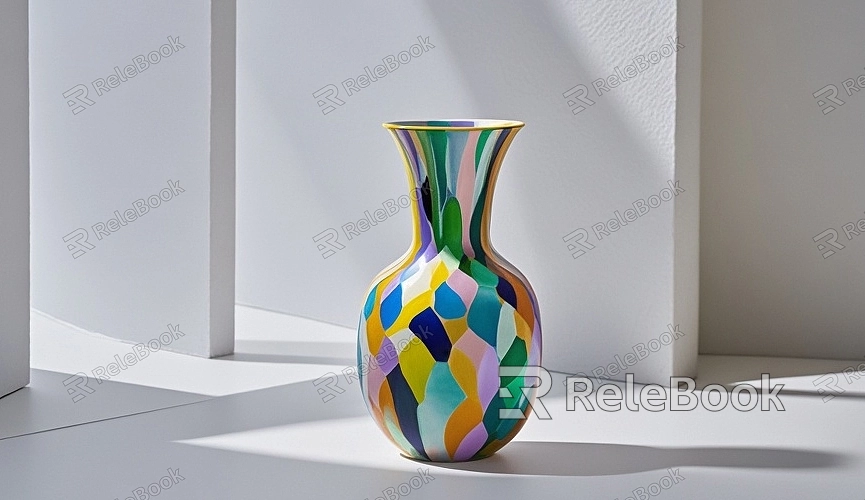
How to Create a 3D Model of a Vase?
Vases, being common and distinctive in shape and detail, are great examples for modeling practice. Mastering 3D modeling for vases not only enhances your understanding of the modeling process but also boosts your skills for various design projects. This article will guide you through the steps of 3D modeling a vase, including the tools required, modeling steps, and common FAQs to help you complete the process with ease.

Preparation
Before starting the modeling process, the first step is to gather the necessary materials. You’ll need a computer with sufficient performance and suitable modeling software. There are many professional 3D modeling programs available, such as Blender, 3ds Max, and Maya, each offering a range of modeling tools and features. Choose software based on your needs and preferences. Additionally, collecting photos or physical samples of vases will help you accurately capture the vase's shape and details.
Create the Basic Shape
Once you’ve opened the modeling software, start by creating the basic shape of the vase. The fundamental shape of a vase is usually a cylinder, so you can begin with a cylinder template. This step sets up the base for more detailed modeling later. Adjust the cylinder’s parameters such as height and radius to better match the proportions of the actual vase.

Add Details
With the basic shape in place, it's time to add details to the vase. Use various tools in the modeling software, such as extrude, scale, and stretch, to modify the cylinder’s shape to more closely resemble the real vase. If the vase has unique patterns or decorations, you can achieve these through texture mapping. Continuously refer to the vase photos to make precise adjustments during this stage.
Refine and Detail
After adding the details, the overall appearance of the vase will start to take shape. Now, focus on refining and detailing the model. Use sculpting tools to make fine adjustments to the vase’s surface, adding textures and bump effects to enhance realism. Applying materials and lighting effects can also improve the model’s appearance and make it look more lifelike. Keep reviewing the vase’s reference images to ensure accuracy throughout this process.
Export and Render
Once modeling is complete, the next steps are exporting and rendering the model. Choose an appropriate file format for export, such as OBJ or FBX, for use in other software or further processing. Rendering converts the 3D model into a 2D image. By setting up lights, materials, and camera angles, you can produce high-quality images of the vase. The rendered results will showcase the details and overall appearance of the vase, making it suitable for presentation and use.
Creating a 3D model of a vase involves preparation, creating the basic shape, adding details, refining, and rendering. Mastering these steps will help you produce high-quality 3D models for various applications. With these basic steps in mind, you can further enhance your modeling skills by downloading various 3D models and textures from the Relebook website to improve your projects and results.
FAQ
What is 3D modeling?
3D modeling is the process of creating digital three-dimensional representations of real-world objects. It involves using modeling software to design, modify, and render 3D models for various purposes.
Which software is suitable for modeling a vase?
Common 3D modeling software includes Blender, 3ds Max, and Maya. These programs offer a range of powerful tools and features to meet different modeling needs.
How can I ensure the accuracy of my 3D model?
To ensure accuracy, refer to photos or samples of the actual vase during the modeling process and make continuous adjustments to the details. Use the software’s detail adjustment tools to further enhance realism.
How do I save and use rendered images?
Rendered images can be exported in common formats such as JPEG or PNG. Once saved, they can be used for presentation, printing, or in design projects.
What common issues might arise during vase modeling?
Common issues include insufficient detail, incorrect proportions, and poor texture mapping. These problems can be resolved by carefully adjusting model details and using the right tools throughout the process.

