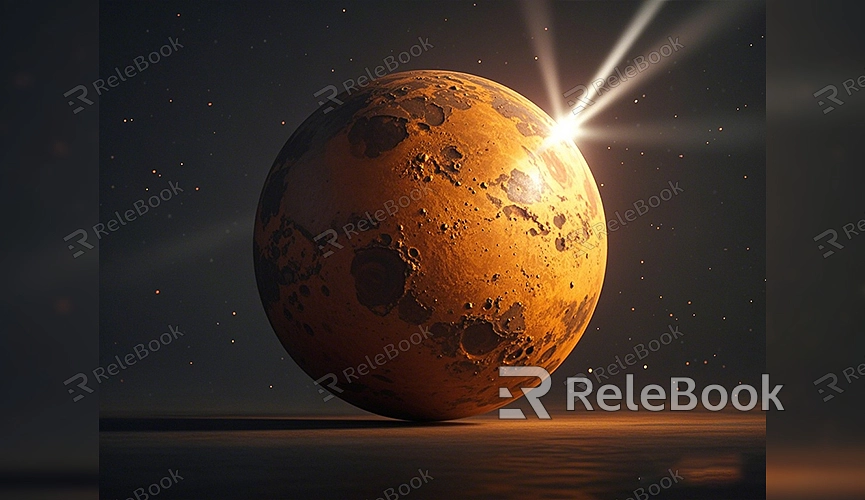
How to Make a 3D Model of Mars
Creating a 3D model of Mars is both a fascinating and challenging project, whether you're a professional 3D artist or just a hobbyist. With precise modeling and texture mapping, you can create a realistic model of Mars. This guide will walk you through the entire process, from modeling and texturing to rendering.
Planning and Preparation

Before you start creating a 3D model of Mars, it's important to plan and prepare to ensure a smooth workflow.
1. Gather Reference Materials:
- Look for photos and scientific data of Mars, which can be obtained from NASA and other space agencies' official websites. Reference images and data will help you accurately recreate Mars's surface features.
- Collect information on Mars's terrain, mountains, valleys, and polar ice caps to include these details in your model.
2. Choose Modeling Software:
- Select a suitable 3D modeling software. Blender, Maya, and 3ds Max are great options. This guide will use Blender as an example, but the same principles apply to other software.
Creating the Basic Model
Creating the basic Mars model in Blender involves the following steps:
1. Create the Base Geometry:
- Start Blender and create a new project. In the "Create" menu, select "UV Sphere" as the base shape for Mars.
- Adjust the sphere’s level of detail to make it smoother. Increase the subdivisions to achieve better results during texturing and detailing.
2. Shape Adjustment:
- Enter "Edit Mode" to adjust the details. Use the "Scale" tool to modify the sphere’s shape to match Mars.
- Add more details, such as Mars's polar ice caps and mountain ranges. Use the "Displacement Modifier" to simulate the elevation changes on Mars's surface.
Adding Textures and Details
The surface features of Mars need to be achieved through texture mapping. Here’s how to add textures and details:
1. UV Unwrapping:
- Enter "UV Editing" mode to unwrap the model’s UVs. UV unwrapping is the process of mapping the 3D model’s surface onto a 2D texture image. Ensure there’s no overlap to avoid texture distortion.
2. Apply Textures:
- Use the "Texture Paint" tool to paint or apply textures to the surface of Mars. You can use online resources or take photos of Mars's surface to create your textures.
- If you need high-quality 3D textures and HDRIs, you can download them for free from [Relebook’s texture site](https://textures.relebook.com/). This site offers a wealth of high-quality resources to enhance the realism of your Mars model.
3. Add Details:
- Add features to the model such as dust storm marks, craters, and valleys. Use "Sculpt Mode" to further refine and optimize these details.
Setting Up Materials and Rendering
Setting up materials and rendering is crucial for showcasing your model. Here’s how to do it:
1. Create Materials:
- In Blender, create a new material for the Mars model. Adjust the material’s color and texture properties to simulate Mars's surface features.
- Use the node editor to fine-tune material details like reflectivity and roughness to make the surface look more realistic.
2. Set Up Lighting and Camera:
- Add light sources to illuminate the model, simulating sunlight on Mars. Use the "Sun" light source and adjust its direction and intensity.
- Configure the camera’s position and angle to capture the best view of the Mars model.
3. Render the Model:
- In Blender’s "Render" panel, select the appropriate rendering engine (such as Cycles or Eevee). Adjust render settings like resolution, sampling rate, and anti-aliasing as needed.
- Click the "Render" button to start rendering the Mars model. Once rendering is complete, save the image in PNG or JPEG format for display or further processing.
Creating a 3D model of Mars involves several steps, from creating the basic model to adding details and setting up materials and rendering. By using 3D modeling software like Blender, you can produce a realistic Mars model that showcases the planet’s unique features and stunning landscapes.
For high-quality 3D models, you can download from [Relebook’s model site](https://3dmodels.relebook.com/). Relebook offers a wide range of premium 3D resources. If you need high-quality textures and HDRIs for your models and scenes, check out [Relebook’s texture site](https://textures.relebook.com/) for free downloads. These resources will help you enhance your model’s quality and achieve more realistic results.

