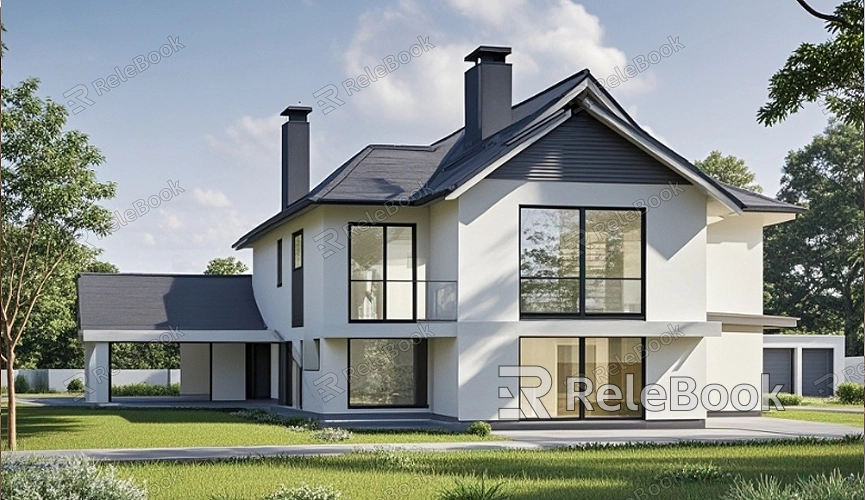
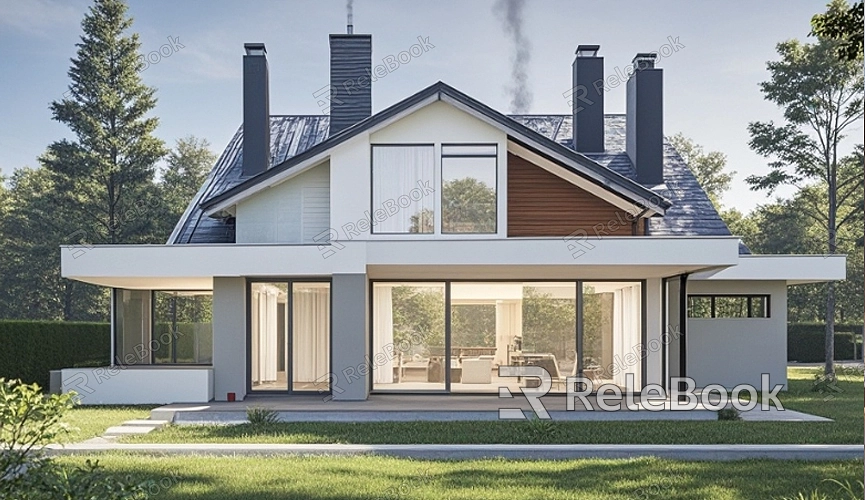
How to Model Your House in SketchUp?
In today's architectural design, 3D modeling has become a mainstream trend, especially when designing houses. With SketchUp, a powerful and user-friendly 3D modeling software, you can easily create detailed models of your home. Whether you're an architect, designer, or homeowner, learning how to model in SketchUp will be extremely helpful. This article will guide you on how to use SketchUp to model your house.
Initial Preparation
Before using SketchUp, you need to have a clear house design plan. This could be a hand-drawn floor plan or a simple sketch. Once you have these references, you're ready to start modeling in SketchUp.
When you open SketchUp, the first step is to select the appropriate template. For house modeling, it’s recommended to choose either the "Architectural Meters" or "Architectural Millimeters" units. Then, familiarize yourself with the software's basic operations, such as how to move the camera, zoom in and out, and use the selection tool.
Drawing Basic Walls
The first step in modeling is drawing the basic walls of the house. In SketchUp, use the "Rectangle" tool to outline the house. This outline will serve as the foundation of the building. Once done, use the "Push/Pull" tool to pull the outline upwards, forming the height of the walls.
For interior walls, you can also use the "Rectangle" tool to divide each room. Then, again use the "Push/Pull" tool to raise the walls to the desired height.
Creating Door and Window Openings
After completing the basic wall structure, the next step is to add doors and windows. In SketchUp, you can use the "Rectangle" tool to draw the outlines of doors and windows on the walls. Then, with the "Push/Pull" tool, push these areas inward to create openings for doors and windows.
To position the doors and windows more accurately, it’s recommended to use SketchUp’s "Tape Measure" tool. This tool allows you to mark precise measurements for the size and location of doors and windows, ensuring that your house design meets your specifications.
Adding the Roof
The roof is an important part of house design. In SketchUp, you can create a simple flat roof by drawing the roof’s edge and using the "Push/Pull" tool. For more complex sloped roofs, you can use the "Line" tool to sketch the shape of the roof's slopes, then complete the roof modeling by using the "Push/Pull" or "Extrude" function.
To make the roof look more realistic, you can also add textures or colors that resemble actual roofing materials.
Refining Details
Once the main structure of the house is completed, the next step is to refine the details. This step can greatly enhance the realism of your house model. In SketchUp, you can add decorative lines, railings, balconies, and other details to perfect your house model.
If you want the interior of the house to be more detailed, you can also add furniture to each room. SketchUp has a rich 3D model library, allowing you to select ready-made furniture models and place them directly into your house model.
Applying Materials and Textures
Materials and textures can make your house model more lifelike. SketchUp offers a variety of default materials, and you can apply different materials and colors to the walls, floors, and roof using the "Materials" tool. This can make the model visually more striking and closer to the appearance of real buildings.
Additionally, you can download more material and texture resources from online platforms to enrich the expression of your model.
Adjusting Views and Exporting
After completing all the details, you can adjust the camera to preview the overall effect of the house. In SketchUp, the "Camera" tool allows you to set different viewpoints to examine the exterior and interior details of the house.
Once you're satisfied with the model, you can export it in different formats, such as 2D drawings or 3D model files, for further rendering or printing.
Model Optimization and Rendering
After the model is finished, you can further optimize it to make it more streamlined and efficient. If the model is too complex, it may slow down the software, so it’s advisable to delete unnecessary lines or objects.
Next, if you want a more realistic effect, you can import the model into rendering software like V-Ray or Lumion. These rendering tools can help you generate high-quality images or videos to showcase the final look of the house design.
Modeling your house in SketchUp isn’t difficult. By following the steps outlined in this article, you can easily complete the entire process, from basic walls to roof and detail optimization. The strength of this software lies in its simplicity, allowing anyone to master house modeling techniques with practice. If you want to further enhance the quality of your model, it’s highly recommended to use professional rendering tools for post-processing. Now, you can head over to the Relebook website to download various 3D models and textures, enriching your design and making your house model more vivid and realistic.
FAQ
Is SketchUp suitable for beginners?
Absolutely. SketchUp has an intuitive interface and simple tools, making it easy for even those without 3D modeling experience to get started quickly.
How can I ensure accurate dimensions for the house in SketchUp?
You can use the Tape Measure and Dimension tools to set precise dimensions and scale. It’s also recommended to refer to actual design drawings when creating the house model.
Can I import other models into SketchUp?
Yes, SketchUp allows you to import 3D models from other software, and you can also access its online 3D model library to find furniture or decorations you need.
How can I improve the rendering quality of my SketchUp model?
You can use third-party rendering plugins or import the model into professional rendering software like V-Ray or Lumion. These tools can significantly enhance the lighting and realism of your model.
How can I quickly create a complex roof?
You can use the Line tool to manually draw the roof’s slopes, then use the Push/Pull tool to extrude it. For more complex roof designs, it’s advisable to break the process down into steps and refine the model gradually.
