How to Make a 3D Spider Model
Creating a 3D spider model is both a challenging and exciting endeavor. Whether for games, animations, or other visual effects, crafting a realistic spider model showcases your modeling skills and creativity. This guide will walk you through the process of creating a detailed 3D spider model, covering everything from modeling and texturing to rendering.
Planning and Preparation

Before starting on your 3D spider model, thorough planning and preparation are crucial. This includes gathering reference materials and choosing the right modeling tools.
1. Gather Reference Materials:
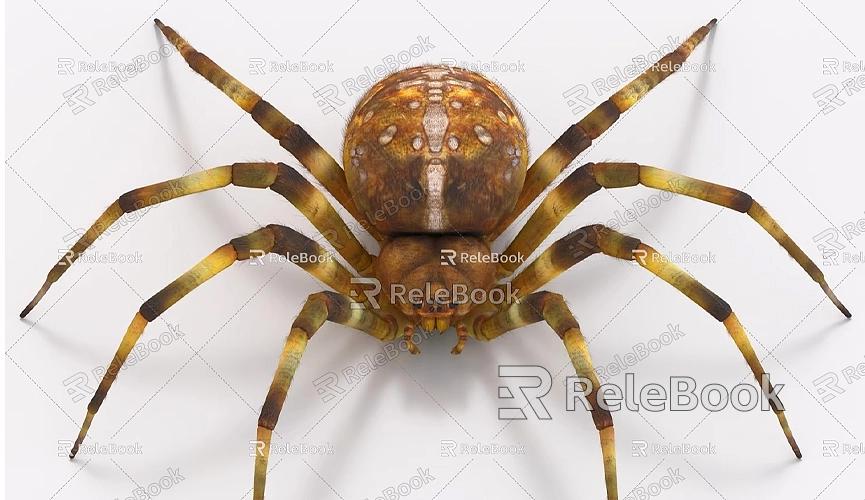
- Find photos and anatomical diagrams of spiders. These references will help you understand the spider's structure, including its body parts and leg joints. Resources can be obtained from natural history museums or online image libraries.
- Collect images and diagrams from different angles to accurately reproduce the spider’s details during modeling.
2. Choose Modeling Software:
- Select appropriate 3D modeling software such as Blender, Maya, or 3ds Max. This guide will use Blender as an example, but the steps are similar in other software.
Creating the Spider Model
In Blender, creating a spider model involves several main steps:
1. Create Base Shapes:
- Open Blender and start a new project. Choose "Cylinder" from the "Create" menu as the base shape for the spider’s body. Adjust the cylinder's segments to ensure smoothness.
- Enter "Edit Mode" to reshape the cylinder into the spider’s head and abdomen. Use the "Extrude" tool to create the various parts of the head and abdomen.
2. Add Legs:
- From the "Add" menu, select "Mesh" and then "Cylinder" to create the spider’s legs. Model one leg, then duplicate and position it at various locations on the spider’s body.
- Enter "Edit Mode" to refine the leg shapes and details, including joint bending and segmentation. Use the "Subdivision Surface" modifier to make the legs smoother and more natural.
3. Detail Sculpting:
- Use "Sculpt Mode" to add details such as leg hairs and body textures. Blender offers various sculpting tools to help create realistic surface effects.
- Apply the "Displacement Modifier" to simulate the texture and subtle bumps on the spider’s surface.
Adding Textures and Materials
Texturing and material setup are key to enhancing the realism of your spider model. Here’s how to apply textures and materials:
1. UV Unwrapping:
- Enter "UV Editing" mode to unwrap the model’s UVs. UV unwrapping maps the 3D model’s surface to a 2D texture image to ensure proper texture application.
- Ensure UV unwrapping has no overlaps and minimize seams to prevent texture distortion.
2. Apply Textures:
- Use Blender’s "Texture Paint" tool to paint or apply textures to the spider. You can simulate the spider’s patterns and colors for a more realistic appearance.
- For high-quality 3D textures and HDRIs, you can download free resources from [Relebook’s texture site](https://textures.relebook.com/). This site offers a range of high-quality resources to enhance your spider model’s realism.
3. Set Up Materials:
- Create and apply materials to the spider model in Blender. Adjust material properties such as color, glossiness, and transparency to match the spider’s real appearance.
- Use Blender’s node editor to create complex material effects like the sheen of hairs and the texture of the skin.
Setting Up Lighting and Camera
Proper lighting and camera setup are crucial for showcasing the spider model’s details. Here’s how to configure lighting and camera:
1. Configure Lighting:
- Add light sources to illuminate the spider model. You can use "Point Light" or "Area Light," adjusting their intensity and position to simulate natural lighting effects.
- Consider using HDRI (High Dynamic Range Imaging) as an environment light source for more even lighting, making the spider model appear more realistic.
2. Set Up the Camera:
- Add a camera and position it to capture the best view of the spider model.
- Adjust the camera’s focal length and depth of field settings to add depth and dimension to the image.
Rendering the Model
Rendering is the process of converting the 3D model into a 2D image and requires some setup and adjustments. Follow these steps to render your spider model:
1. Select a Rendering Engine:
- In Blender, choose a suitable rendering engine such as Eevee or Cycles. Eevee is ideal for real-time previews and faster rendering, while Cycles offers higher quality render results.
- Select the appropriate rendering engine based on your needs and adjust the related settings.
2. Adjust Render Settings:
- In the "Render" panel, set parameters like resolution, anti-aliasing, and sampling rate. Increasing the sampling rate improves image quality but extends rendering time.
- Configure other settings such as ray tracing and shadow quality to optimize the final render.
3. Execute the Render:
- Click the "Render" button to start rendering the spider model. Once rendering is complete, save the image in PNG or JPEG format for display or further processing.
Creating a 3D spider model is a complex but creatively rewarding process, involving basic modeling, texturing, material setup, and final rendering. Using 3D modeling software like Blender, you can create a detailed and realistic spider model that highlights its unique structure and details.
For high-quality 3D models, you can download from [Relebook’s model site](https://3dmodels.relebook.com/). Relebook offers a wealth of premium 3D resources. If you need high-quality textures and HDRIs for your models and scenes, visit [Relebook’s texture site](https://textures.relebook.com/) for free downloads. These resources will help you enhance your model’s quality and achieve more realistic results. I hope this guide assists you in creating your spider model.
