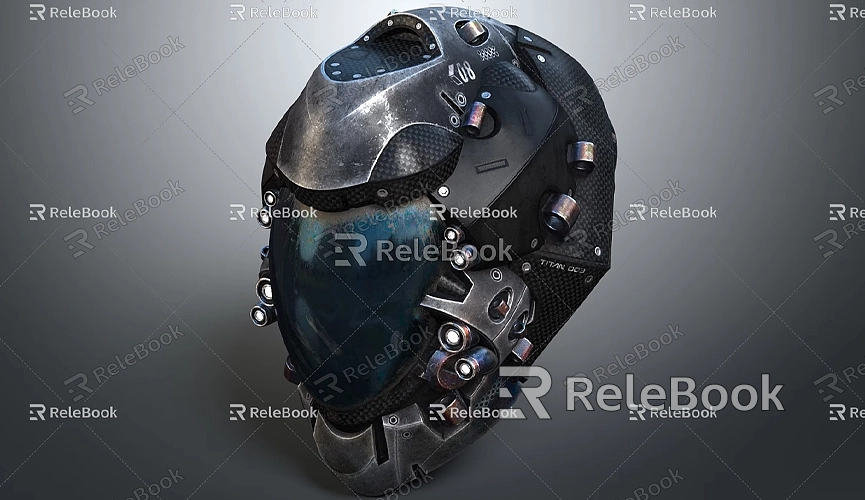
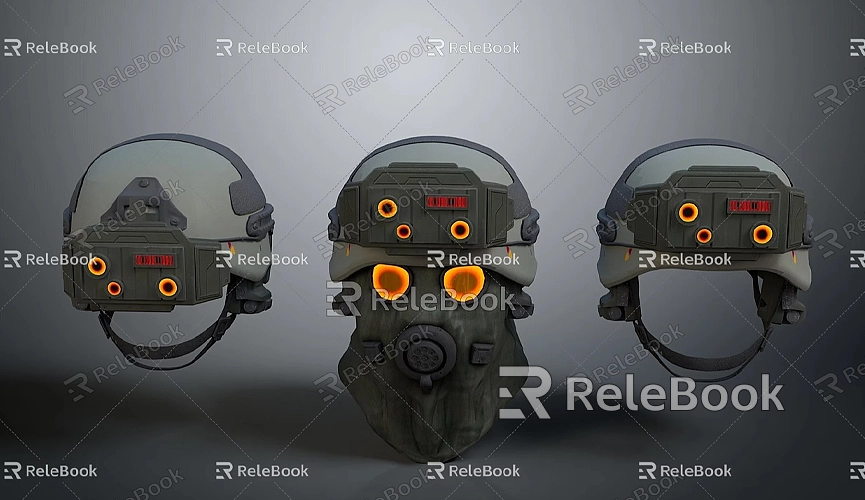
How to Model a Helmet in SketchUp
In the field of 3D modeling, SketchUp is widely used in industries like architecture, interior design, and product modeling. Due to its simple and intuitive interface, SketchUp is not only suitable for professional designers but also great for beginners who want to practice 3D modeling. Among these design projects, helmet modeling may seem complex, but with the right methods and techniques, anyone can easily accomplish this challenge in SketchUp. Whether you're creating a motorcycle helmet, sports helmet, or protective helmet, understanding the basic structure of a helmet and mastering modeling techniques will be key to your success.
A helmet typically consists of two major components: the outer shell and the inner padding. The outer shell is usually made from strong materials like plastic or carbon fiber to provide head protection, while the inner padding is made from soft foam or fabric materials to enhance comfort and provide additional cushioning. A complete helmet design must not only consider the aesthetic appearance but also ensure its protective functionality. Therefore, when modeling a helmet in SketchUp, it’s important to aim for both realistic shape and detailed craftsmanship.
Designing the Helmet Shape
The shape of a helmet is usually a complex curved structure, so mastering the basic tools in SketchUp is essential. First, use SketchUp’s Circle Tool to draw a basic circular outline. This circle will represent the top of the helmet. Then, use the Push/Pull Tool to extrude the circle into a cylinder, which will form the initial outer shell of the helmet. Adjust the height of the cylinder to match the actual proportions of the helmet.

After creating the basic shape, you may notice that the outer shell is not a perfect cylinder, as it often has some curvature and irregularities. At this point, you can use the Scale Tool to adjust the shape and ensure it fits the design requirements of the helmet. It’s important to note that in SketchUp, you can fine-tune various parts of the model using Stretch and Move to make the shell more ergonomic and improve its fit.
Building the Helmet Padding
The inner padding of the helmet is usually more complex than the outer shell because it needs to be designed to fit the shape of a human head for comfort. To create the inner padding in SketchUp, you can start by drawing a slightly smaller cylinder, ensuring it maintains a gap from the outer shell. The shape of this inner padding doesn’t need to exactly match the shell, but it should be designed to fit the contour of a typical human head.
The design of the inner padding often includes several raised and recessed areas to accommodate the head’s shape. For example, the top and sides of the padding usually have more prominent areas for placing cushioning or shock-absorbing materials. These details can be achieved using the Push/Pull Tool and Sculpting Tools. By adjusting, stretching, and sculpting the inner padding, you can make it conform more closely to the shape of the head.
Detail Sculpting and Texture Mapping
Once the basic outer shell and inner padding are complete, the next step is adding details. These details include external features like ventilation holes, fit straps, and other components, as well as internal features like shock-absorbing pads and adjustable straps. You can define these areas using SketchUp’s Line Tool, and then use the Push/Pull Tool to carve out the details.
Particularly when designing small components like ventilation holes, ear covers, or chin straps, these small elements can significantly enhance the realism of your model. For example, to design the ventilation holes, you can draw small circles and arrange them evenly across the helmet’s surface, then use the Push/Pull Tool to extrude them inward. To enhance the depth of the holes, you can apply gradient effects along the edges to make them look more three-dimensional.

Applying textures is also a crucial step in helmet modeling. The outer shell of the helmet is often made from materials like plastic or carbon fiber, while the inner padding may use foam or fabric. In SketchUp, you can apply these different materials by using the Material Editor to give the helmet a more realistic appearance. If you need more high-quality texture resources, you can check out external platforms. If you need high-quality 3D textures and HDRIs for your models and virtual scenes, you can download them for free from Relebook Textures. If you need detailed 3D models, visit Relebook 3D Models, where Relebook offers a vast array of premium 3D resources. Using these resources, you can add more detailed textures like leather or metal, further improving the realistic look of the helmet.
Adding Functional Components
When designing the helmet, you'll also need to add some functional components, such as buttons, switches, face shields, or ear protectors. These components can start with basic geometric shapes, which are then refined through detailed sculpting, scaling, and adjustments. To make these components more realistic, you can use SketchUp’s Offset Tool or Copy Tool to achieve precise symmetry or duplication effects.
For example, to design ventilation holes, you can draw multiple small circles and arrange them symmetrically across the helmet’s surface, and then use the Push/Pull Tool to extrude them. To enhance the depth of the holes, you can add a gradient effect around the edges, giving them a more 3D appearance.
Rendering and Displaying the Helmet
Once you’ve completed the helmet model, the final step is rendering and showcasing your work. Rendering not only enhances the texture and appearance of your helmet model but also simulates lighting, shadows, and other effects to make the design more dynamic. In SketchUp, common rendering plugins like V-Ray and Enscape offer rich lighting and material effects that bring out the helmet’s details and textures.
Before rendering, make sure to properly set up the lighting and materials in your model. The arrangement of lights will directly influence how the helmet’s details are showcased. Proper lighting will make the helmet’s curves appear more vivid and lifelike. Additionally, you can enhance the overall visual effect by setting an appropriate background and choosing a fitting environmental image for display.
By following the steps outlined above, you now know how to model a helmet in SketchUp. From the initial basic shape modeling to the intricate detail sculpting, and finally to applying materials and textures, each stage requires patience and precision. Although modeling a helmet may seem complex at first, once you master the right techniques and methods, you can successfully create a high-quality 3D helmet model.
Whether you're designing a virtual helmet for a game or creating a 3D prototype for product design, helmet modeling is a challenging yet rewarding task. Through learning and practice, you'll be able to improve your modeling skills and gradually become an accomplished 3D modeler.
Finally, if you need high-quality 3D textures and HDRIs for your models and virtual scenes, you can download them for free from Relebook Textures. If you need fine 3D models, visit Relebook 3D Models for a wide variety of premium resources. Using these resources, you can add extra details to your helmet model and make your work stand out.
In conclusion, helmet modeling not only tests your technical skills but also enhances your abilities in detail sculpting and material application. By following the steps in this article, you will be able to master the techniques of helmet modeling and create a 3D helmet model you can be proud of.

