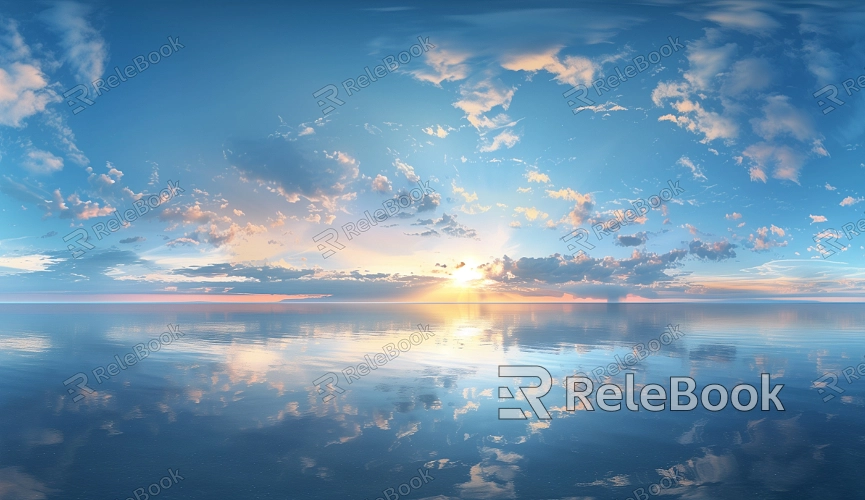
How to Use HDR Skybox Textures in Unity
HDR skybox textures are widely used to enhance the realism of a scene, particularly in game development, architectural visualization, and virtual reality projects. Unity, as a popular 3D engine, supports the use of HDR skybox textures, allowing designers to easily create high-quality lighting and shading effects. This article will detail the steps to effectively use HDR skybox textures in Unity, guiding readers through key processes and optimization tips.

1. Importing HDR Skybox Textures
The first step to using HDR skybox textures in Unity is importing the correct image file. HDR skybox textures are typically stored in .hdr or .exr formats, which contain rich lighting information.
If finding high-quality HDR textures seems time-consuming or complex, you can visit Relebook and download stunning HDR textures directly from https://textures.relebook.com.
Texture Import Settings: When importing HDR files, you can optimize their effects by adjusting the texture import settings in Unity. For example, enabling the "sRGB" option ensures the texture displays correct colors and lighting effects on your device.
2. Creating and Applying Materials
To apply an HDR skybox, you’ll need to create a material, which determines how the skybox texture will be displayed in your environment.
Creating a Skybox Material: In Unity, go to the "Assets" menu, create a new "Material," and set its Shader type to "Skybox/Cubemap" or "Skybox/Panoramic."
Applying HDR Texture to the Material: Apply the imported HDR file to the material’s "Cubemap" or "Main Texture" field. This step ensures the texture is properly loaded and visible in your scene.
3. Adjusting Skybox Material Parameters
Once the HDR skybox material is created, you can enhance its rendering effects by fine-tuning specific parameters.
Exposure Adjustment: HDR textures often contain bright light sources. Adjusting the exposure parameter can help prevent overexposure or overly bright scenes, making the texture look more natural.
Rotating the Skybox: To align environmental lighting with the scene, you can adjust the "Rotation" parameter of the skybox. This is particularly helpful for setting the right lighting direction.
4. Setting Up HDR Environmental Lighting
Unity allows designers to use the lighting data embedded in HDR skybox textures to create more natural environmental lighting.
Enable Ambient Lighting: In Unity’s "Lighting" window, locate the ambient lighting settings and choose "Skybox" as the ambient light source. This will automatically apply the HDR skybox’s lighting information to the objects in your scene.
Reflection Probes: Reflection probes enable objects in the scene to generate realistic environmental reflections based on the HDR skybox. Make sure to place reflection probes appropriately within the scene to enhance reflective surfaces.
5. Optimizing HDR Skybox Performance
While HDR textures offer outstanding lighting effects, they can impact performance, especially in real-time rendering. Therefore, it’s crucial to optimize HDR skybox textures.
Reducing Resolution: High-resolution HDR textures consume more resources. If your scene doesn’t require a high level of detail, reducing the resolution of the HDR textures can significantly improve frame rates.
Compressing HDR Files: Using Unity’s supported texture compression formats, such as BC6H or ASTC, reduces the file size of HDR textures, improving loading speeds and reducing memory usage.

6. Utilizing Real-Time Reflections and Global Illumination
Unity’s real-time reflection and global illumination features can work in conjunction with HDR skybox textures to enhance the visual quality of the scene.
Enable Global Illumination: Activate Unity’s Global Illumination feature to enhance the scattering of light within the scene. This allows for more realistic interactions between the HDR skybox and the objects it illuminates.
Dynamic Reflections: By utilizing reflection probes or screen space reflections (SSR), you can dynamically generate environmental reflections based on the HDR skybox, adding more realism and dynamism to the scene.
7. Balancing Other Light Sources in the Scene
When using HDR skybox textures, it's important to properly configure other light sources in the scene to avoid lighting conflicts.
Reducing Additional Light Sources: HDR skyboxes provide ample lighting information, so reducing the number of additional light sources in the scene can prevent excessive shadows or glare that might interfere with the overall visual effect.
Balancing HDR Skybox with Lighting Settings: Adjust the brightness and exposure of the HDR skybox to harmonize with other light sources, ensuring a cohesive lighting setup for your scene.
8. Enhancing Visual Quality with Post-Processing Effects
In Unity, post-processing effects can further improve the visual impact of HDR skybox textures.
Enabling HDR Post-Processing: By enabling HDR post-processing effects like Bloom and Color Grading, you can make the light sources in the HDR skybox appear more vibrant. These effects greatly enhance the visual impact of the scene.
Motion Blur and Anti-Aliasing: Use motion blur and anti-aliasing techniques to reduce jagged edges and blur artifacts, ensuring smooth performance and better visual clarity, especially during fast camera movements.
By following these steps and techniques, designers can effectively use HDR skybox textures in Unity, optimizing scene lighting while maintaining strong performance. Whether you are building a game world or creating virtual reality environments, HDR skyboxes can significantly enhance the visual experience.
For those looking to access more high-quality HDR textures, Relebook offers a wide range of resources to help designers achieve stunning lighting and visual effects in any project.

