How to Apply HDR Sky Textures in Cinema 4D
In fields like architectural visualization, movie effects, and advertising production, designers use HDR sky textures to enhance the realism of lighting and environmental reflections, thereby improving the overall visual quality of their work. Cinema 4D, known for its power and flexibility, is one of the most popular 3D design software options. Designers often encounter challenges in efficiently applying HDR sky textures within the software. This article will explore how to apply HDR sky textures in Cinema 4D and offer techniques to enhance rendering results.
1.Understanding HDR Sky Textures and Their Purpose
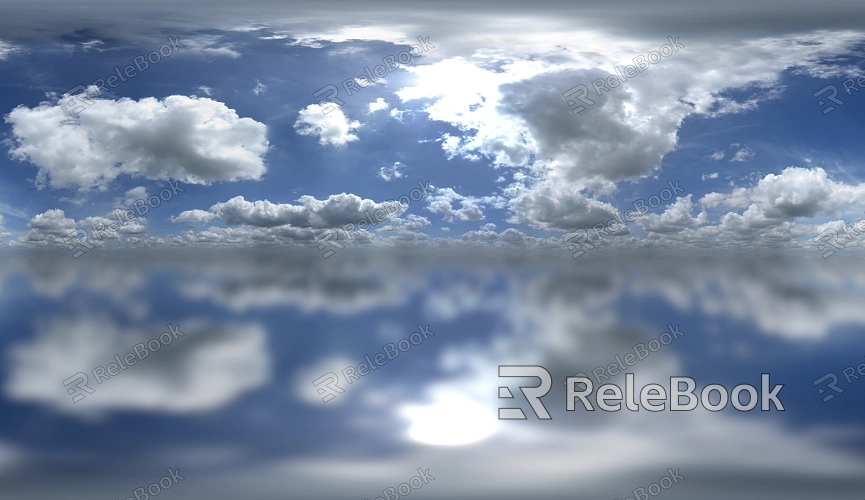
HDR (High Dynamic Range) sky textures are a type of image format that captures a wide range of lighting information. These textures not only display sky details but also provide ambient lighting and reflections. They are commonly used to create realistic outdoor scenes or to enhance global illumination in rendering.
In Cinema 4D, HDR sky textures can be used as backgrounds, but more importantly, they can influence the entire scene’s lighting distribution and object reflections through the global illumination system, simulating natural light effects.
2.Setting Up the Sky Object in Cinema 4D
To apply an HDR sky texture in Cinema 4D, you first need to create a Sky Object. This object serves as the base for HDR textures, allowing you to define the environmental lighting for the entire scene.
Once the Sky Object is created, you can import and apply the HDR texture to it. This allows the scene’s lighting and reflections to be controlled by the HDR texture, simulating natural environmental lighting effects.
3.Adjusting HDR Sky Texture Exposure and Brightness
After importing the HDR sky texture, it’s often necessary to adjust its exposure and brightness based on the scene requirements. Since HDR files contain a wide dynamic range, they can sometimes appear too dark or too bright.
Using the Material Editor in Cinema 4D, you can tweak the brightness, contrast, and gamma of the HDR map to ensure the lighting fits well with other scene elements. These adjustments ensure that the HDR sky provides the desired visual effect under different times of day or weather conditions.
4.Enabling Global Illumination and Reflections
The global illumination (GI) and reflection settings in Cinema 4D can significantly enhance the effects of HDR sky textures. By enabling global illumination, objects in the scene will receive not only direct lighting from the HDR sky but also natural indirect lighting, creating more realistic shading and reflections.
Global illumination can be activated in the render settings. Once enabled, you can fine-tune the lighting details by adjusting sampling rates and reflection intensity, which can reduce render noise and make the lighting more lifelike.
5.Matching the HDR Sky to Different Scenarios and Weather Conditions
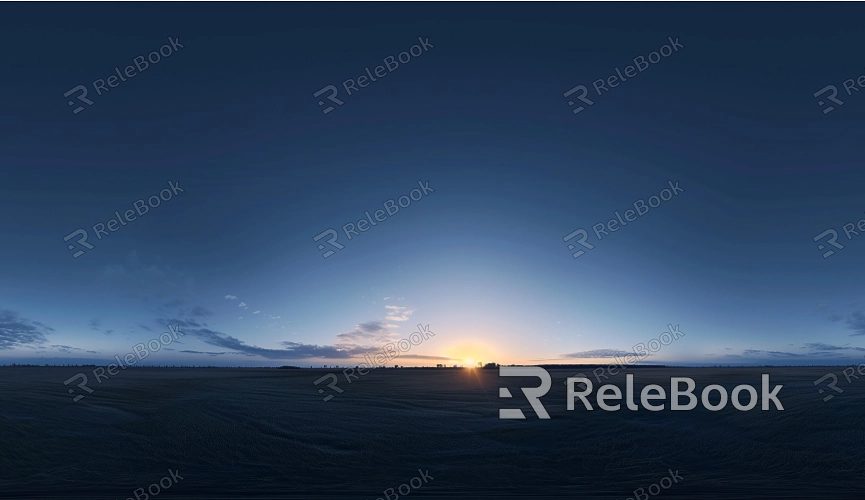
Different scenes and weather conditions call for different types of HDR sky textures. For example, a sunny HDR sky texture is ideal for bright outdoor scenes, while a cloudy or overcast HDR sky is better suited for gloomy weather or nighttime environments.
Designers can choose the appropriate HDR sky texture based on project needs and further optimize them in Cinema 4D’s Material Editor to ensure they fit the style and mood of the overall scene.
6.Optimizing Rendering Performance
While high-resolution HDR sky textures can significantly improve rendering quality, they can also place a strain on system performance. To optimize rendering speed while maintaining quality, it’s essential to select the appropriate HDR resolution for the scene size and render requirements.
Cinema 4D allows you to lower the texture resolution or reduce the number of global illumination samples to boost rendering efficiency. Adjusting these parameters as needed can help maintain an efficient workflow without sacrificing visual output.
7.Avoiding Common Mistakes
When applying HDR sky textures, common issues include blurry textures and improper exposure. To avoid these problems, ensure the HDR texture has a high enough resolution, especially for outdoor scenes where lower resolutions can appear fuzzy and distorted.
Additionally, be mindful of overexposure or underexposure. During the rendering process, always check the brightness and contrast of the sky texture to ensure it balances well with the scene’s lighting.
8.Testing and Refining the Final Render
Once your render settings are in place, it’s advisable to run several test renders, especially for large projects where small details can make a big difference in the final output. Through multiple tests, you can ensure that the HDR sky texture blends seamlessly with other elements in the scene, resulting in a polished final product.
At the same time, fine-tuning various rendering parameters allows you to enhance the detail and lighting effects, maximizing the potential of the HDR sky texture in your final render.
By following these steps, designers can efficiently apply HDR sky textures in Cinema 4D, creating natural and realistic renderings. Whether it's a bright sunny day or a starry night, HDR sky textures can add ambient lighting and reflection effects to your scene, enhancing the overall realism of your work.
If you're looking for high-quality HDR sky textures, Relebook offers a vast library of 3D resources, including HDR images, 3D models, and textures. You can find the perfect assets for your project and streamline the process of building complex scenes.
